At-Home Mani: Tips From An Olive & June Manicure Specialist
In college, I was not an at-home mani kind of gal. I literally used to get my nails done once a month — it was my favorite way of “treating myself.” It’s wild looking back because I deeeefinitely should have been saving money to pay for my student loans, but too late for that now! I stopped frequenting the salon once the pandemic hit, and I eventually started to get the hang of doing my nails at home.
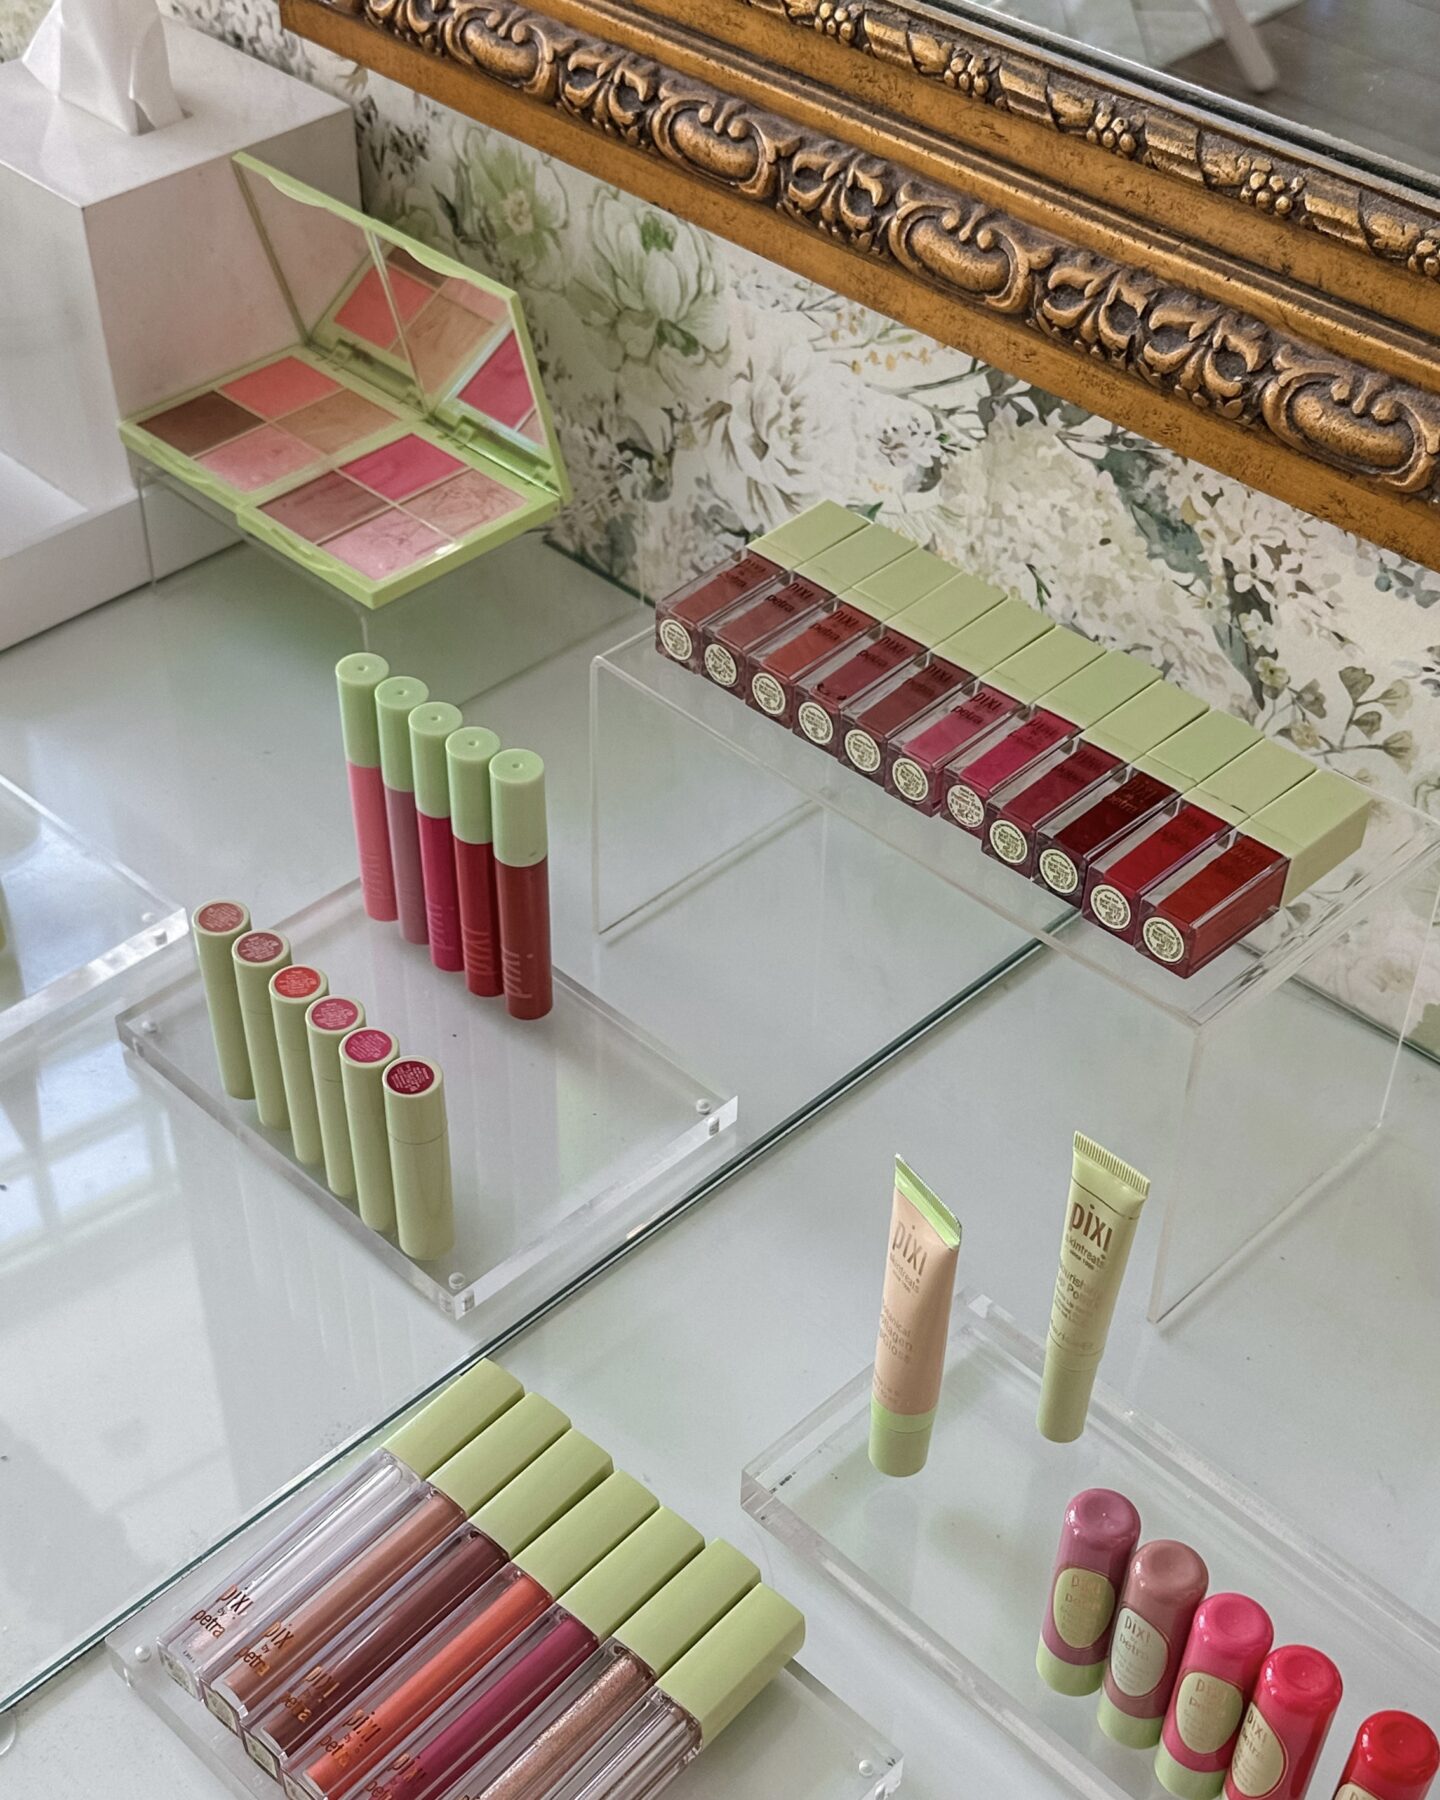
Press-on nails are my all-time favorite, but I surprisingly got pretty good at doing my own gel manicure, too. Olive & June must have noticed me tagging them in my IG stories every time I was sporting a new mani because they reached out, and I got to chat with one of their manicure specialists. I learned the inside scoop on what to do (& not do) when trying to have a successful at-home mani, so here are:
10 Tips For Your Next At-Home Mani
Avoid Water 30 Minutes Before Manicure
The first tip I got felt slightly contradictory: Every time I go to a salon, my hands are put in a bowl of water before they paint my nails. But from what I just learned, water expands the nail plate, and since nails are very porous, they shrink back when dried, causing the polish to chip more easily.
Due to this, avoid any water, oils, & lotions for at least thirty minutes before you start to paint your nails.
Shape With Previous Polish Still On
I’m definitely guilty of shaping my nails by looking at the whites of our nails, but it turns out those are wildly uneven and not a good reference! Filing while you still have polish on allows you to get a more accurate shape.
If I don’t already have polish on, I like to turn my hand around and look at the nail shape that creeps over my fingers to get a better sense of how it’s looking.
Use Clippers & Nail Files In A 90/10 Ratio
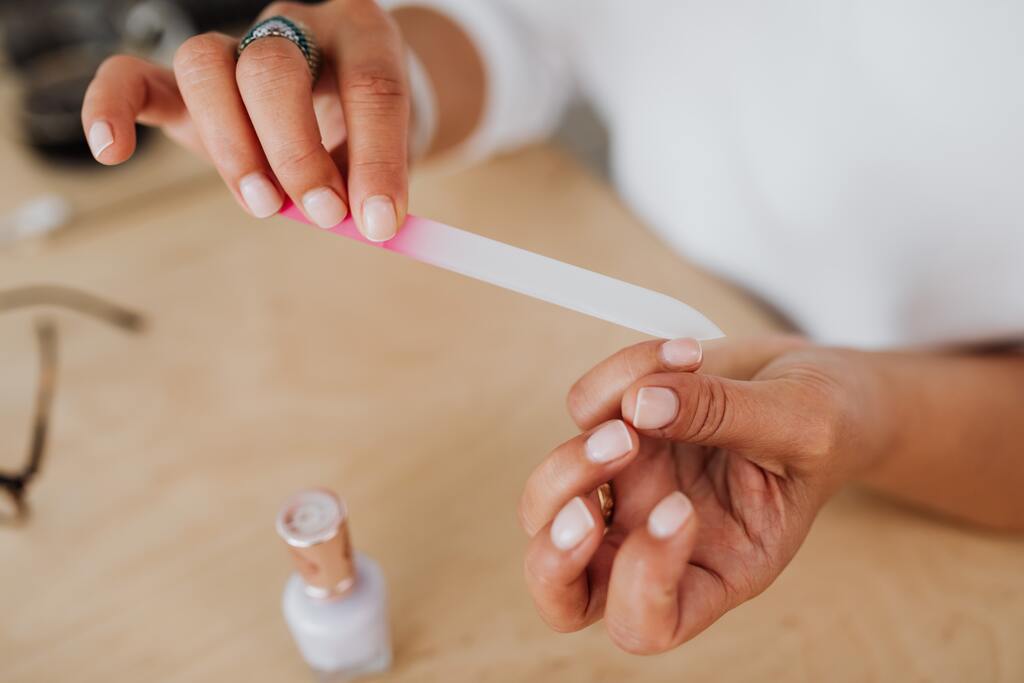
I’ve always been a huge nail file gal, but they can damage your nails because of how abrasive they are. Cutting and shaping with clippers and leaving the small details to the file is the safest way to do it.
Also, when you use a nail file, sweep it in one direction at a time instead of that classic back-and-forth motion we see on TV. Filing one way helps with breakage!
Don’t Cut Your Cuticle
This tip is definitely the most controversial one, at least for me. My cuticles seem to grow back immediately, and I feel like I need to cut them constantly, but that may be part of the problem. The manicure specialist mentioned that we can train our cuticles by pushing them back and using a nail file/buffer to sweep away dead skin.
I tried this yesterday before painting my nails and was very surprised! It looks as good as when you cut them, and this method will help curb all those hangnails I get when I cut my cuticle!
The edge of a buffer works best for getting in every crevice.
Use Acetone To Remove Any Powder After Buffing
After buffing, the nails will be covered in powder. I just learned that you shouldn’t rinse with water since that goes back to tip number one, so we should use acetone instead! Not only will this help remove it, but it’ll dehydrate your nail beds, allowing the polish to stick on longer.
Don’t Shake The Polish — Roll Instead
This tip caught me off guard. Don’t shake the bottle! It can lead to bubbles in the application. Instead, roll it in between your hands.
My grandma has always done this, and as a kid, I loved the sound the bottle would make against her rings. She truly is the epitome of an at-home mani queen.
Use A Sheer Color Below Bright Reds
I’m sure many of us can relate to wearing a dark nail color (usually red) and seeing a yellowish stain on the nail plate after removal. A great way to get around this is to use a sheer polish as your first coat! This separates your actual nail from the dark polish and helps eliminate the possibility of staining.
Wait At Least 5 Minutes After Each Coat
Whether you just put on primer or your second coat of polish, wait five to ten minutes before applying another coat on top. This will help avoid any smudging while painting and even chipping post-painting.
I like to spend that time painting my other hand and watching TV to pass the time!
Wait Until the Polish Is Dry Before Cleanup
Olive & June has a great cleanup brush that they sell. It was modeled after an eyeliner brush, so it’s small, thin, and dense. It’s such a good tool for beginners and makes it easy to remove any polish that gets on the skin.
She recommends waiting until the polish is fully dry before attempting cleanup. This is because it’s very likely that the brush will accidentally touch the actual nail, and you don’t want all your hard work to be smeared!
If the brush starts to fray, you could revive it using clippers to remove hairs from the sides and make it look brand new!
Apply Cuticle Serum AFTER Your Nails Dry
Sometimes, people like to apply cuticle oils or creams after they buff them (or cut them, which we now know we shouldn’t do!), so save that for your aftercare. Once the nails are completely dry, apply some lotion and cuticle serum to make your at-home mani look like you just left the salon!
I also love reapplying it throughout the day. That’ll help keep all those dry hangnails at bay as well!
I hope you’re feeling inspired to go and paint your nails! That’s exactly how I felt after hahaha. Let me know if you try out these tips & what you think!