Turning My Townhouse into a Townhome
This post may contain affiliate links. If you make a purchase, I earn a small commission at no extra cost to you. This helps keep my blog up and running! xo
Earlier this year, my boyfriend and I moved in together (yay!!), and after months of searching for the perfect apartment, we found a townhouse that we loved.
The first series I started over on TikTok after moving was of me “turning my townhouse into a townhome,” and so far, we have eight parts up and counting! So in today’s post, I’m breaking each one down with links in case you want to decorate your home in a similar fashion!
This is a quick before & after!
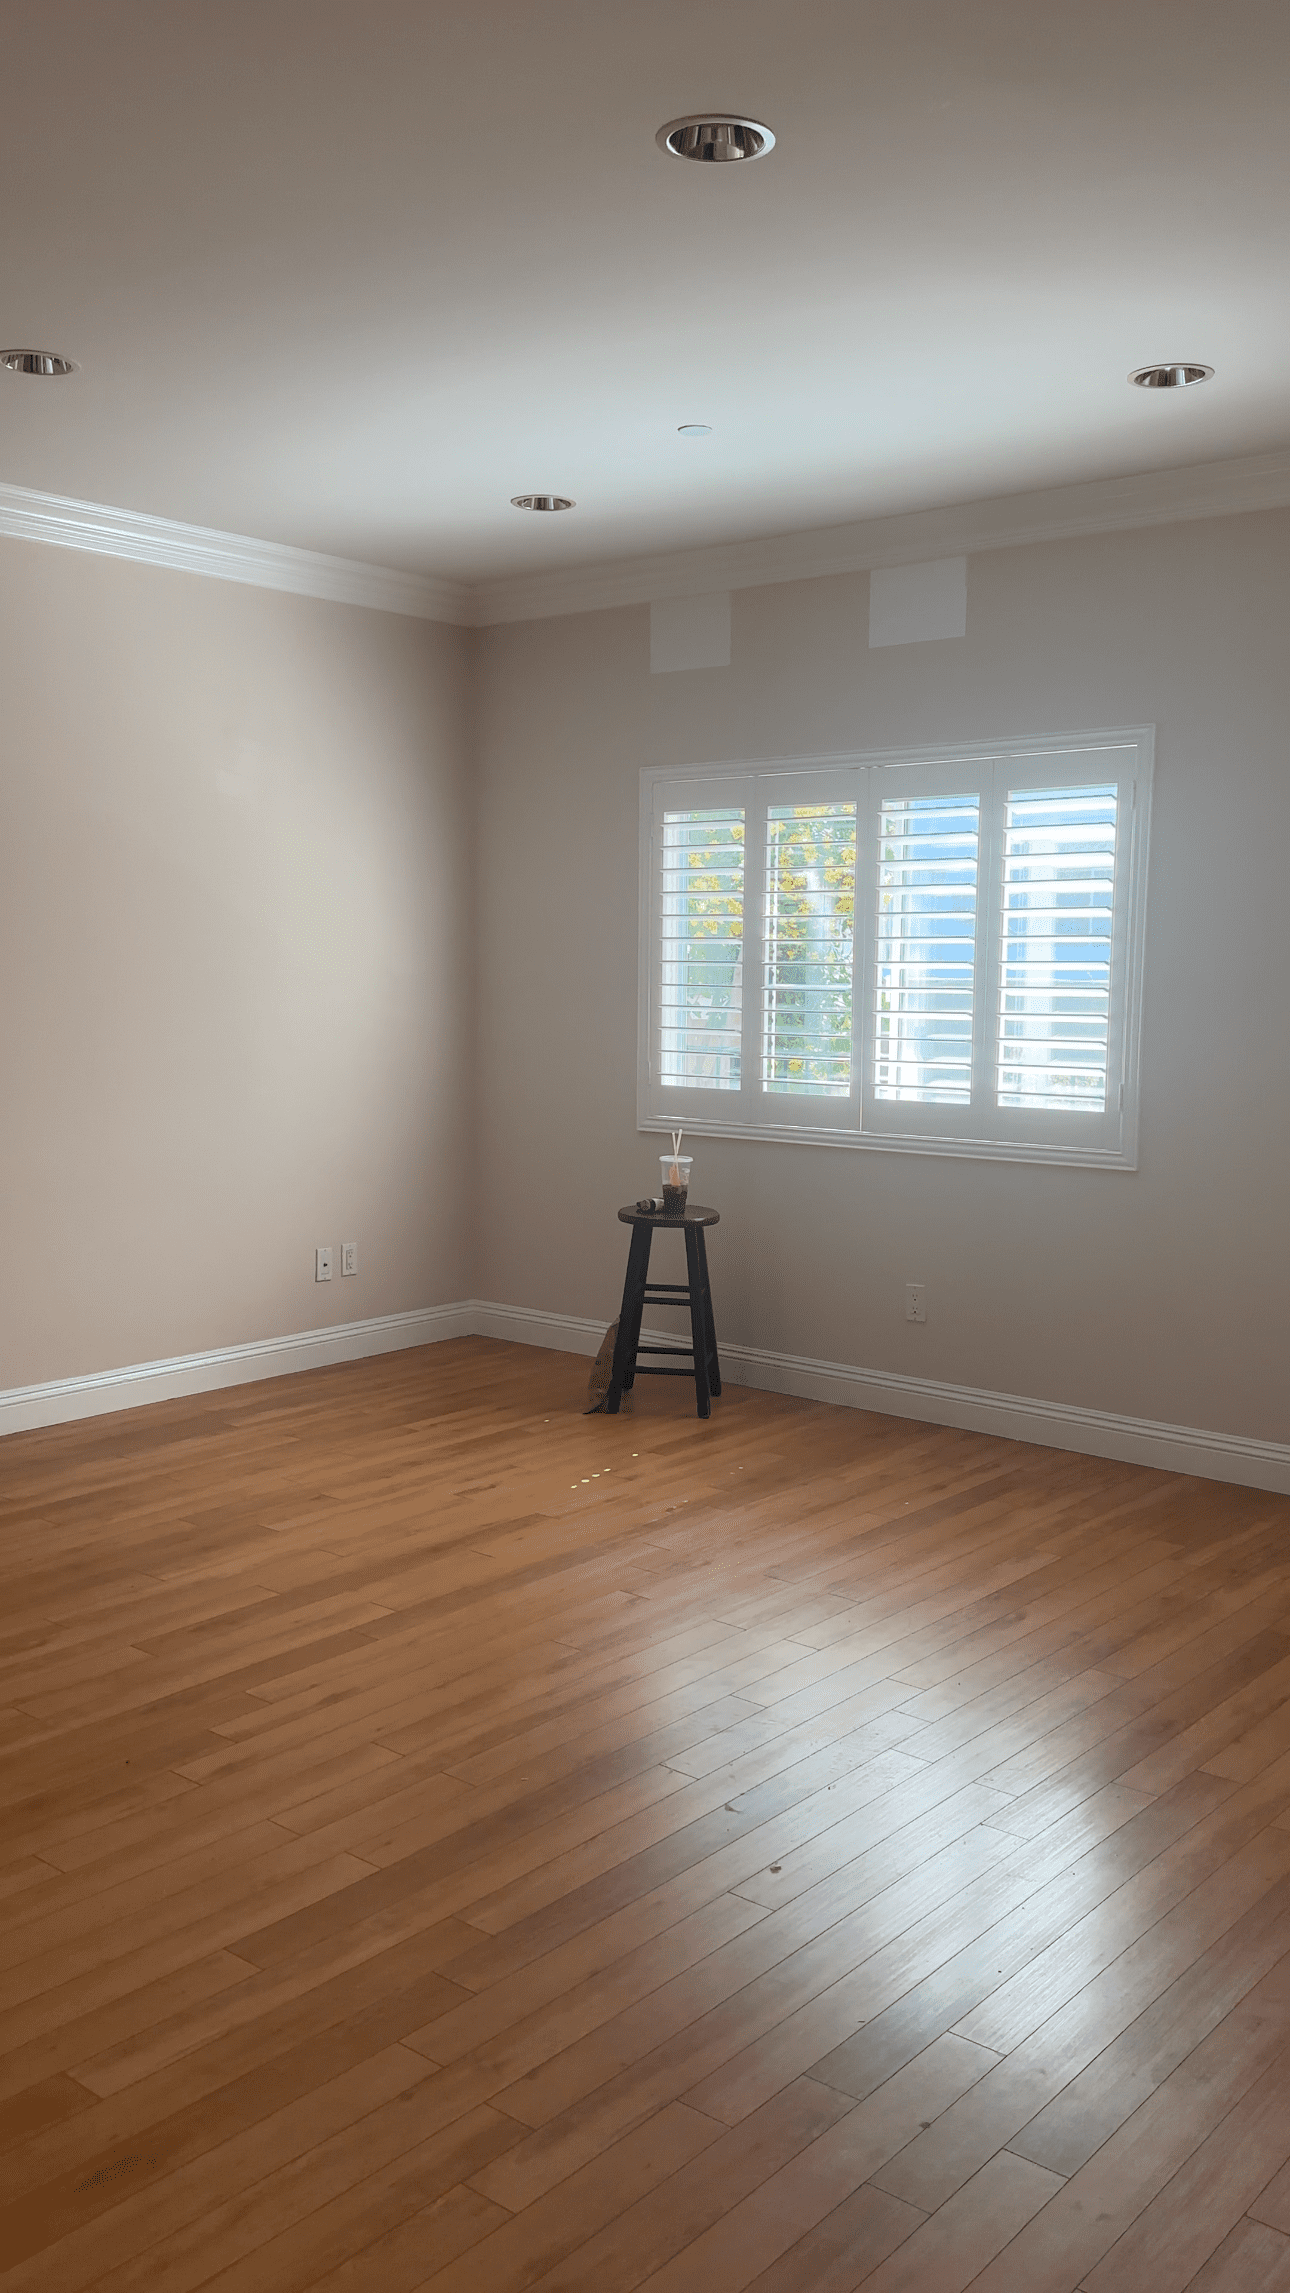
Part 1 – Paint & Coffee Table
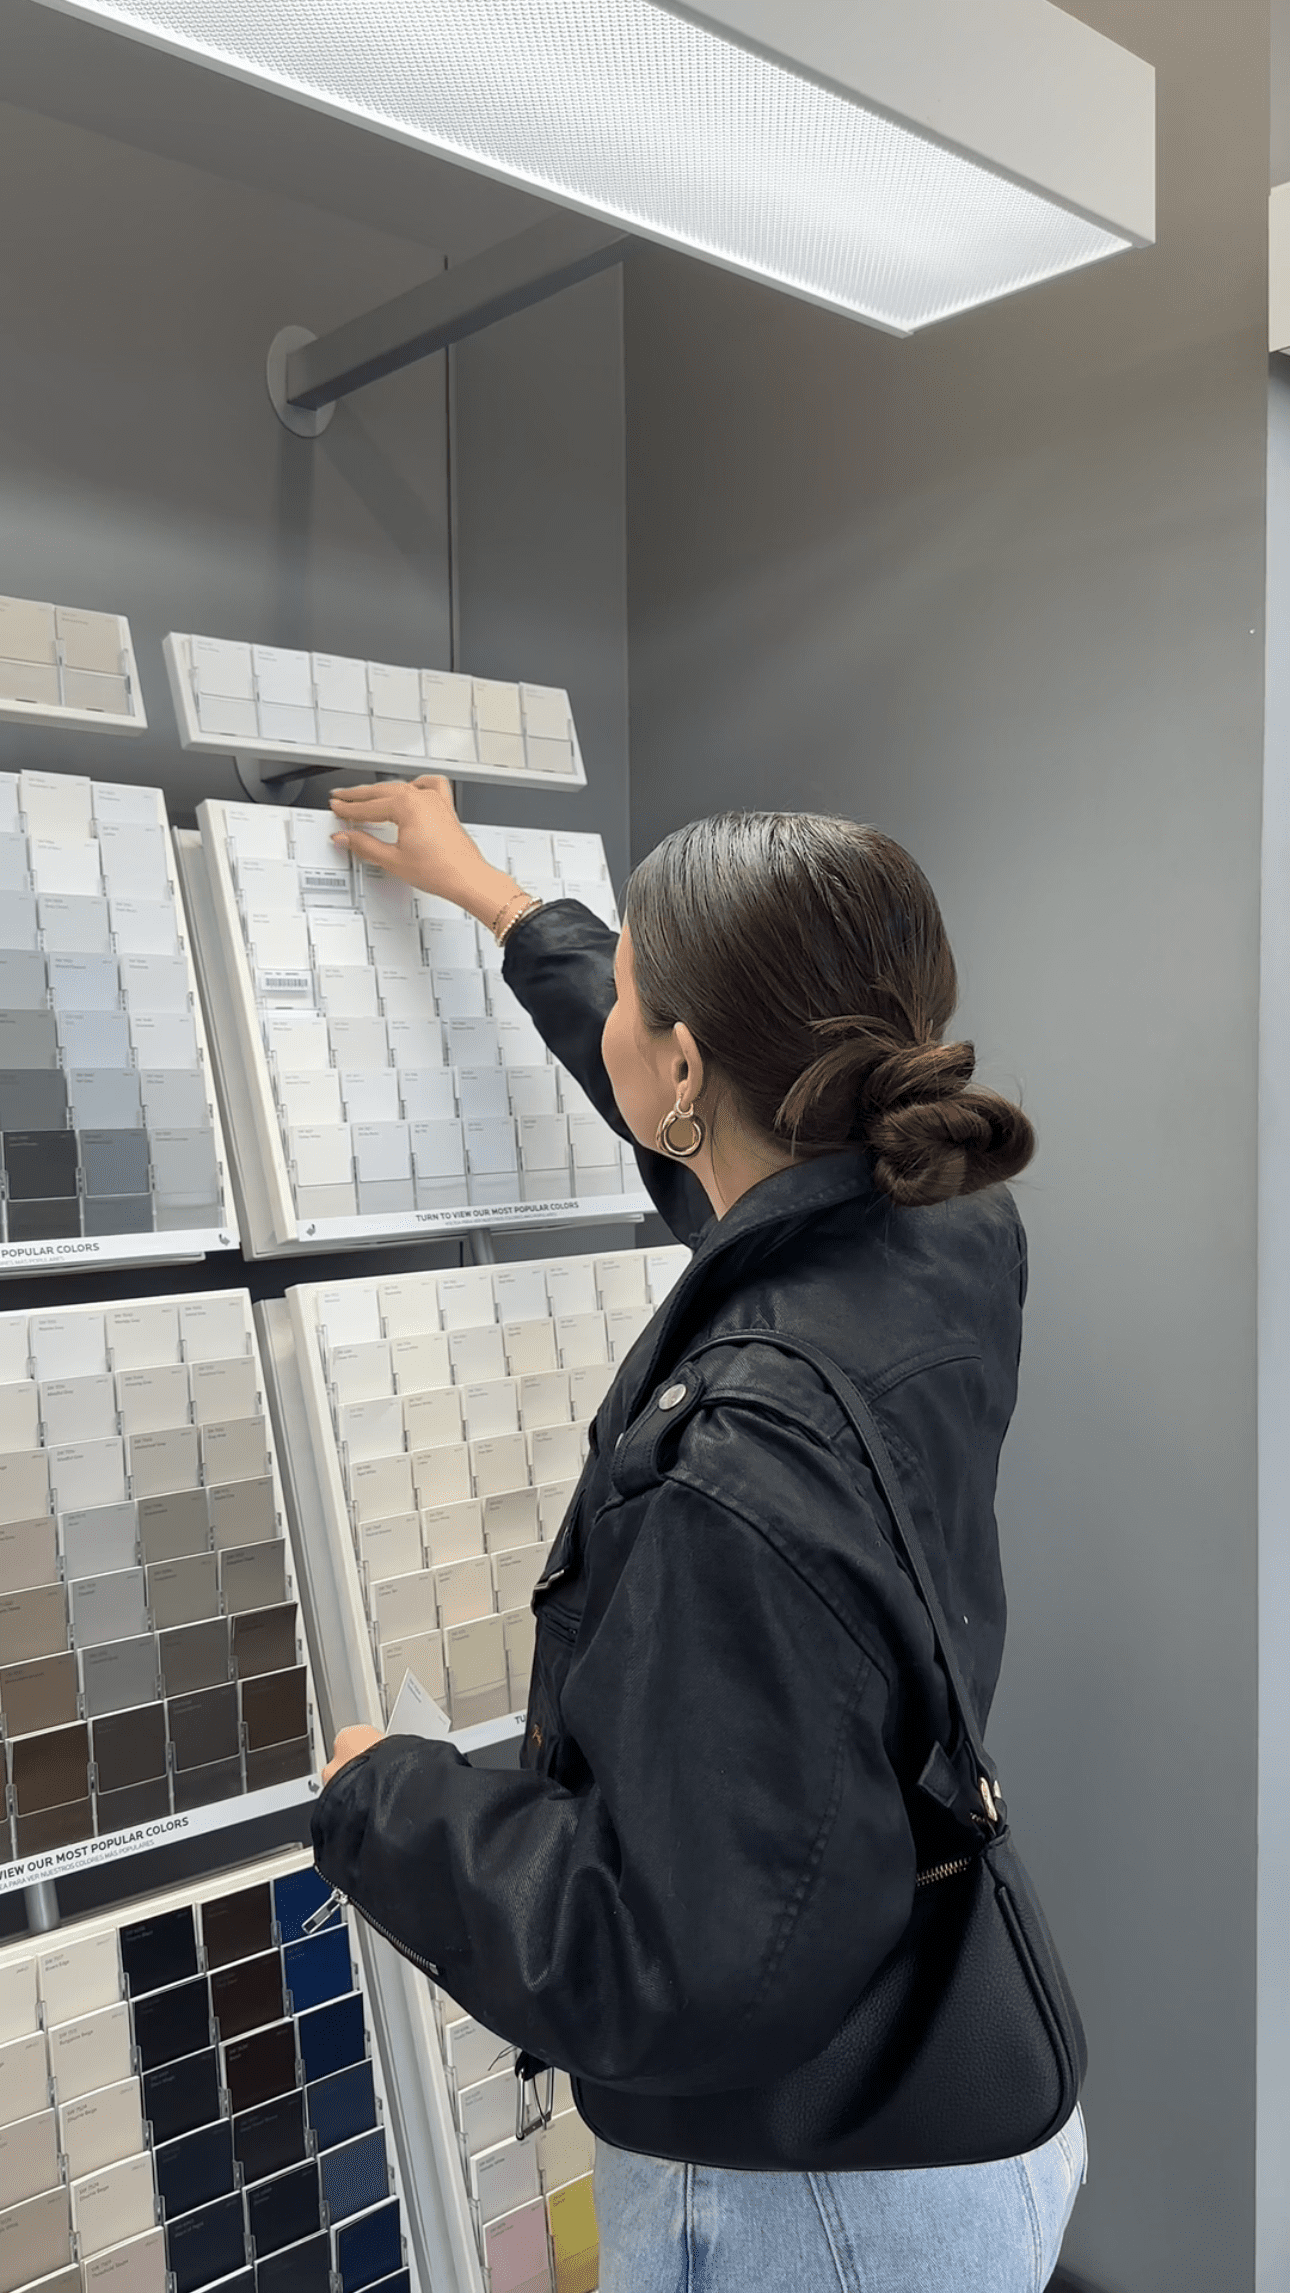
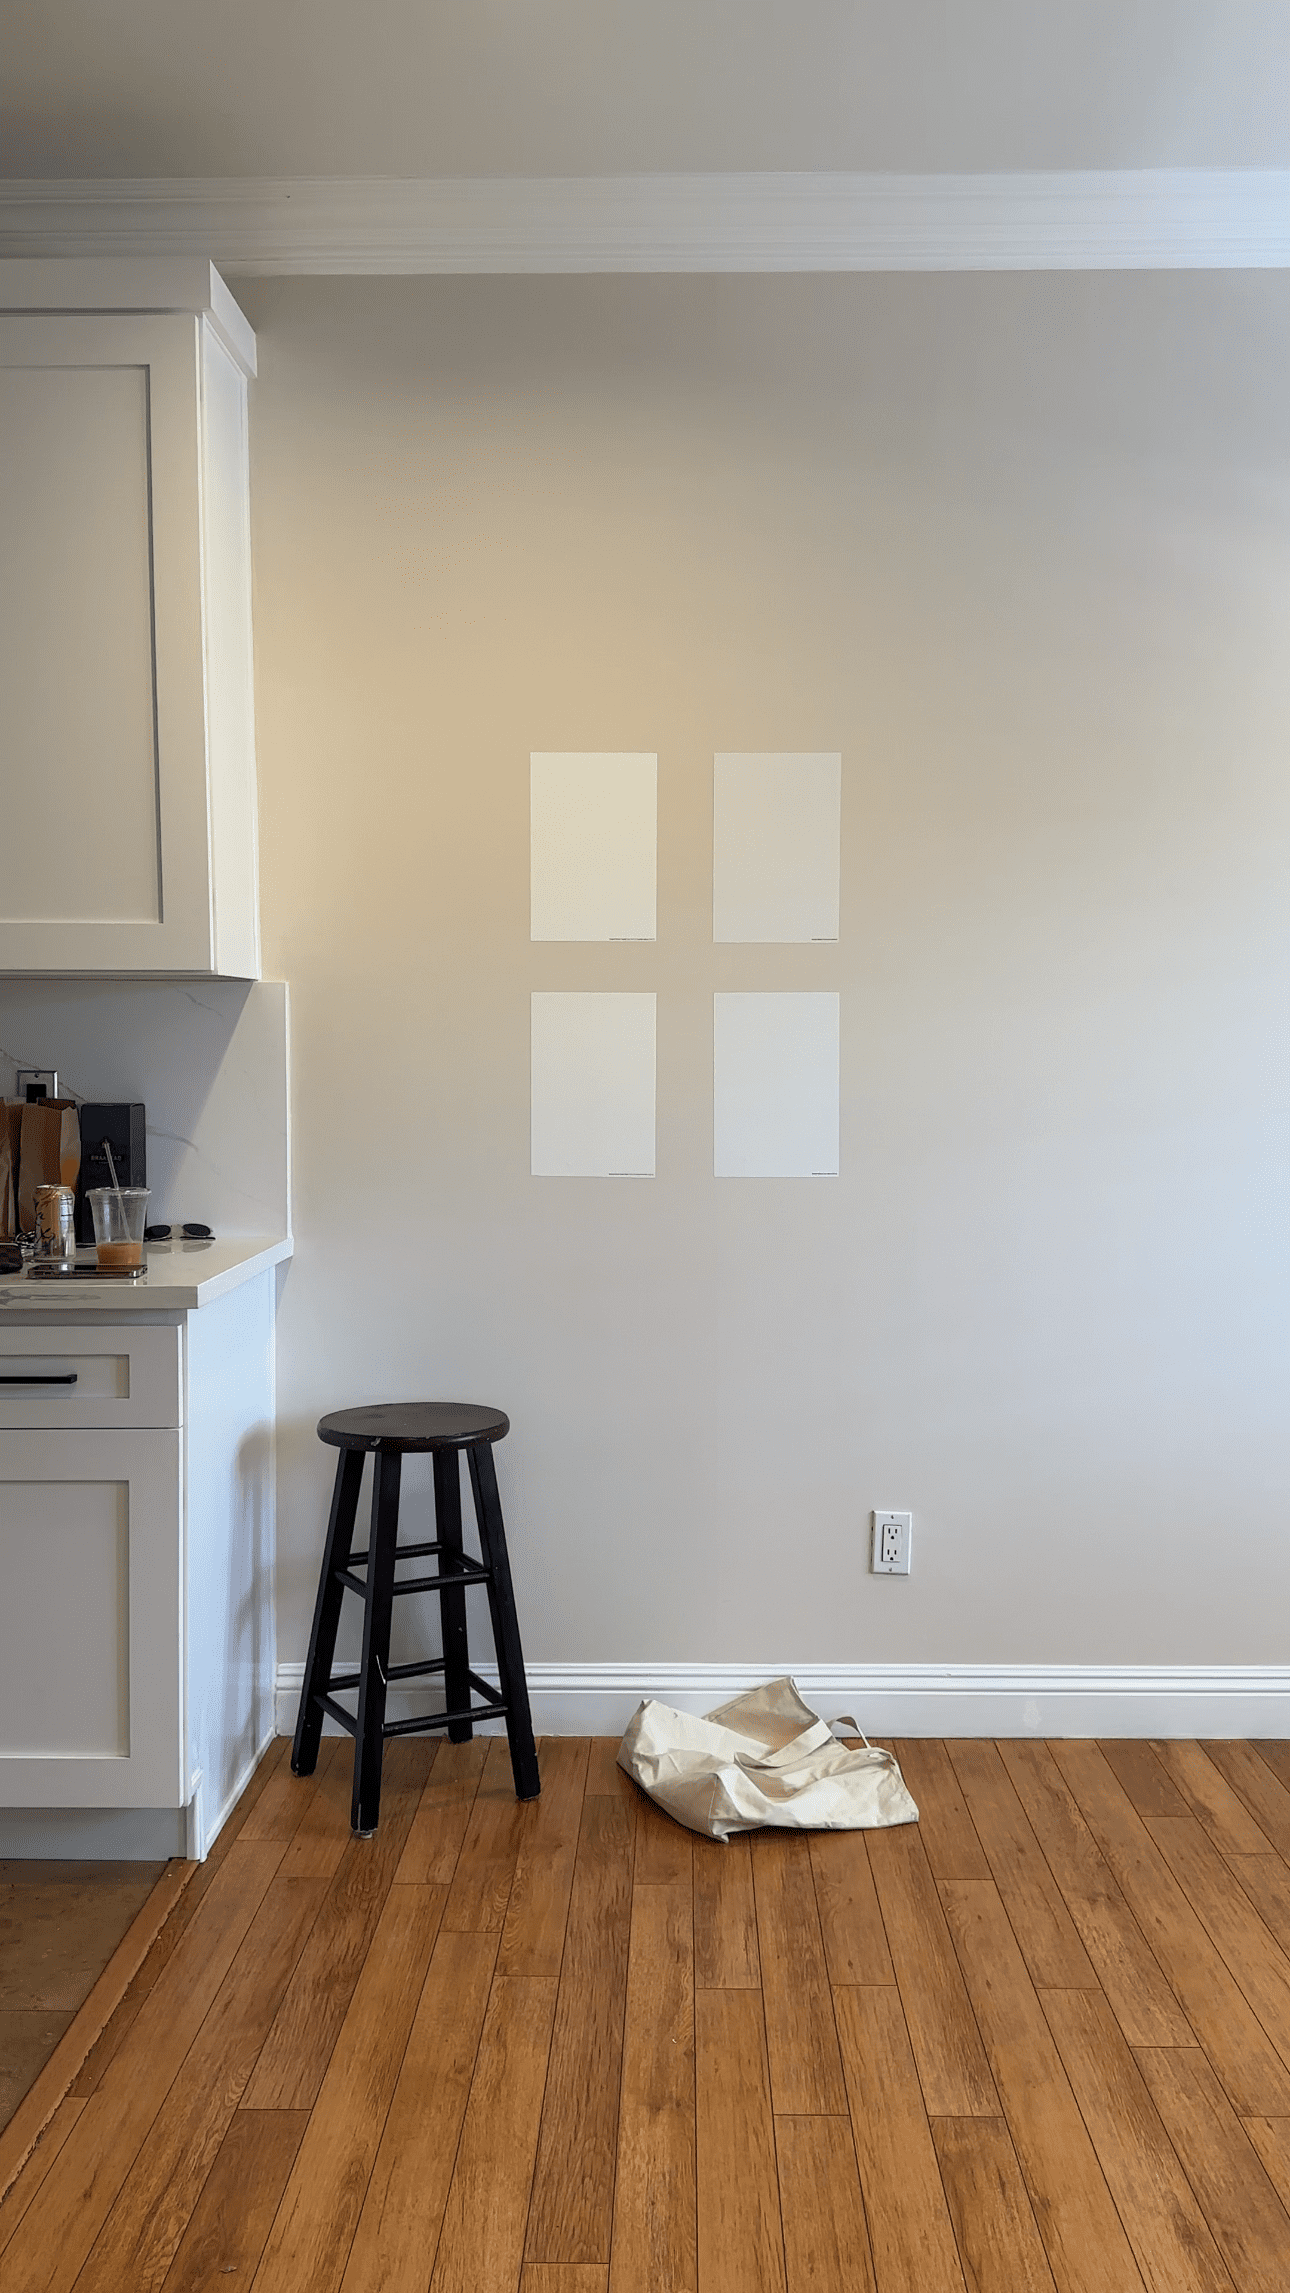
As soon as we got the keys to our new home, the first order of business was to paint everything white. Controversial, I know…The walls were initially a light brown, and I really wanted the space to feel brighter, so after a lot of back and forth, we picked out the color “Snowbound” by Sherwin Williams. I loved using Samplize, which is what you see in the middle image above! They’re huge peel & stick color swatches so that you can move them around from room to room without the mess. Obsessed with that invention; it made the painting process so much easier.
When we finally picked the color, I started reaching out to multiple painters in our area, and the first one quoted us $12,000…. to which I said… WHAT?! Because that’s not even the slightest bit within our budget. Then the last painter we spoke with quoted us $1,200! So I definitely recommend talking to various painters in your area because it saved us a pretty penny.
After painting, I was a little nervous we had picked the wrong color because it was pulling much more violet in certain corners, but I’ve grown to love it. And when the sun shines in, it warms the whole place up! But keep in mind that this color looks SO different in different lighting. We painted the bedroom the same color, and it looks nearly pink sometimes. So weird!
Once everything was dry, it was time to move in! I had decided I wanted to start fresh with the decor in this new space, so I only brought in my old couch. Everything else (for the most part) is brand new!
One of the pieces I get the most questions about is our living room rug. Unfortunately, it was an in-store find from Costco, and I went back last week, and they don’t seem to sell it anymore. I’ll keep an eye on it, but I’d recommend going to your local store to see what’s in stock.
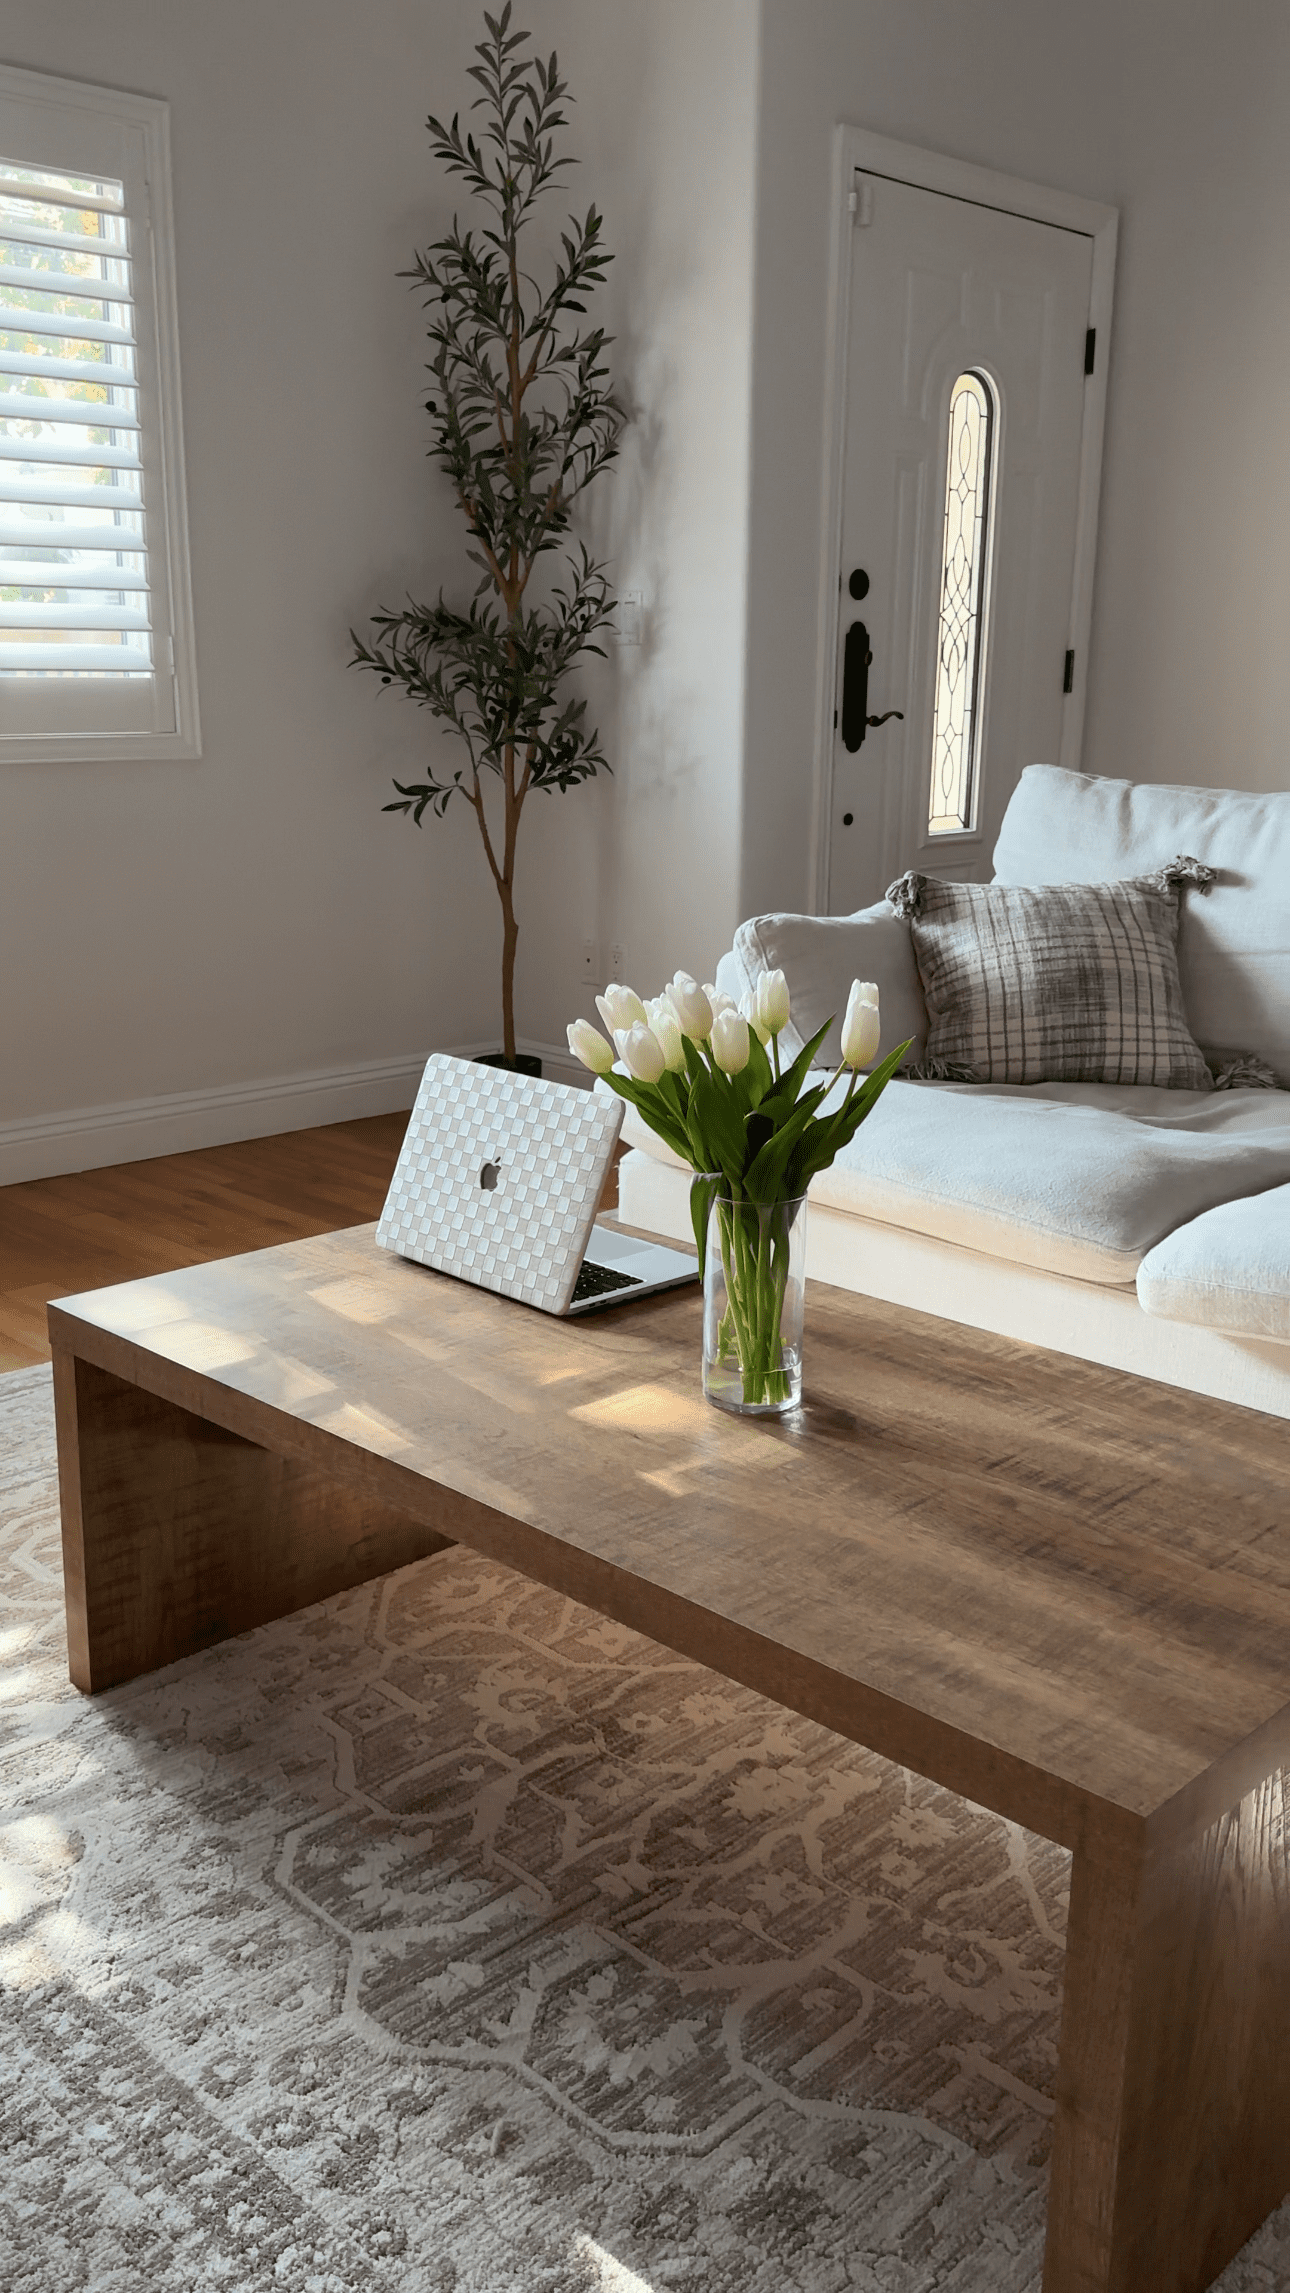
Finally, in part one, I also shared one of my favorite Amazon finds of all time. This wooden coffee table is gorgeous! It’s exactly the style I was looking for, and considering its quality, it’s very affordable. I’ve had it for five months now, and it still looks brand new! We do use coasters when setting down cups, but on the off chance that we don’t, there aren’t any ring marks yet. It keeps selling out, though, so run, don’t walk!
Part 2 – Accent Chair
Moving on to video #2! So far, we have a rug, a coffee table, and a couch. Since I can’t make up my mind on what type of TV console I want to get, our focus in part 2 is on the really cute accent chairs that I got from Amazon. I normally don’t opt for a mid-century modern look, but these caught my eye, and I had to have them!
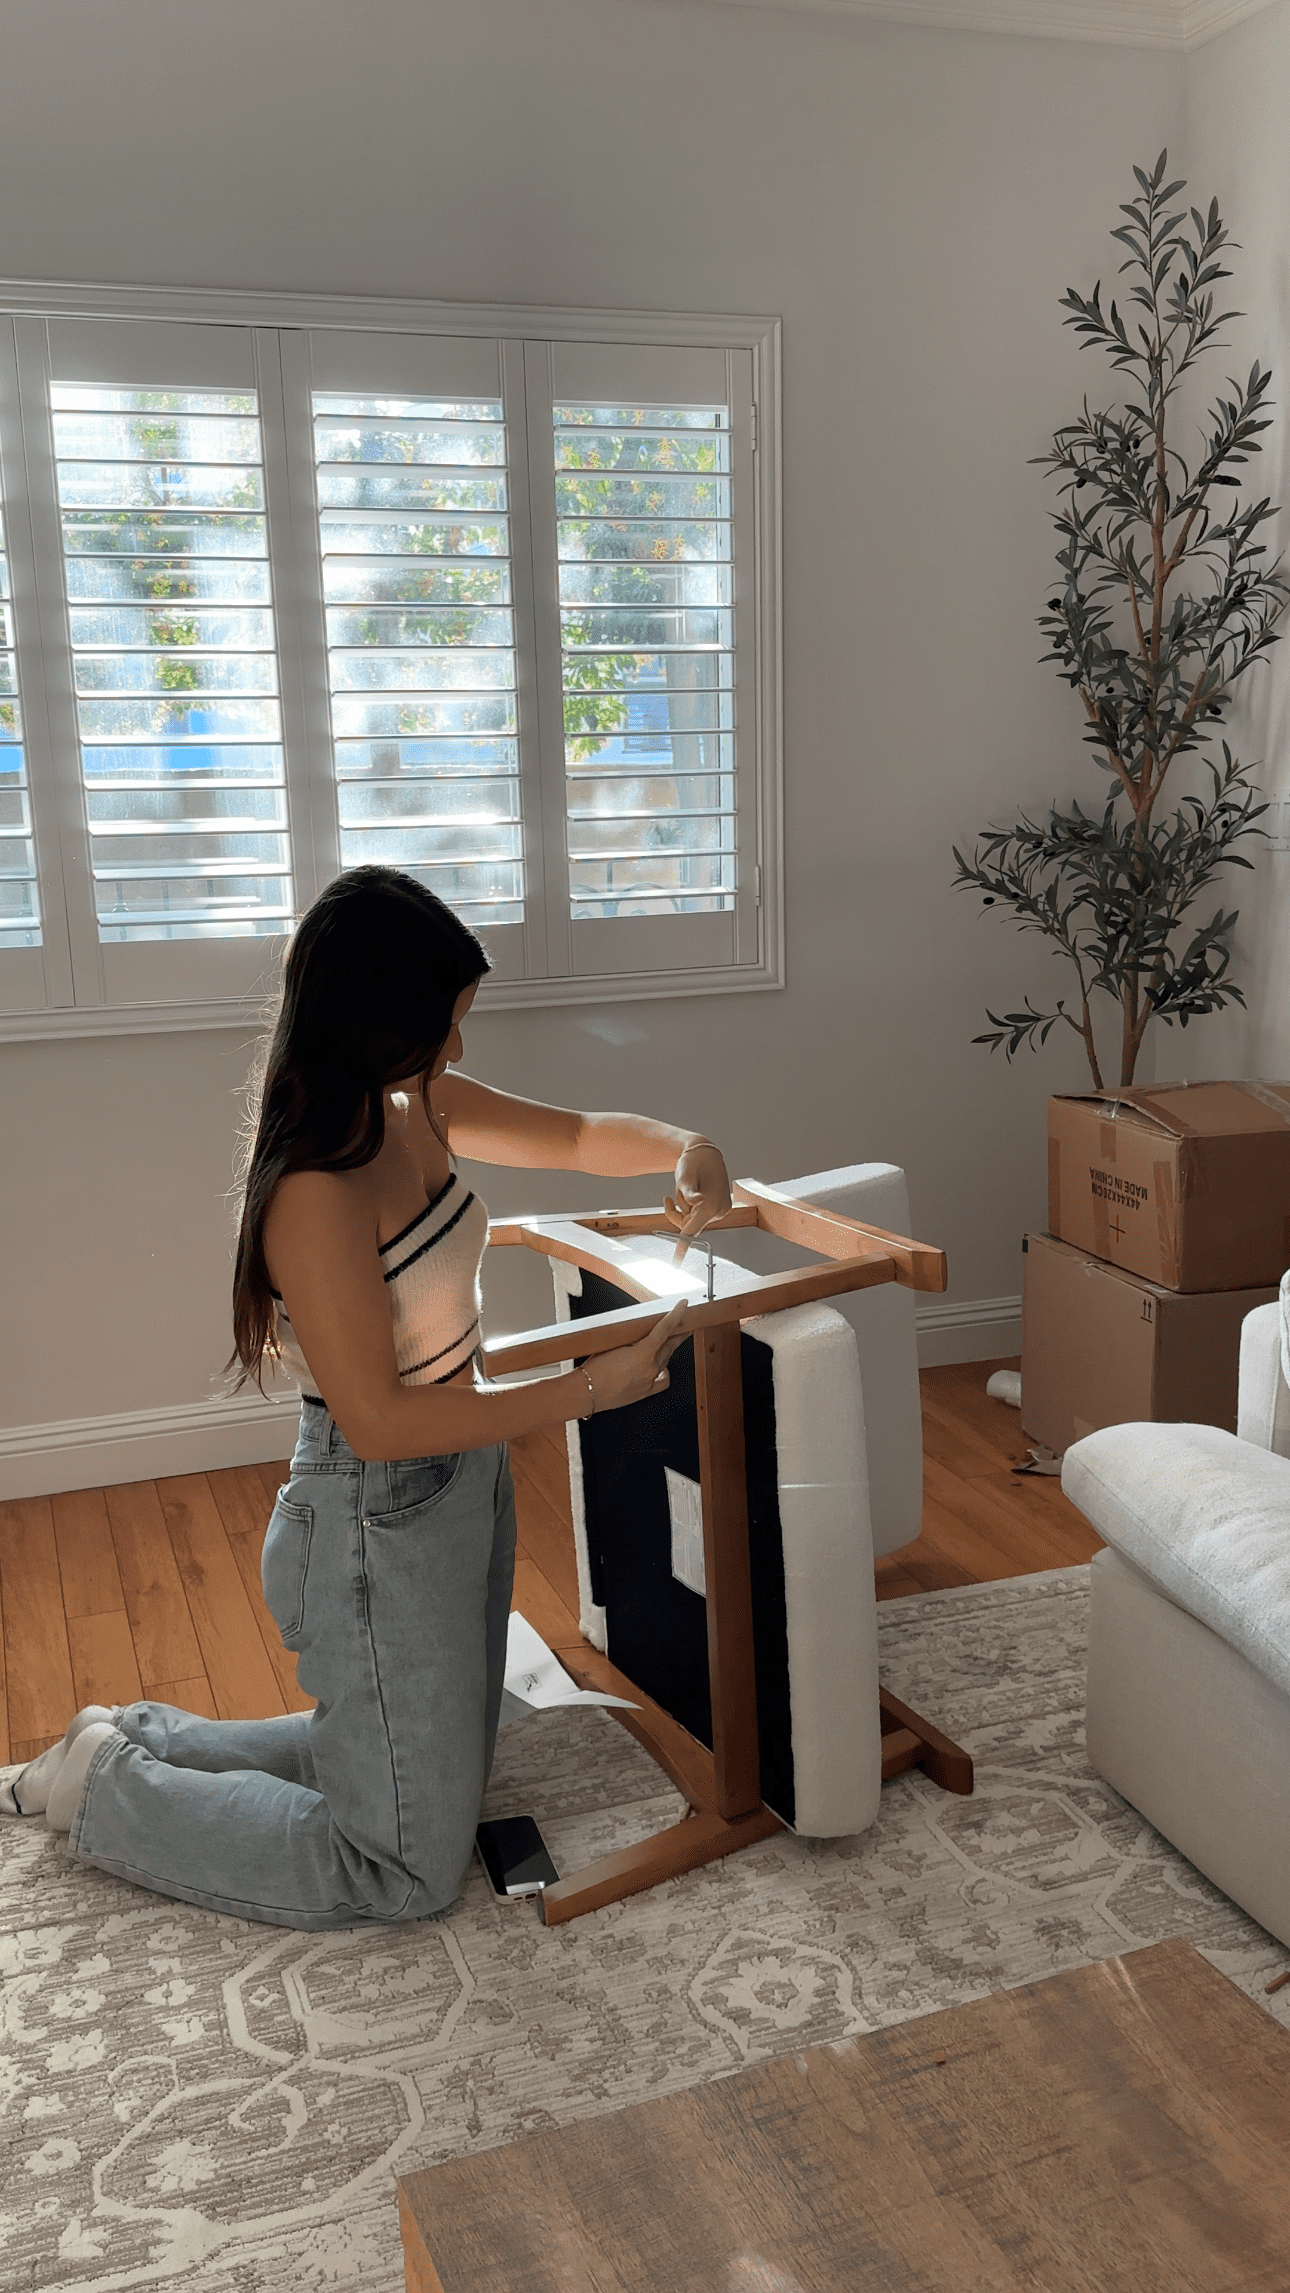
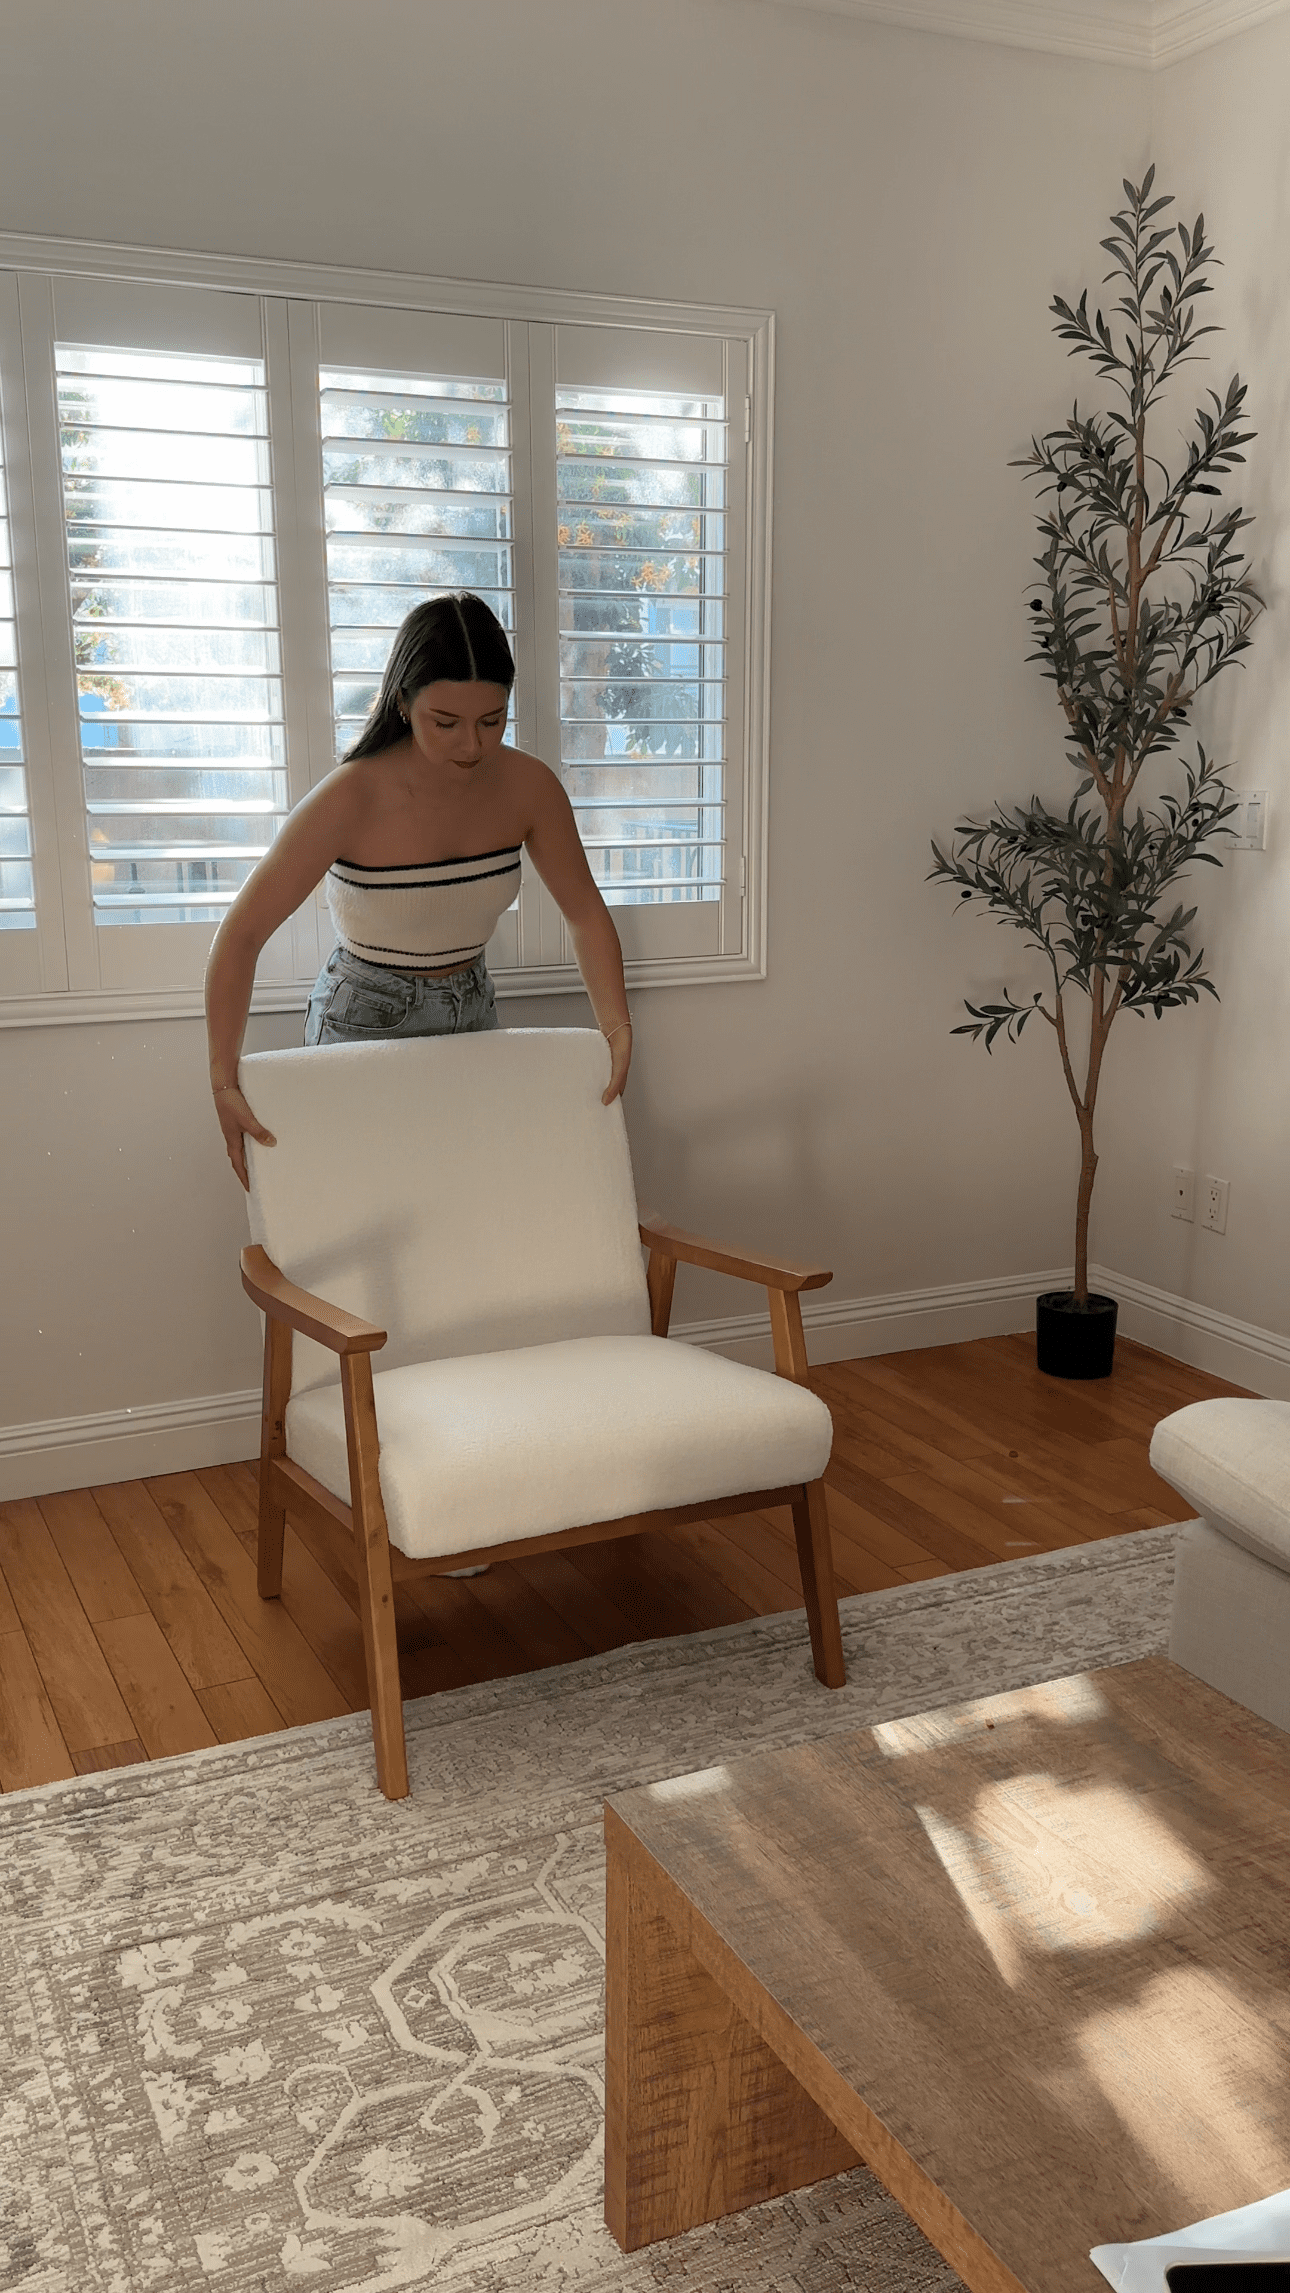
As simple as this chair may seem, it took me an embarrassingly long time to put it together, but after a very frustrating hour, we got it done! Listening to The Toast was the only thing getting me through.
The price does fluctuate on this chair for some reason — I’ve seen it listed on Amazon for $130 with no shipping, as well as $99 with $20 shipping. It ends up being almost the same thing, but just something to keep in mind!
When planning out the living room, I had envisioned having two reading chairs side by side, so I originally ordered two, but one got lost in the mail. Looking back, it may have been a blessing in disguise because two might have overcrowded the space. And I know what you’re thinking, no, I didn’t measure the space beforehand, why would I do that?
Lesson learned.
Another option would be to put the extra chair on the other side of the coffee table to close off the conversation area. What do you think? I just want to ensure that the space feels inviting and cozy! Would closing off the space have the opposite effect?
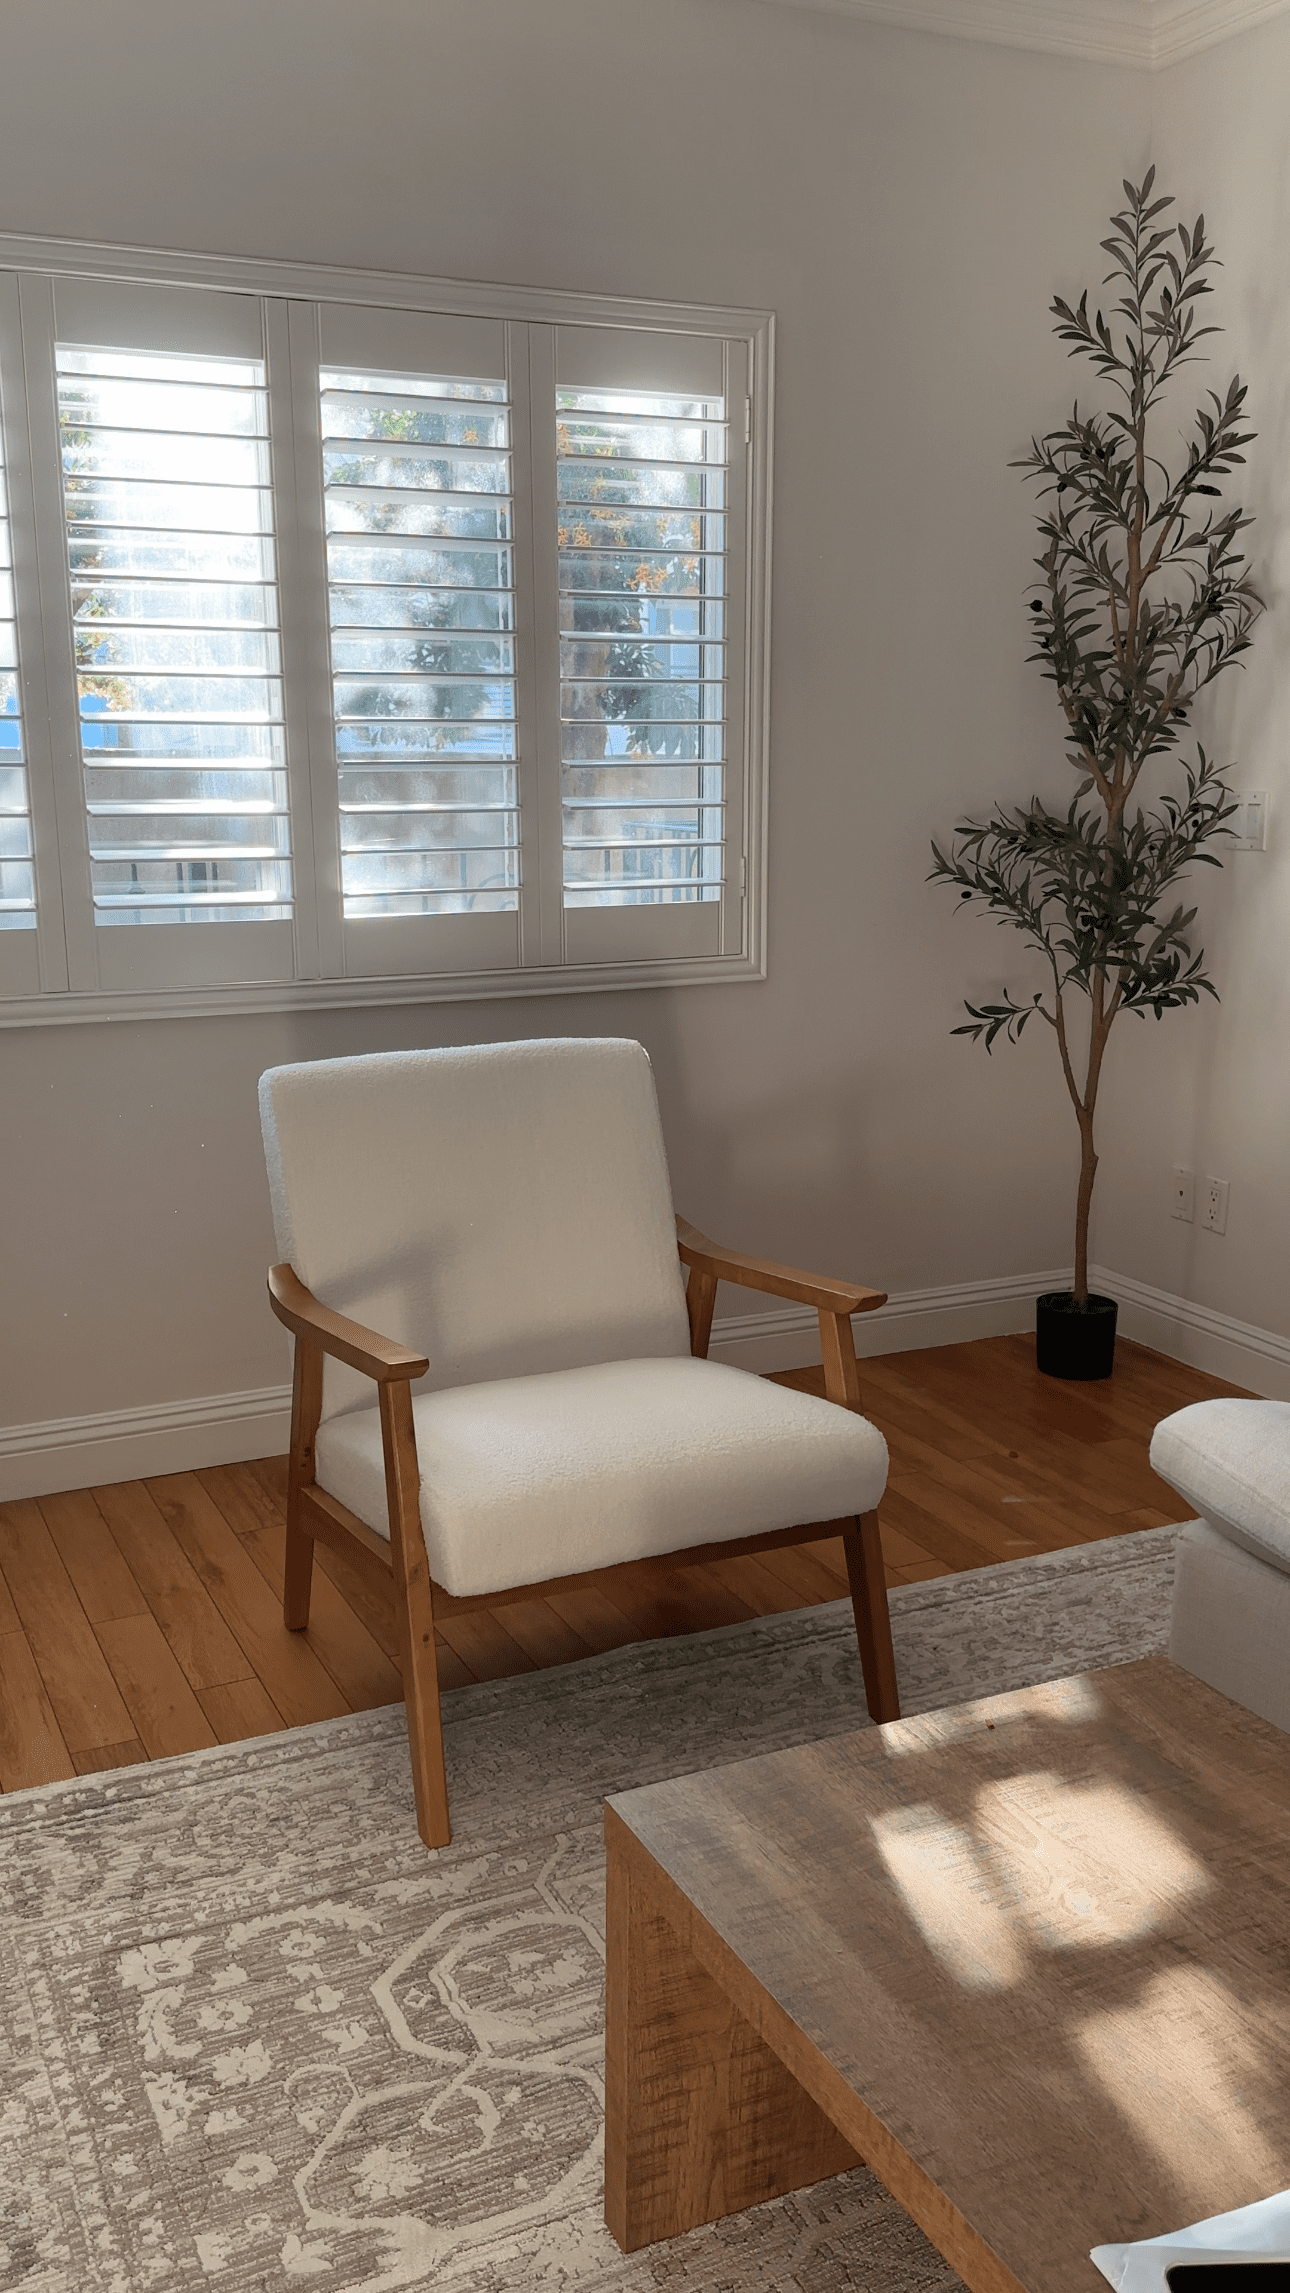
As for comfort, I love sitting on this chair. It’s firm but comfortable, so if you like firm mattresses, you’re going to love it. I don’t know if this is just me, but sometimes the couch is just too mushy! The color also goes really nicely with our hardwood floors.
I know we’re only on day two of this video series, but the difference this one chair made is so exciting! I can’t wait to see it all slowly come together! Sometimes, it’s the smaller details that help a room really come together and make a house feel like a home. 🙂
If you want to get more home decor updates, make sure to follow along on TikTok since that’s the first place all of my home-related content appears!
Part 3 – Entryway
Day 3! We’ve already given our living room quite the facelift, a fresh coat of paint, and some new furniture, and it is really feeling comfy and cozy! I literally walked down the stairs yesterday and was like, “Oh my god, it’s happening!!” We now have a couch, a coffee table, a rug, and an accent chair.
I did get a few comments saying that the couch was too small, but we will have to talk about that later because I cannot mentally handle the challenge of couch shopping right now. I am too emotionally vulnerable.
We still don’t have a TV console because we don’t like anything within our price range—after all, your girl (and her man) has expensive taste. So I decided to tackle the entryway instead because why not? Right when you walk in, you’re greeted with the stairs to your left and a wall directly in front of you. So let’s zhuzh it up!
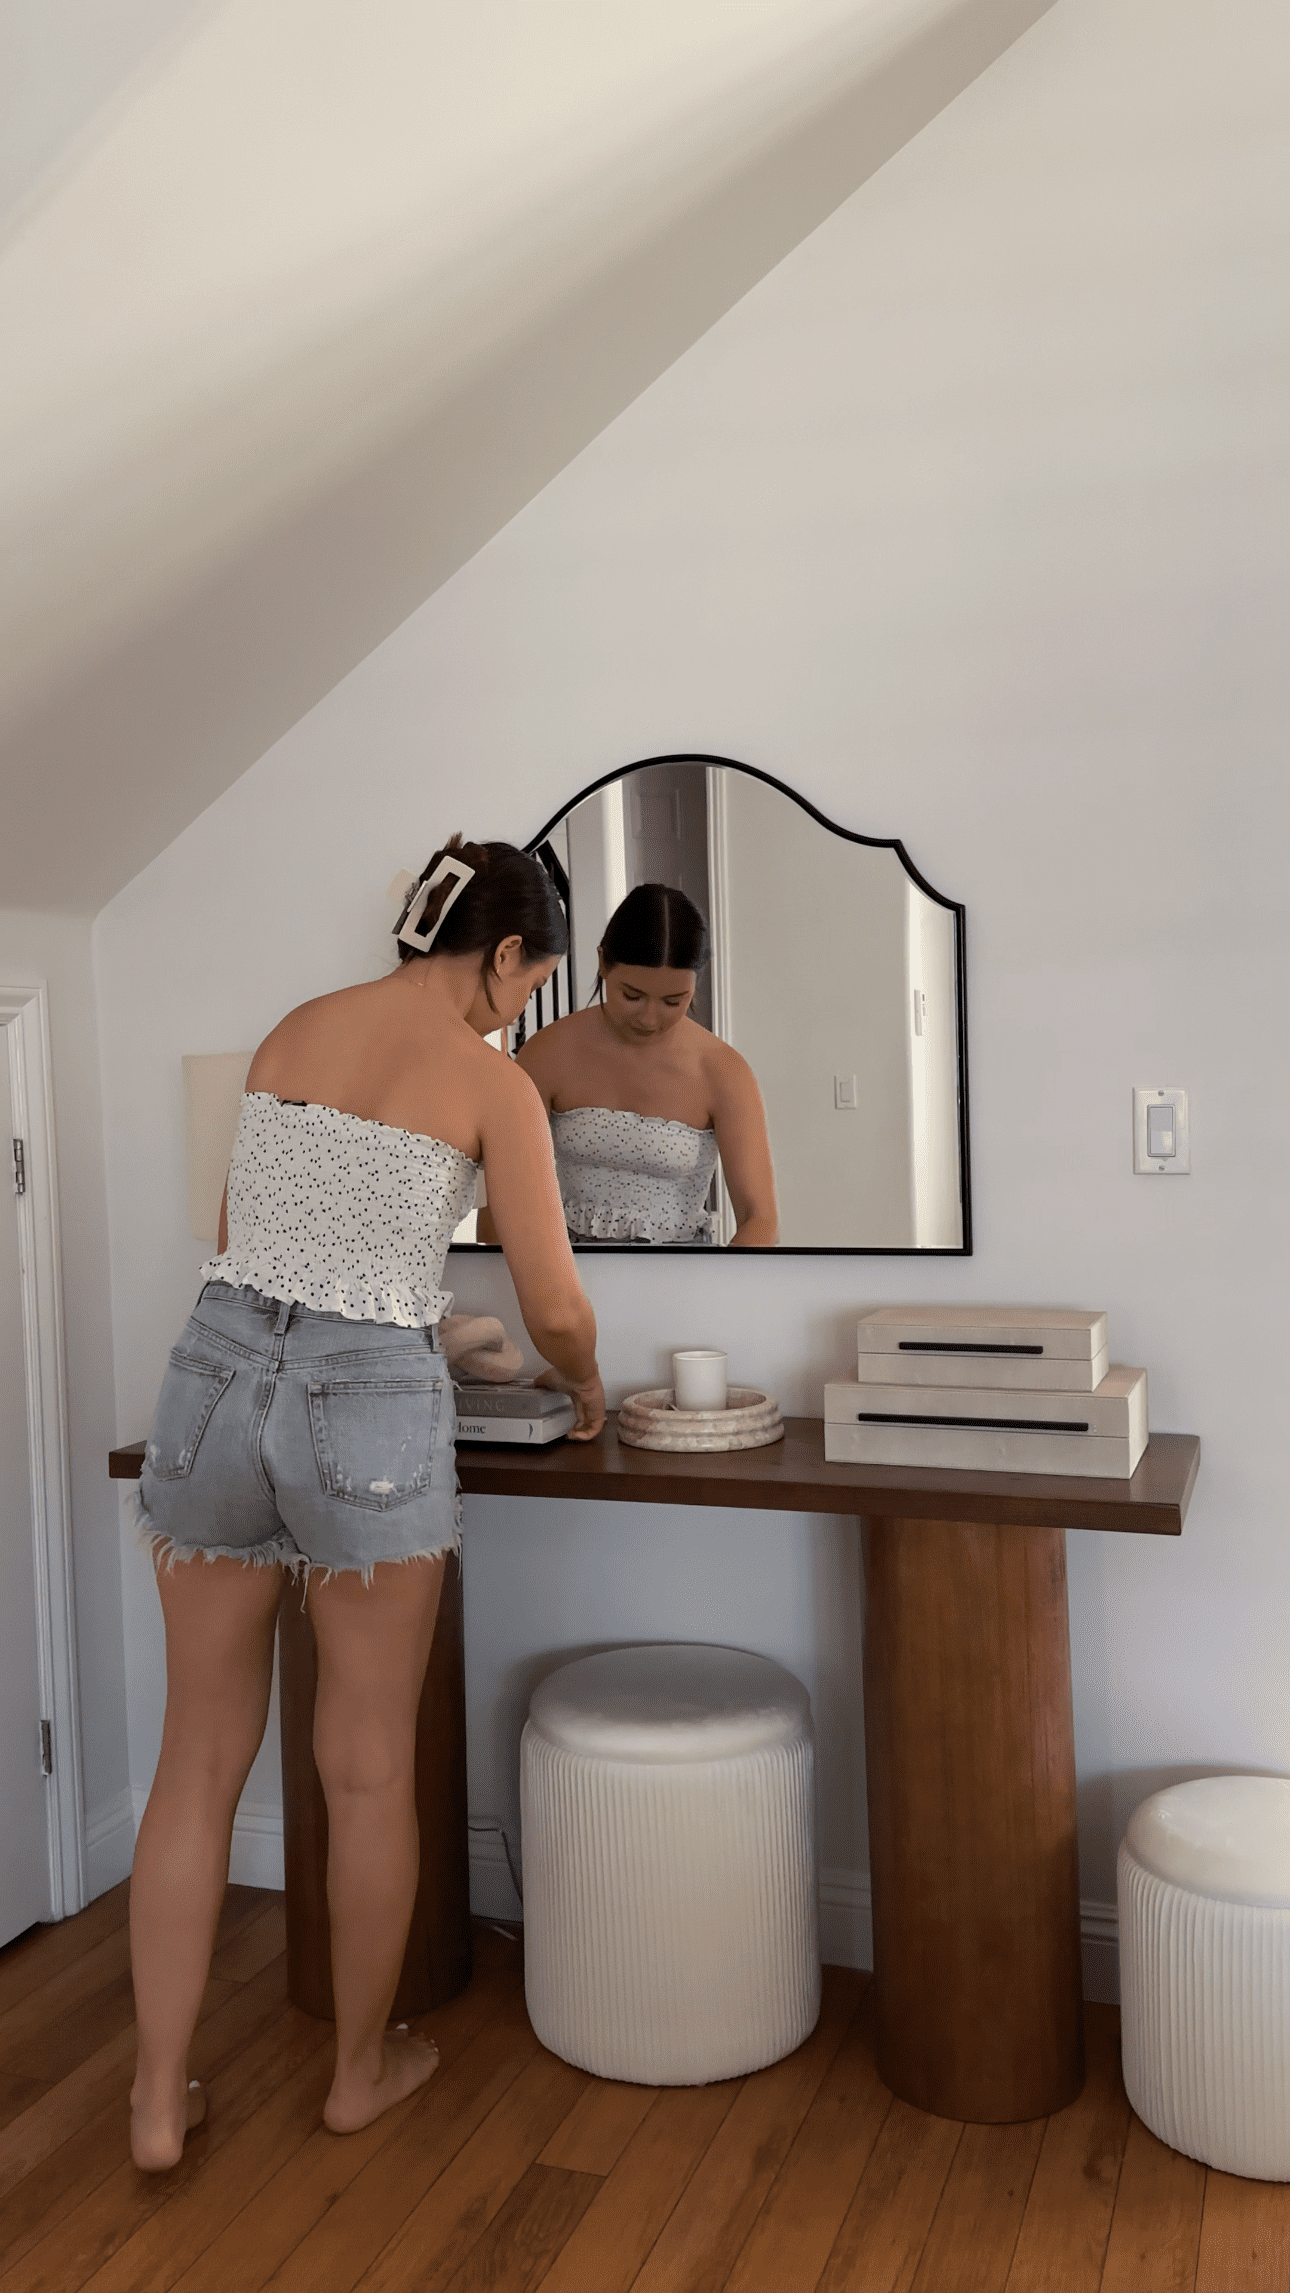

I initially got this table from Amazon, but it wasn’t giving what I wanted it to give. It was just too thin and boring, quite frankly. So I went on LTK, shopped around, and found this beauty (pictured above).
Now, to be fair, this second console table was four times the price of the other one, but we have to make sacrifices sometimes. Thankfully, it was only three pieces, and she was up and running in about 10 minutes! Not to mention, I got overnight shipping from Walmart, so I’m happy.
In this apartment, I’m going for more of an organic, modern style, so I’m looking for minimal black accents throughout, and the details on this black mirror are gorgeous. It’s a little smaller than I was hoping for, but she’s going to have to do for now.
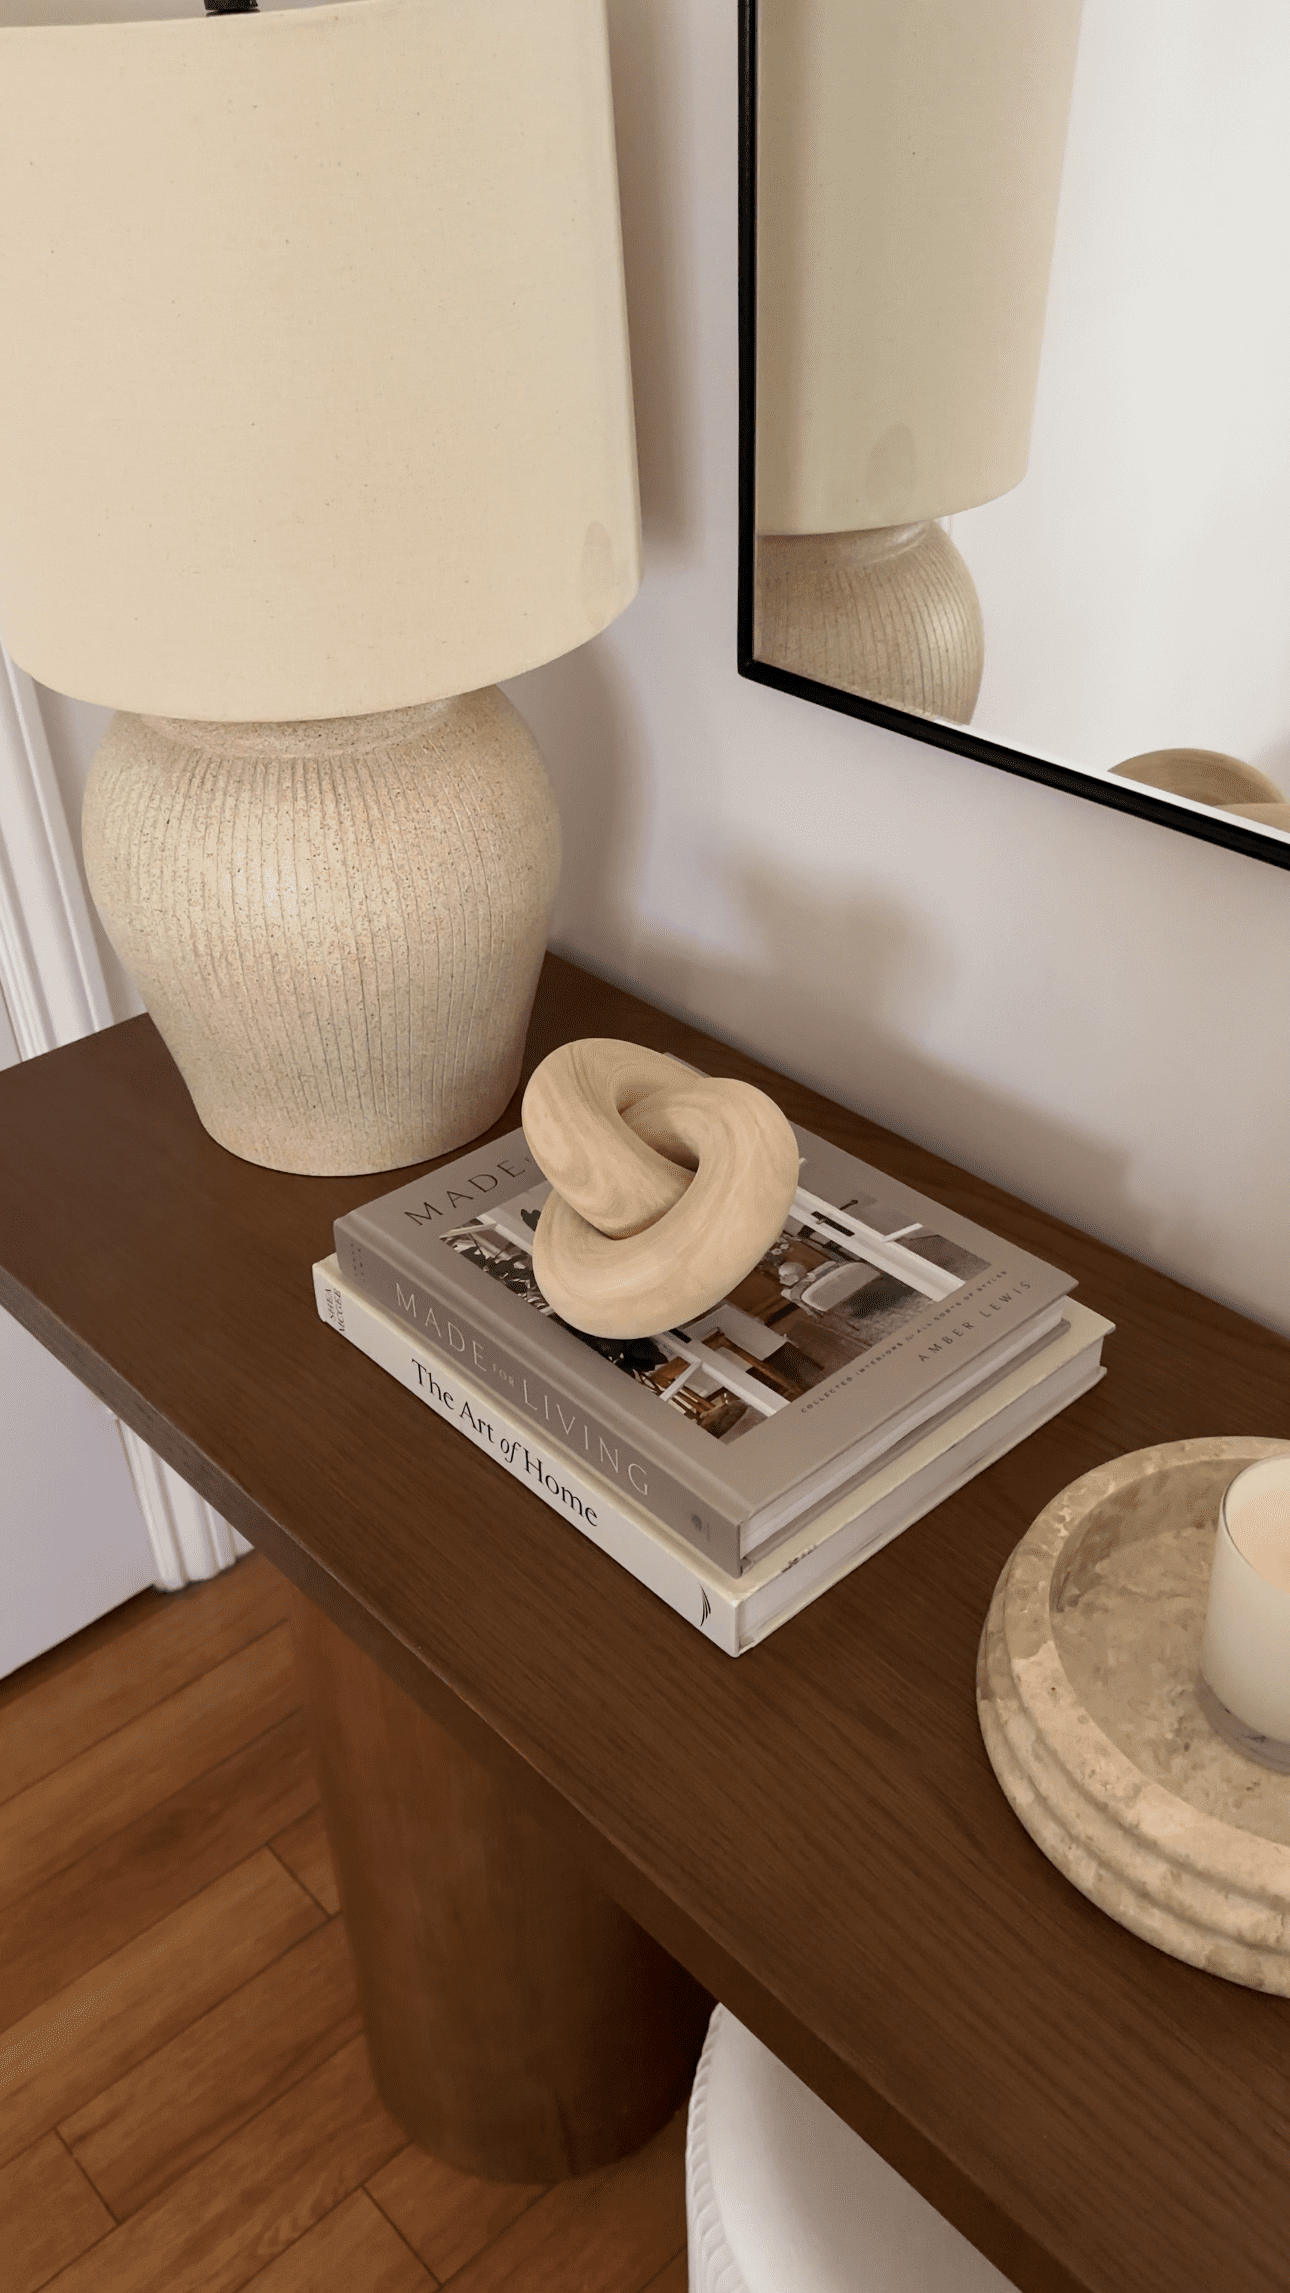
My favorite part was sourcing all of the details and tabletop decor (linking everything here)! The lamp is from Walmart, the ottomans, decorative boxes, books and wooden chain accessory are from Amazon, and the tray is from Target.
As always, I’ll have everything linked in my LTK and my storefront.
Every time I move, I forget how overwhelming it can be to source new products and decorate while everything is simultaneously a mess, so this is taking me much longer than expected! However, this one-day project helped me gain some confidence, so hopefully, I can pick up some speed with the following parts of the series.
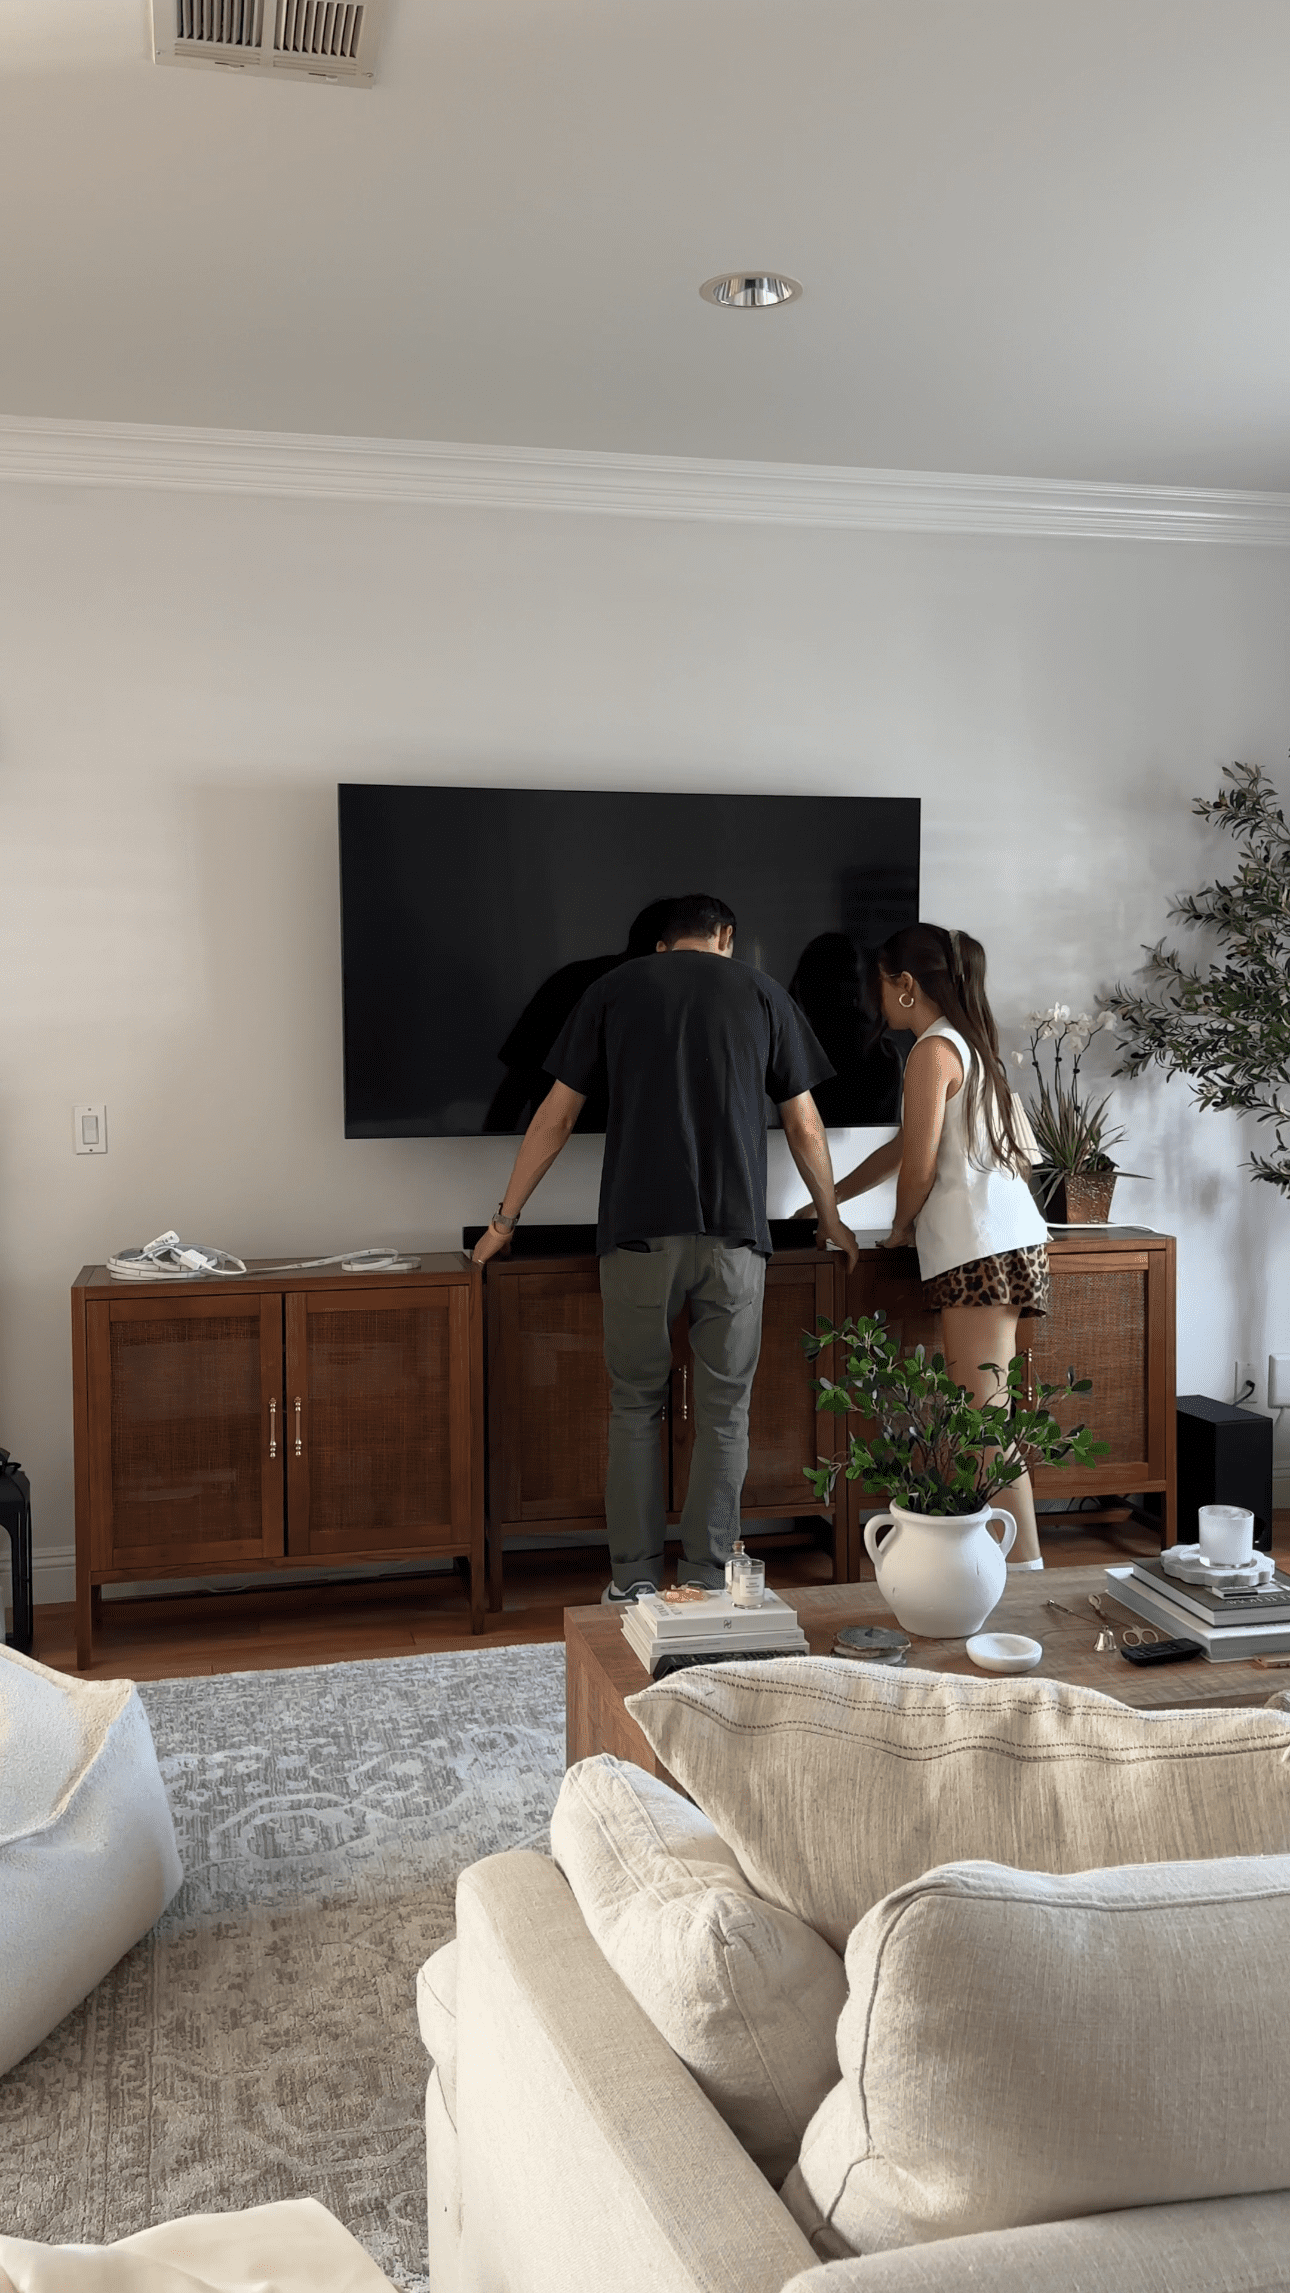
Part 4 – TV Console
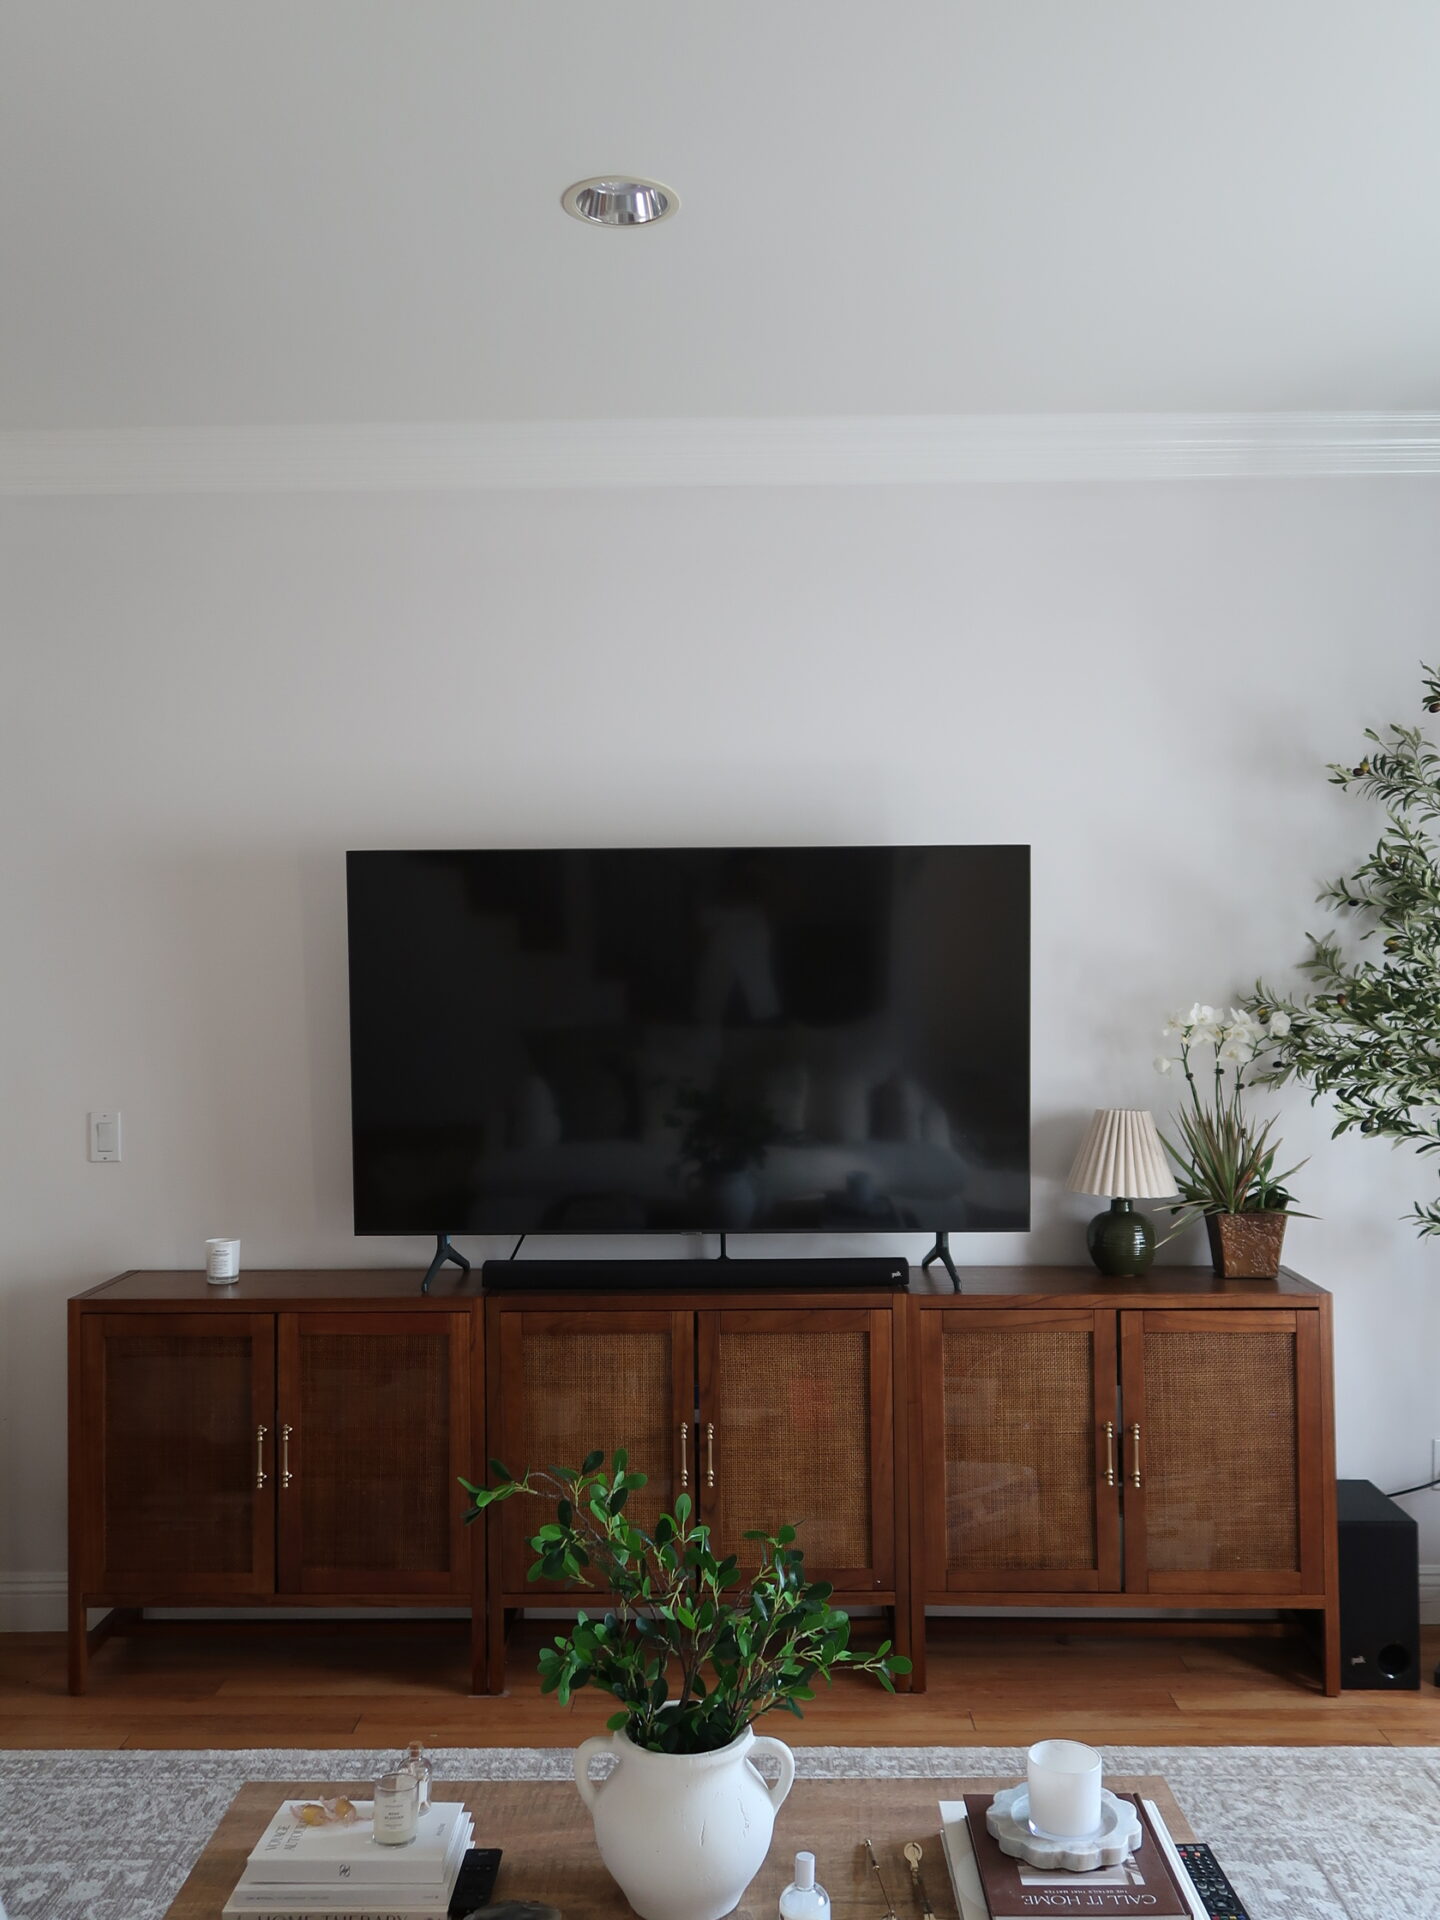
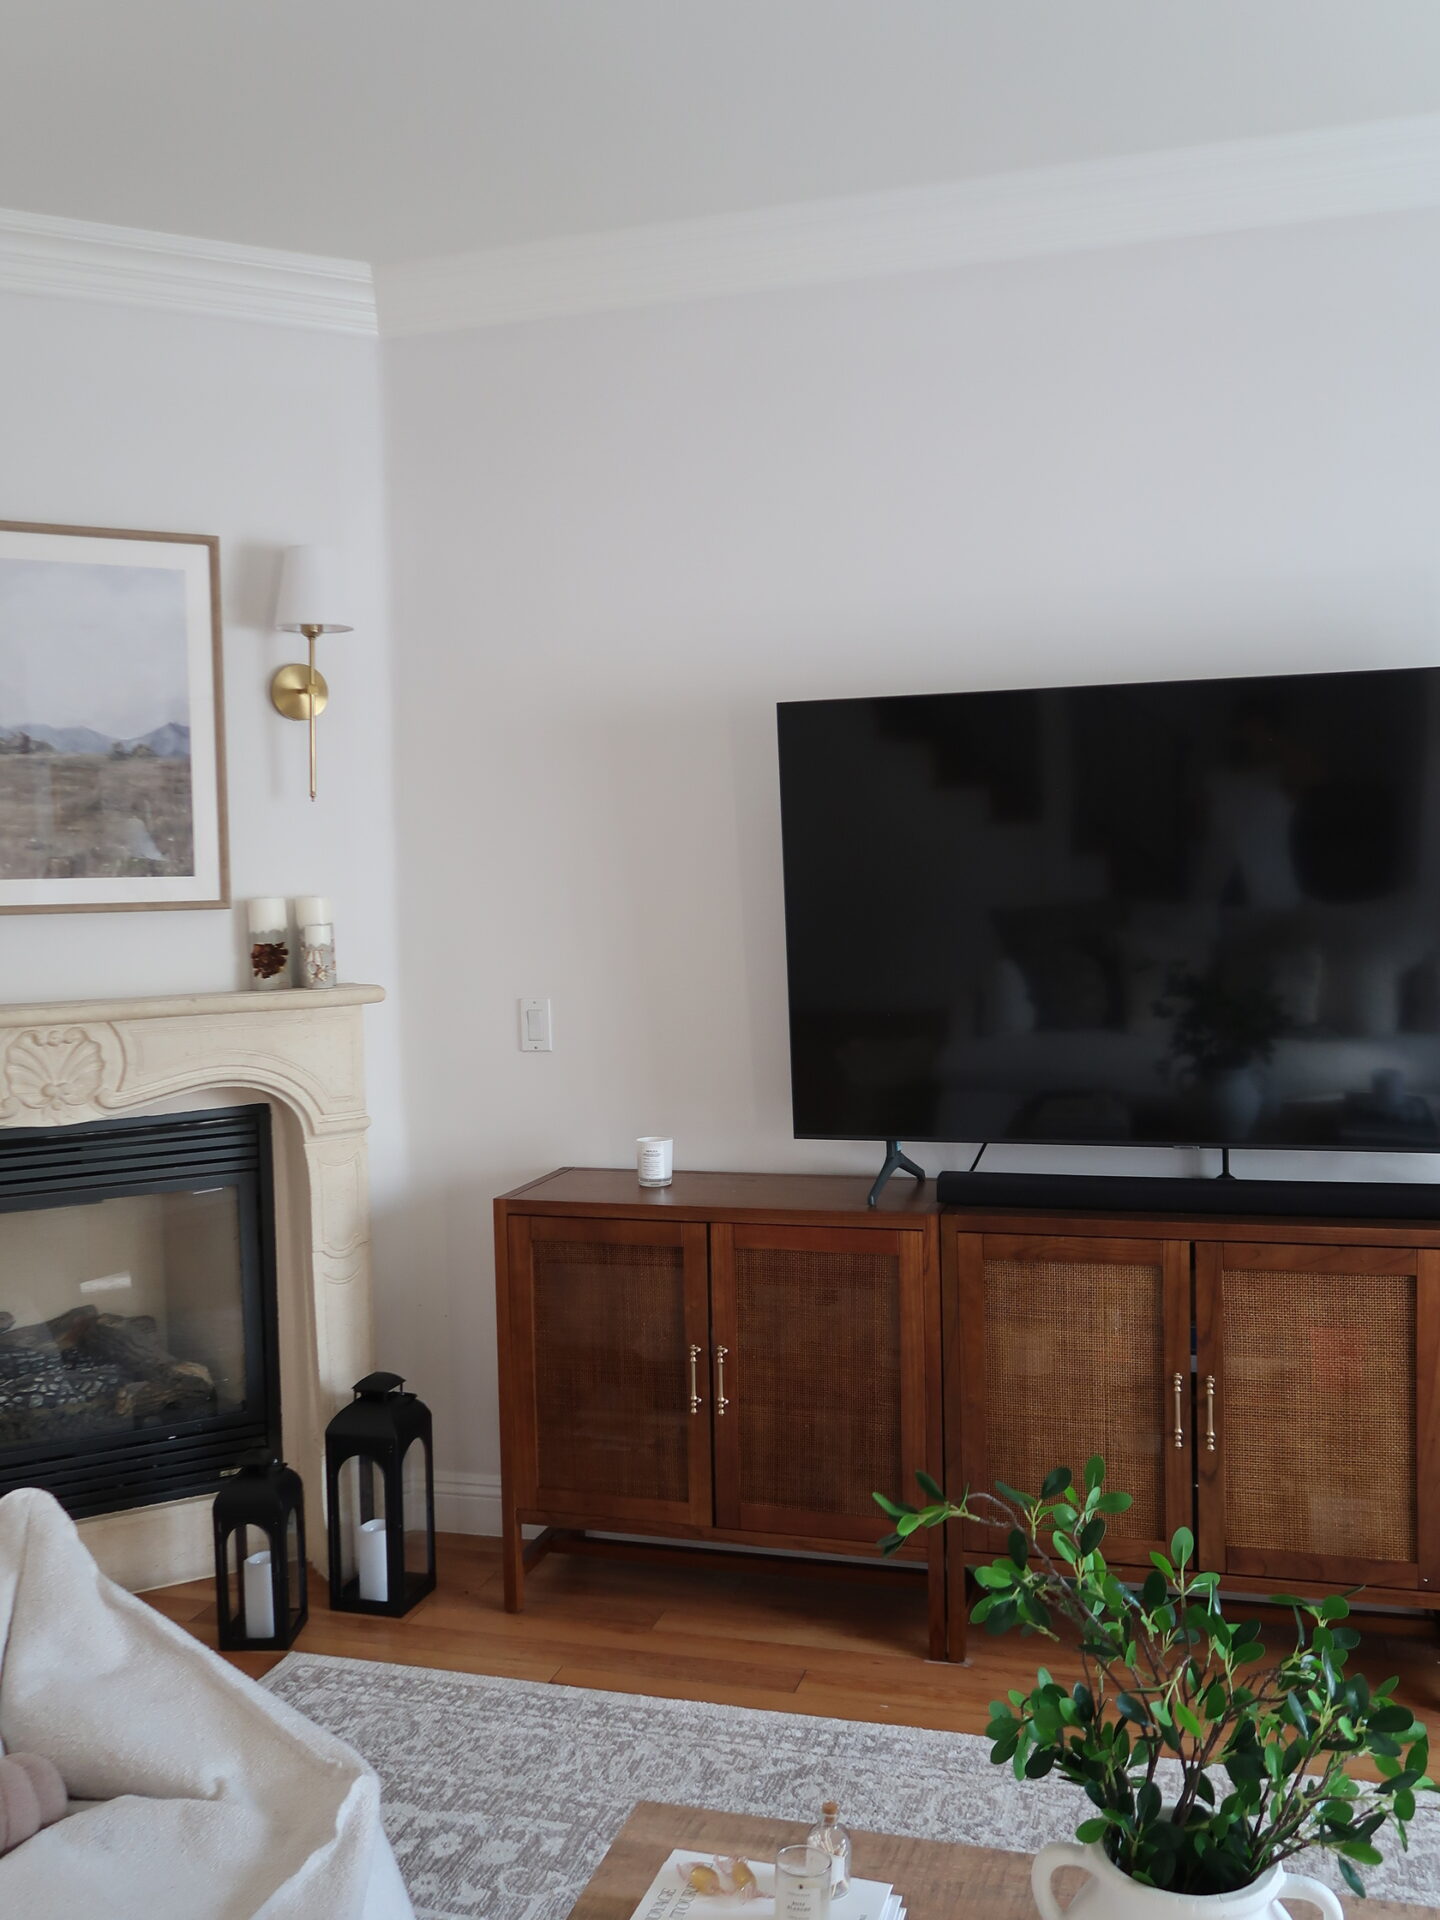
After nearly two months of living here, we are finally putting together a TV console! YAY!! I originally had the TV sitting on moving boxes and then switched those out for an old set of cabinets I had in my previous office. But they were too white and girly, and they just did not match the vibe we were going for. Since this is going to be the focal point of the entire room, we took our sweet sweet time picking it out. Better late than never, I guess!
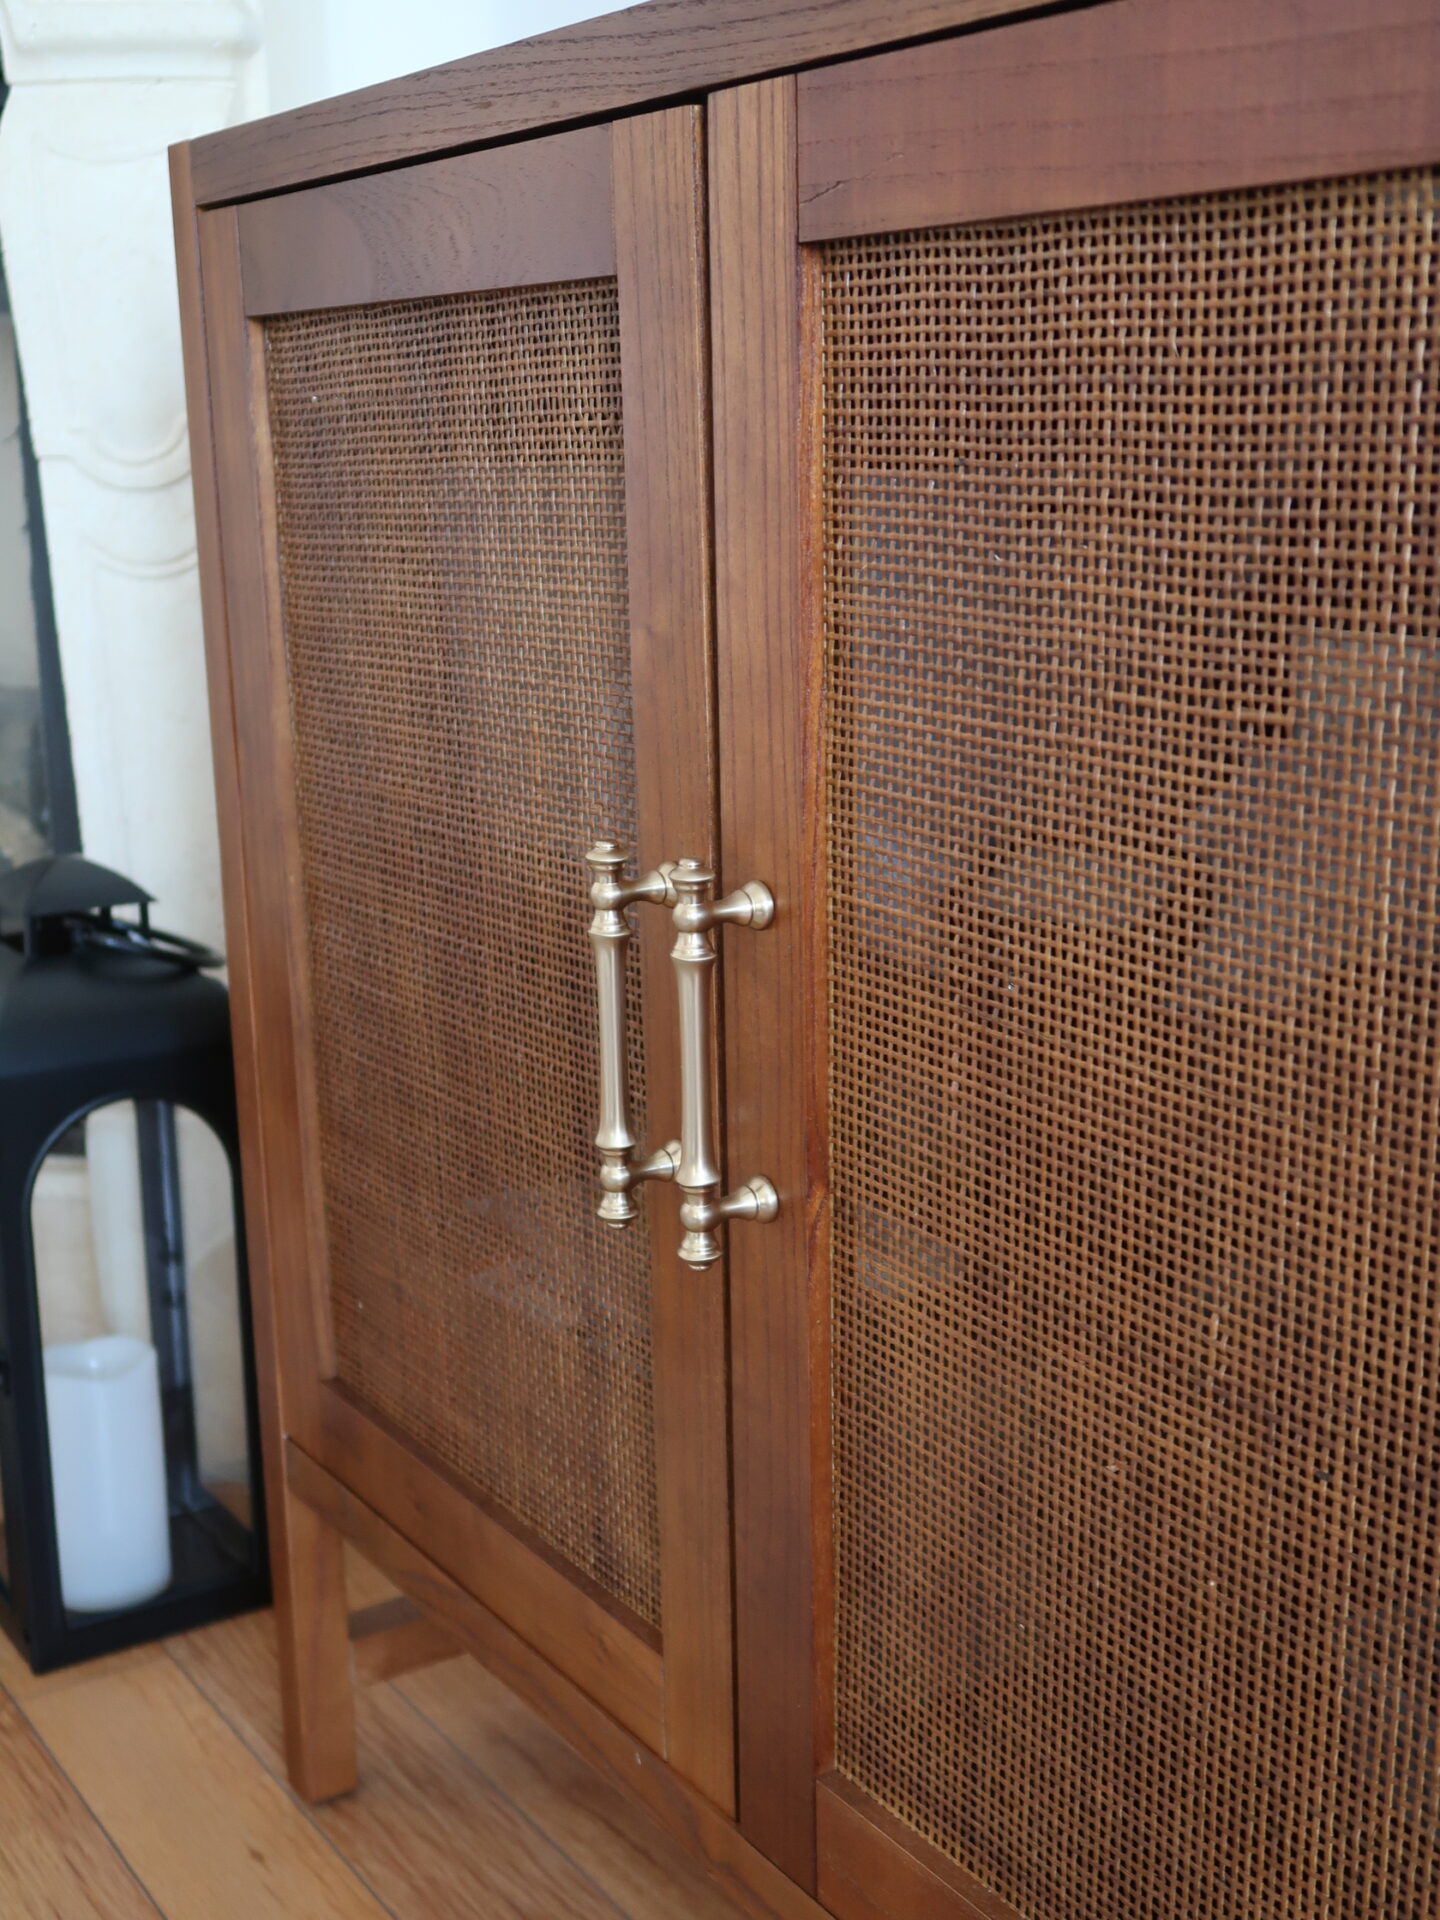
I was instantly inspired when I saw a TikTok by Jessica Hawks where she put three of these Target cabinets together under her TV, and then switched out the original black handles for gold ones. It probably only took me about 5 minutes to put my card information in and get an email saying that my order was confirmed. I hadn’t even seen them in person, but I just knew I had to have them! They are made of gorgeous dark wood, but the shades of brown do vary, so make sure to keep that in mind because one of the cabinets is much darker than the other two. I don’t mind it, though!
Since we’re aiming for an organic, modern look, the earthy brown tones these cabinets have tie the whole room together. And because they’re darker than the floors, they add a really nice contrast! When initially planning out decor, I was worried that too much wood would look odd or that it would blend together and look bland, but these actually did the opposite! They have the perfect amount of visual weight, and I always get so many compliments on the TV console when people come over.
Switching the original black handles for these gold pulls from Amazon really tied everything together. Just make sure to order the 3.75″ ones! I accidentally ordered some that were too big at first.
I will say, though, that even though the 3.75″ pulls are the right size for these doors, for some reason, they seem a little loose after screwing them in. Like they wobble when you grab them… Maybe I need washers? I’m unsure, but truthfully, that’s a problem for another day! I honestly could not care less, haha. They look beautiful, and that’s all that matters to me! I feel so good about this living room, and I cannot wait until we’re all done!
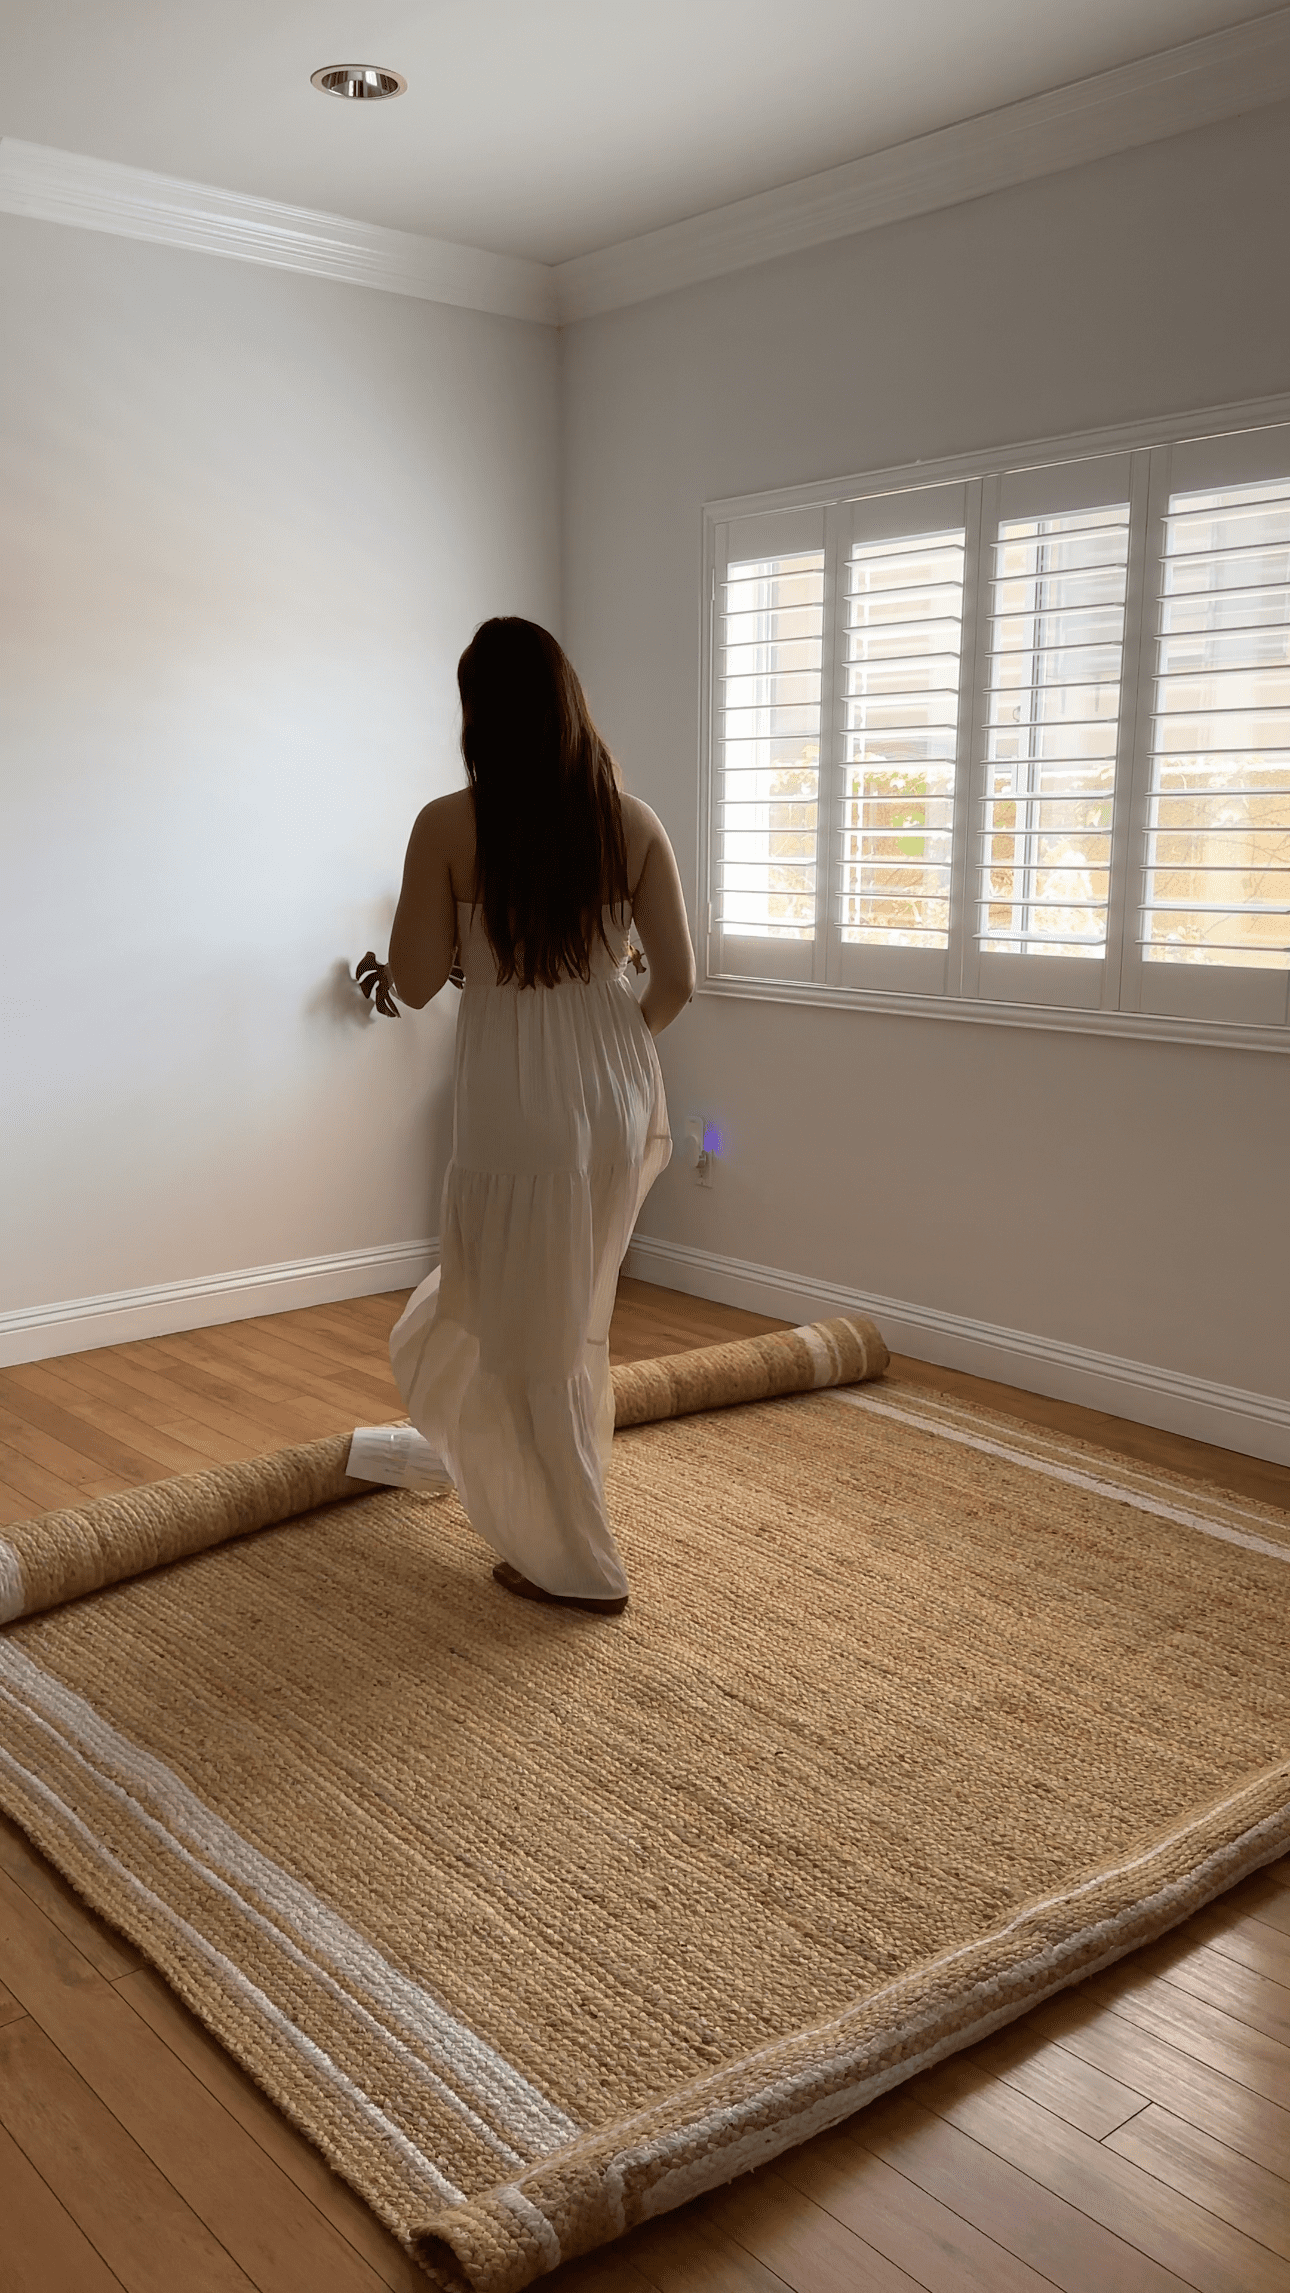
Part 5 – Dining Room
So far, we’ve painted and basically furnished the majority of the living room, and while we’re not done in there, part 5 focuses on the dining area because, compared to the rest of our home, this room is a little embarrassing. First things first, rugs are super important when decorating a space, but we knew we were going to need one that wouldn’t get easily stained, so we chose this jute rug from Rugs USA. It looks so good in here!

Because this room is larger than any other dining area I’ve had in the past, my old table and chairs looked super awkward in this space (you can see it in the TikTok below). So, our next step was getting rid of said table and chairs because I knew we needed something bigger this time around. I envisioned a larger table that could fit up to 6 people so that it would still be comfortable when my family came over, and I spent days looking at different styles.
I ended up deciding between this large rectangular dining table from Walmart and this oval table from Wayfair (some reviewers used it as a desk as well, which I thought was cool)! After measuring everything, I realized that the oval table would probably fit better, and I also loved the detail on the legs, so we ended up ordering that one.
It’s currently sold out, so I’ll be looking for similar styles and links for you ASAP!
One quick call out: something that I noticed when I put this together is that the listing on Wayfair says this table is for 4-6 people, but because of the way that the legs are positioned, two chairs can’t comfortably be pushed all of the way in on the sides. So, if you want the chairs to be able to be pushed all the way in, 4 is the best number, which I was a little disappointed by. I still love it and am so happy we chose it, but I just wish I had known that ahead of time!
Speaking of chairs, I picked this set from Walmart. They come in sets of 2, and they are not the most affordable, but I loved the look of them, and they surprisingly match the wood on the table really well. I felt so lucky since I did all the shopping online! And now that I’ve had these for a few months, I 10/10 recommend! They are comfortable (I actually sit on them all day when working from home) and sturdy. No wobbling here!
To finish off the table, I got some tabletop decor like this jute runner from Amazon to match the rug and a pretty tray and moss balls (linked here) from Target.
Now, I just need to figure out what to do with the rest of the room. The blank wall to the left of the table has stumped me. I’m thinking of hanging a large art piece, but have yet to see one I love at a reasonable price point! I am also on the lookout for curtains; as you can see, the rod is already up!
(Update: I found the perfect curtains; watch me put them up here).
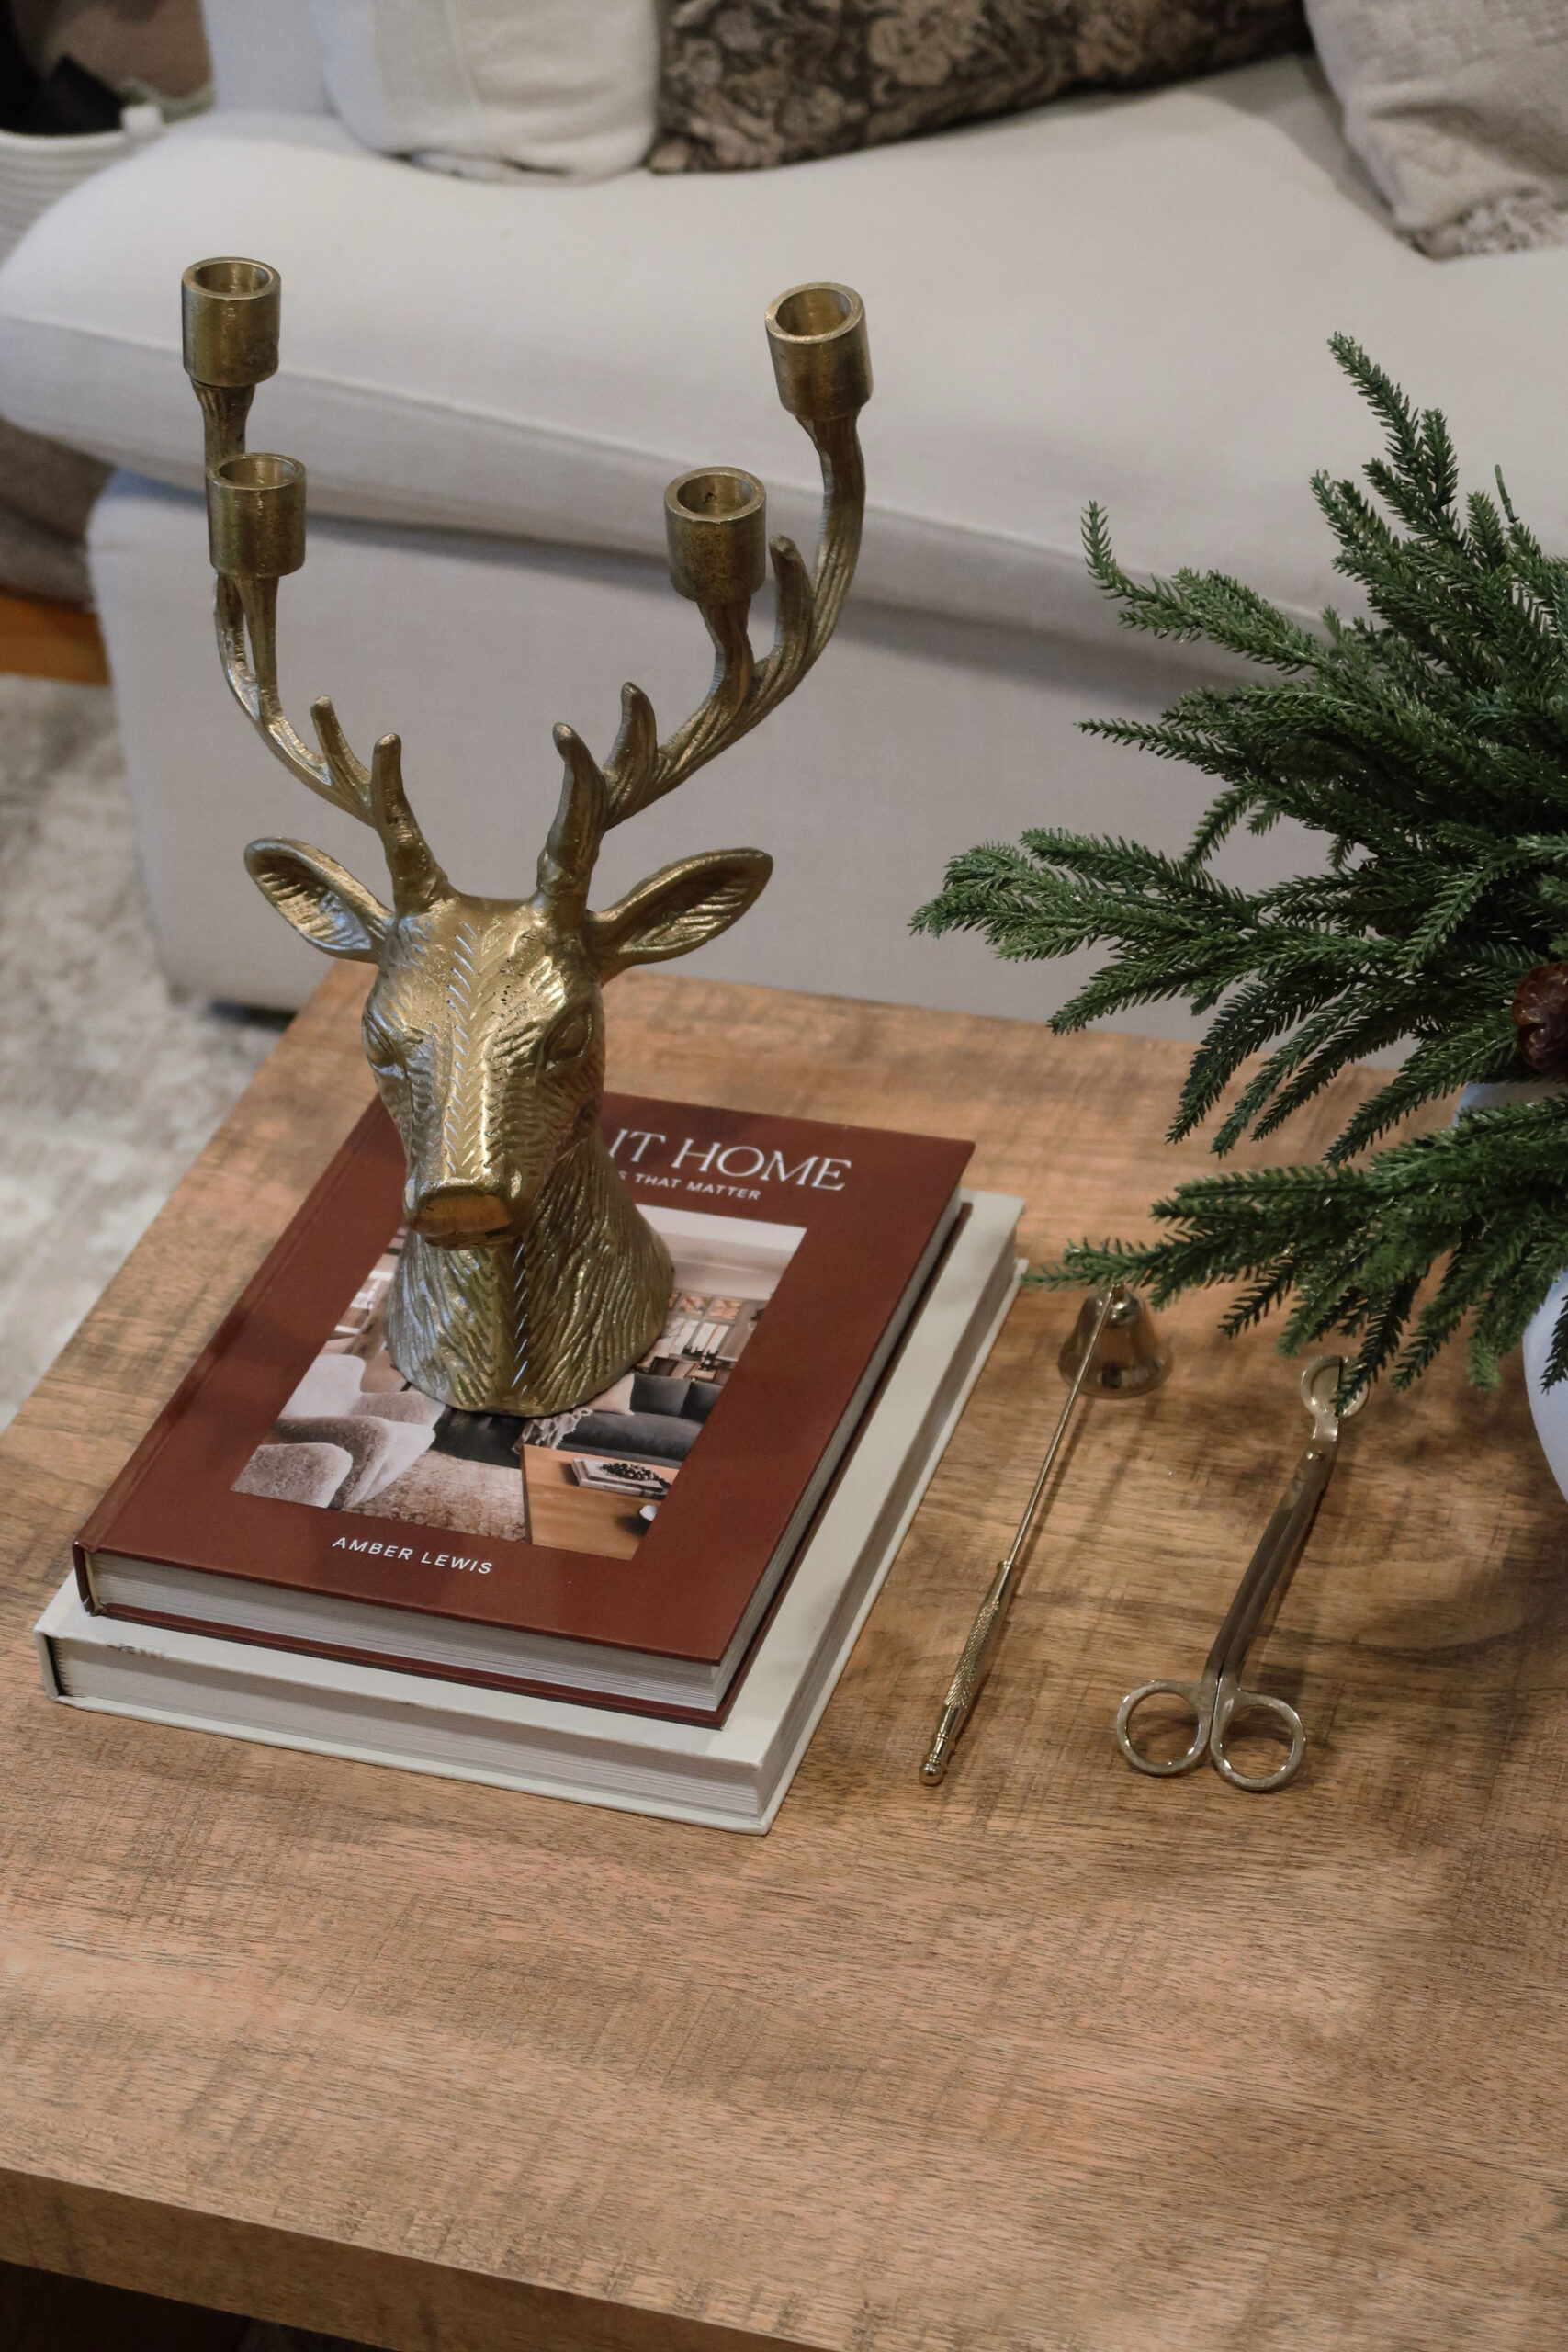
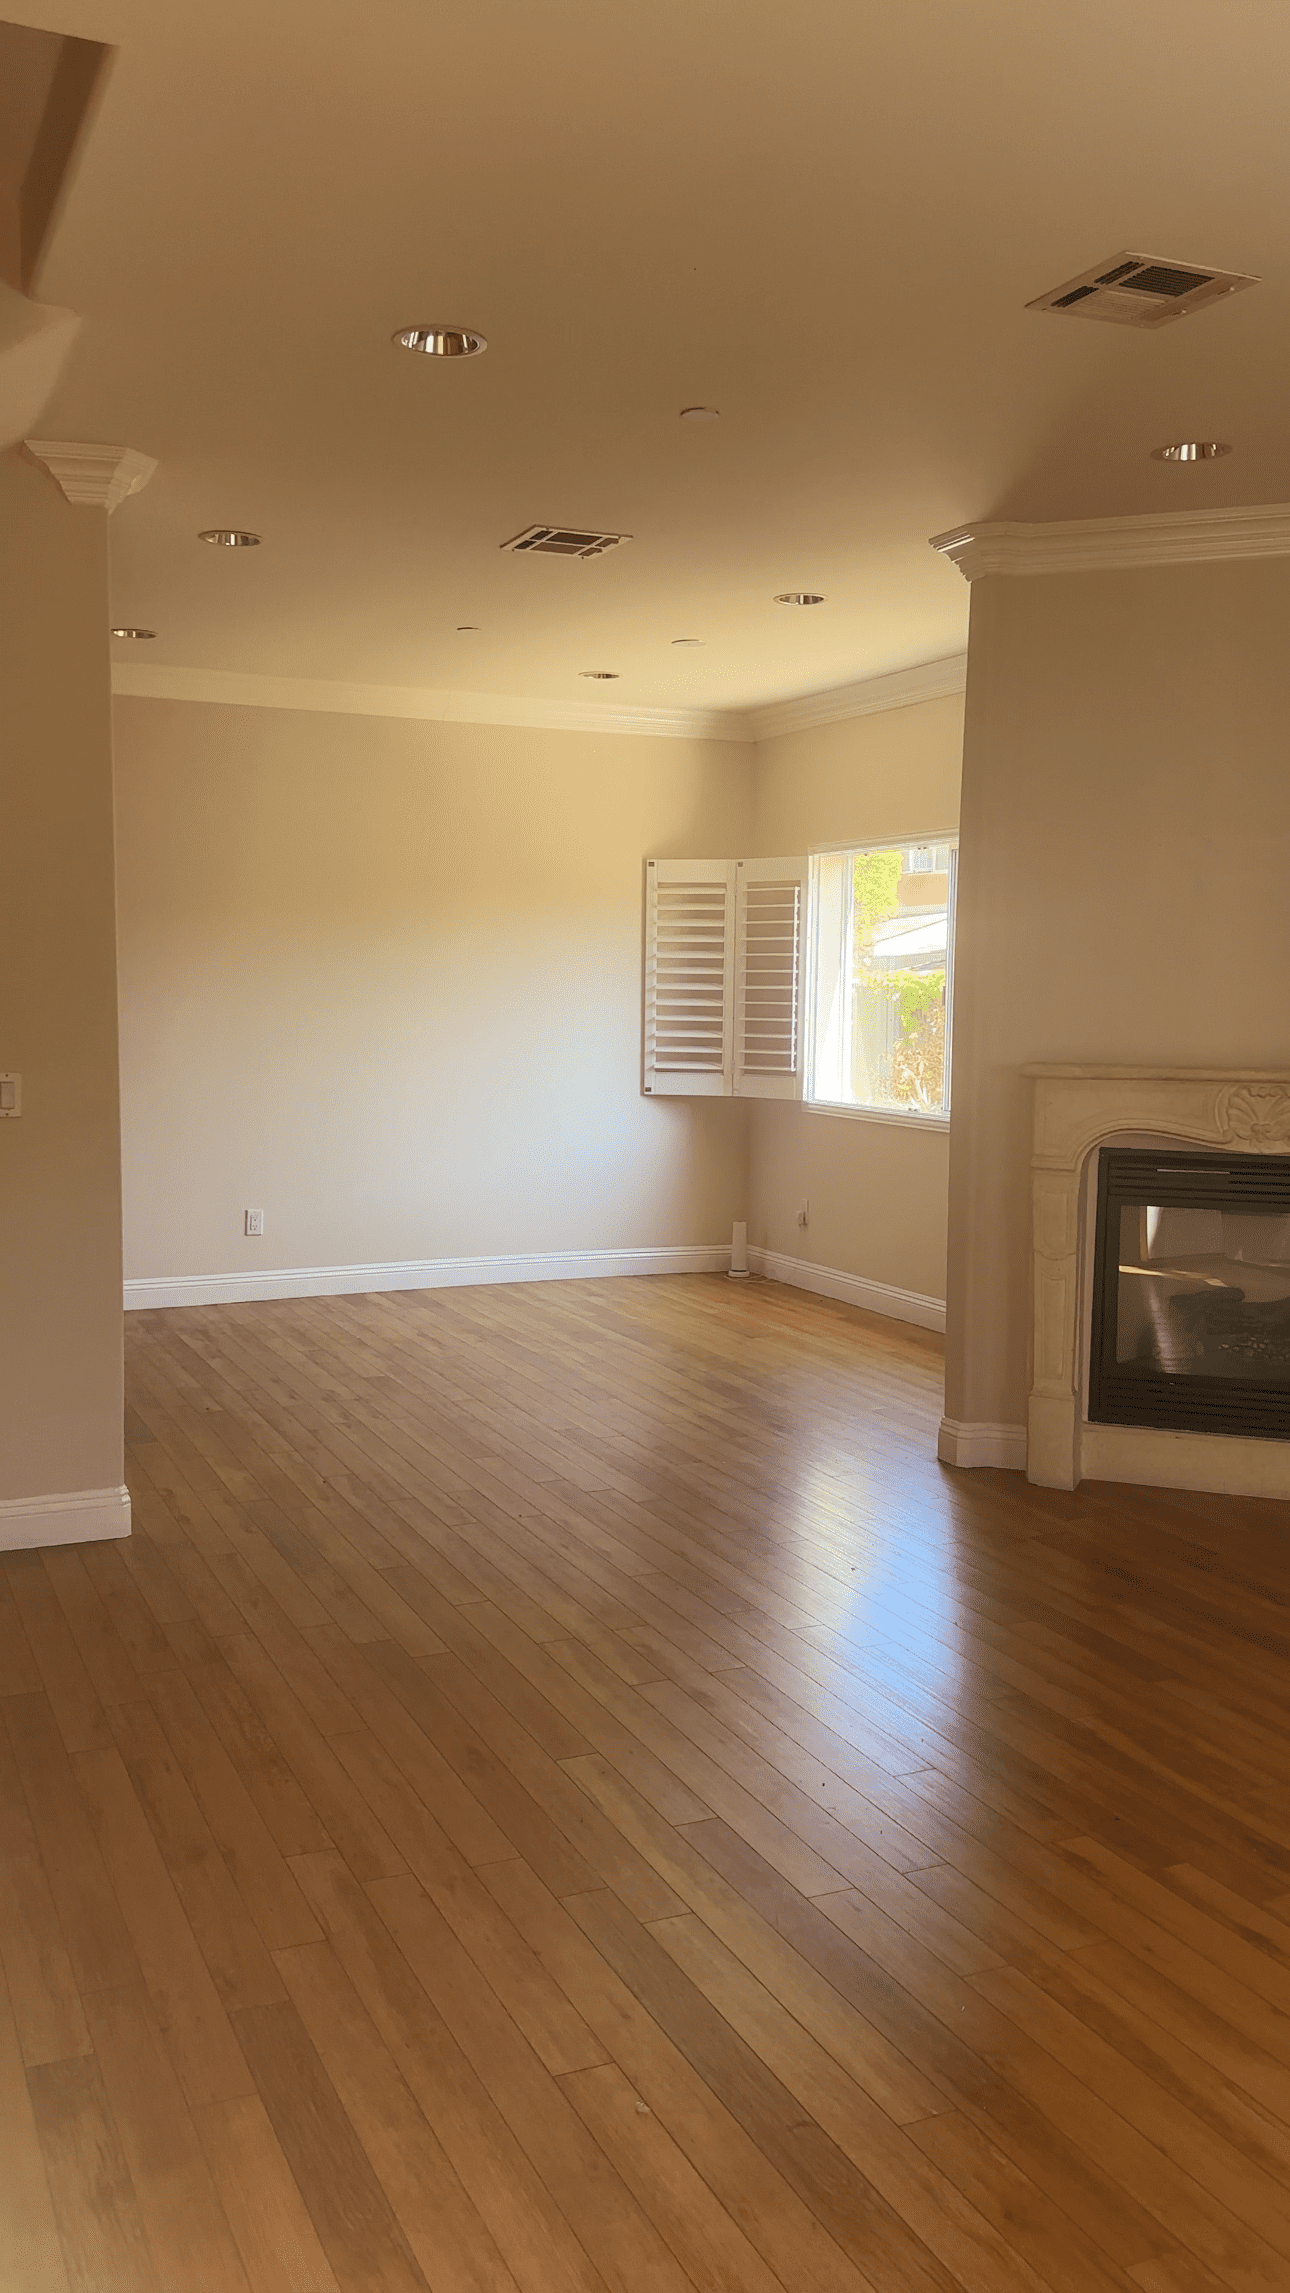
Part 6 – The Fireplace
We have come a long way since the very beginning! If you’re still reading, thanks so much for being here! In part six, we’re finally updating the fireplace. It has felt like an eyesore since we moved in, so it took a while to figure out what would look best up here. I wanted the decor to be simple and not take up too much visual weight, and I’m in love with the result.
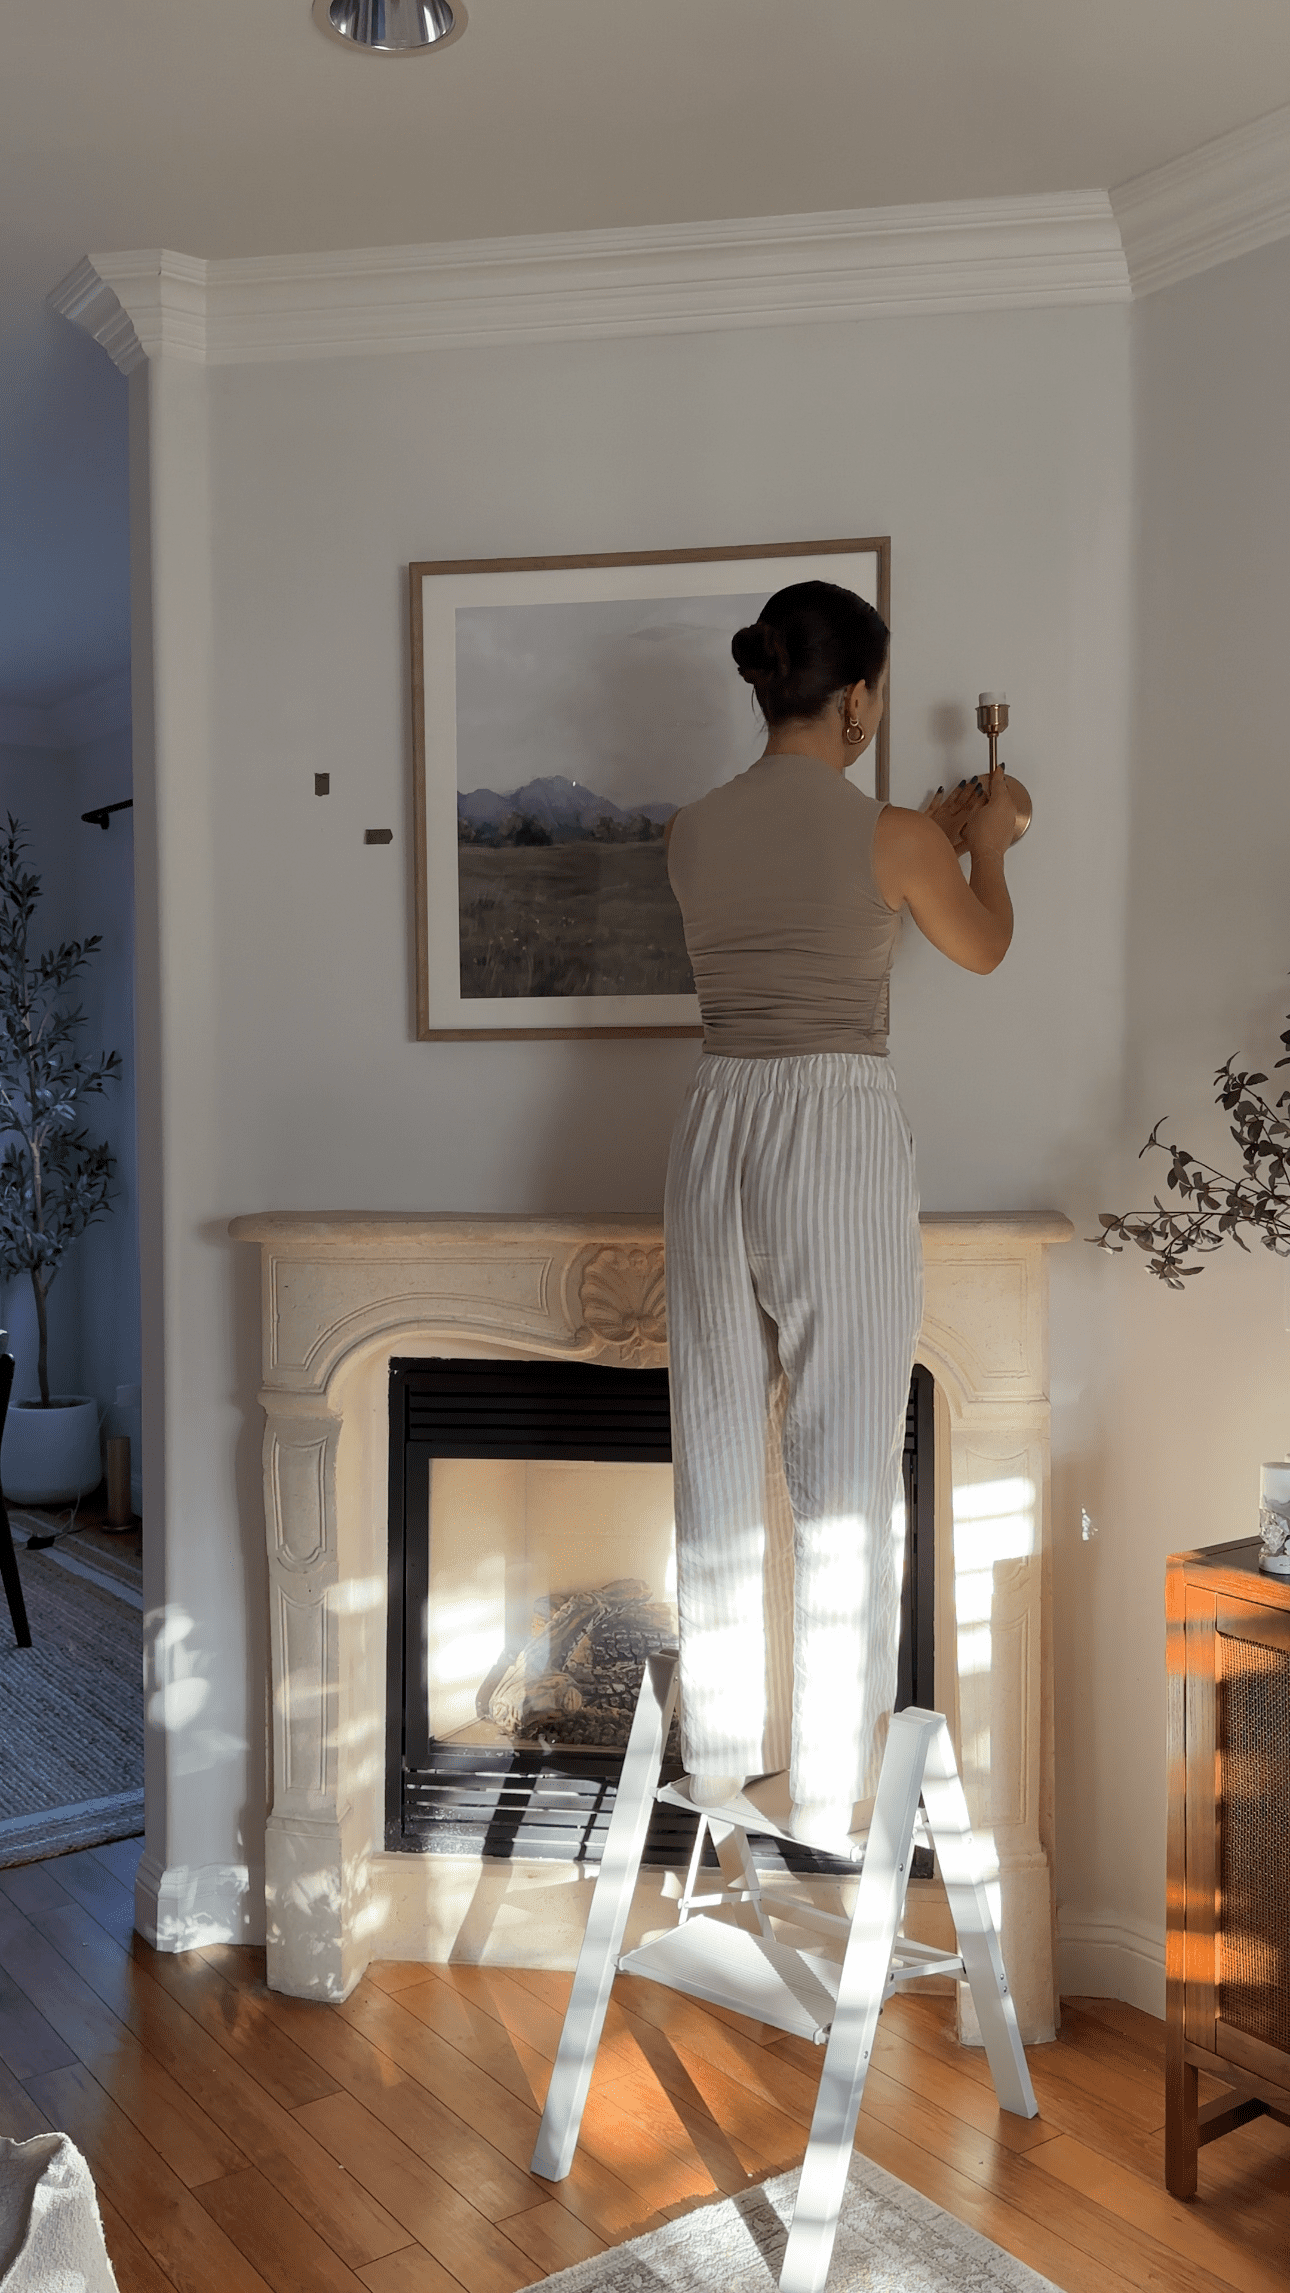
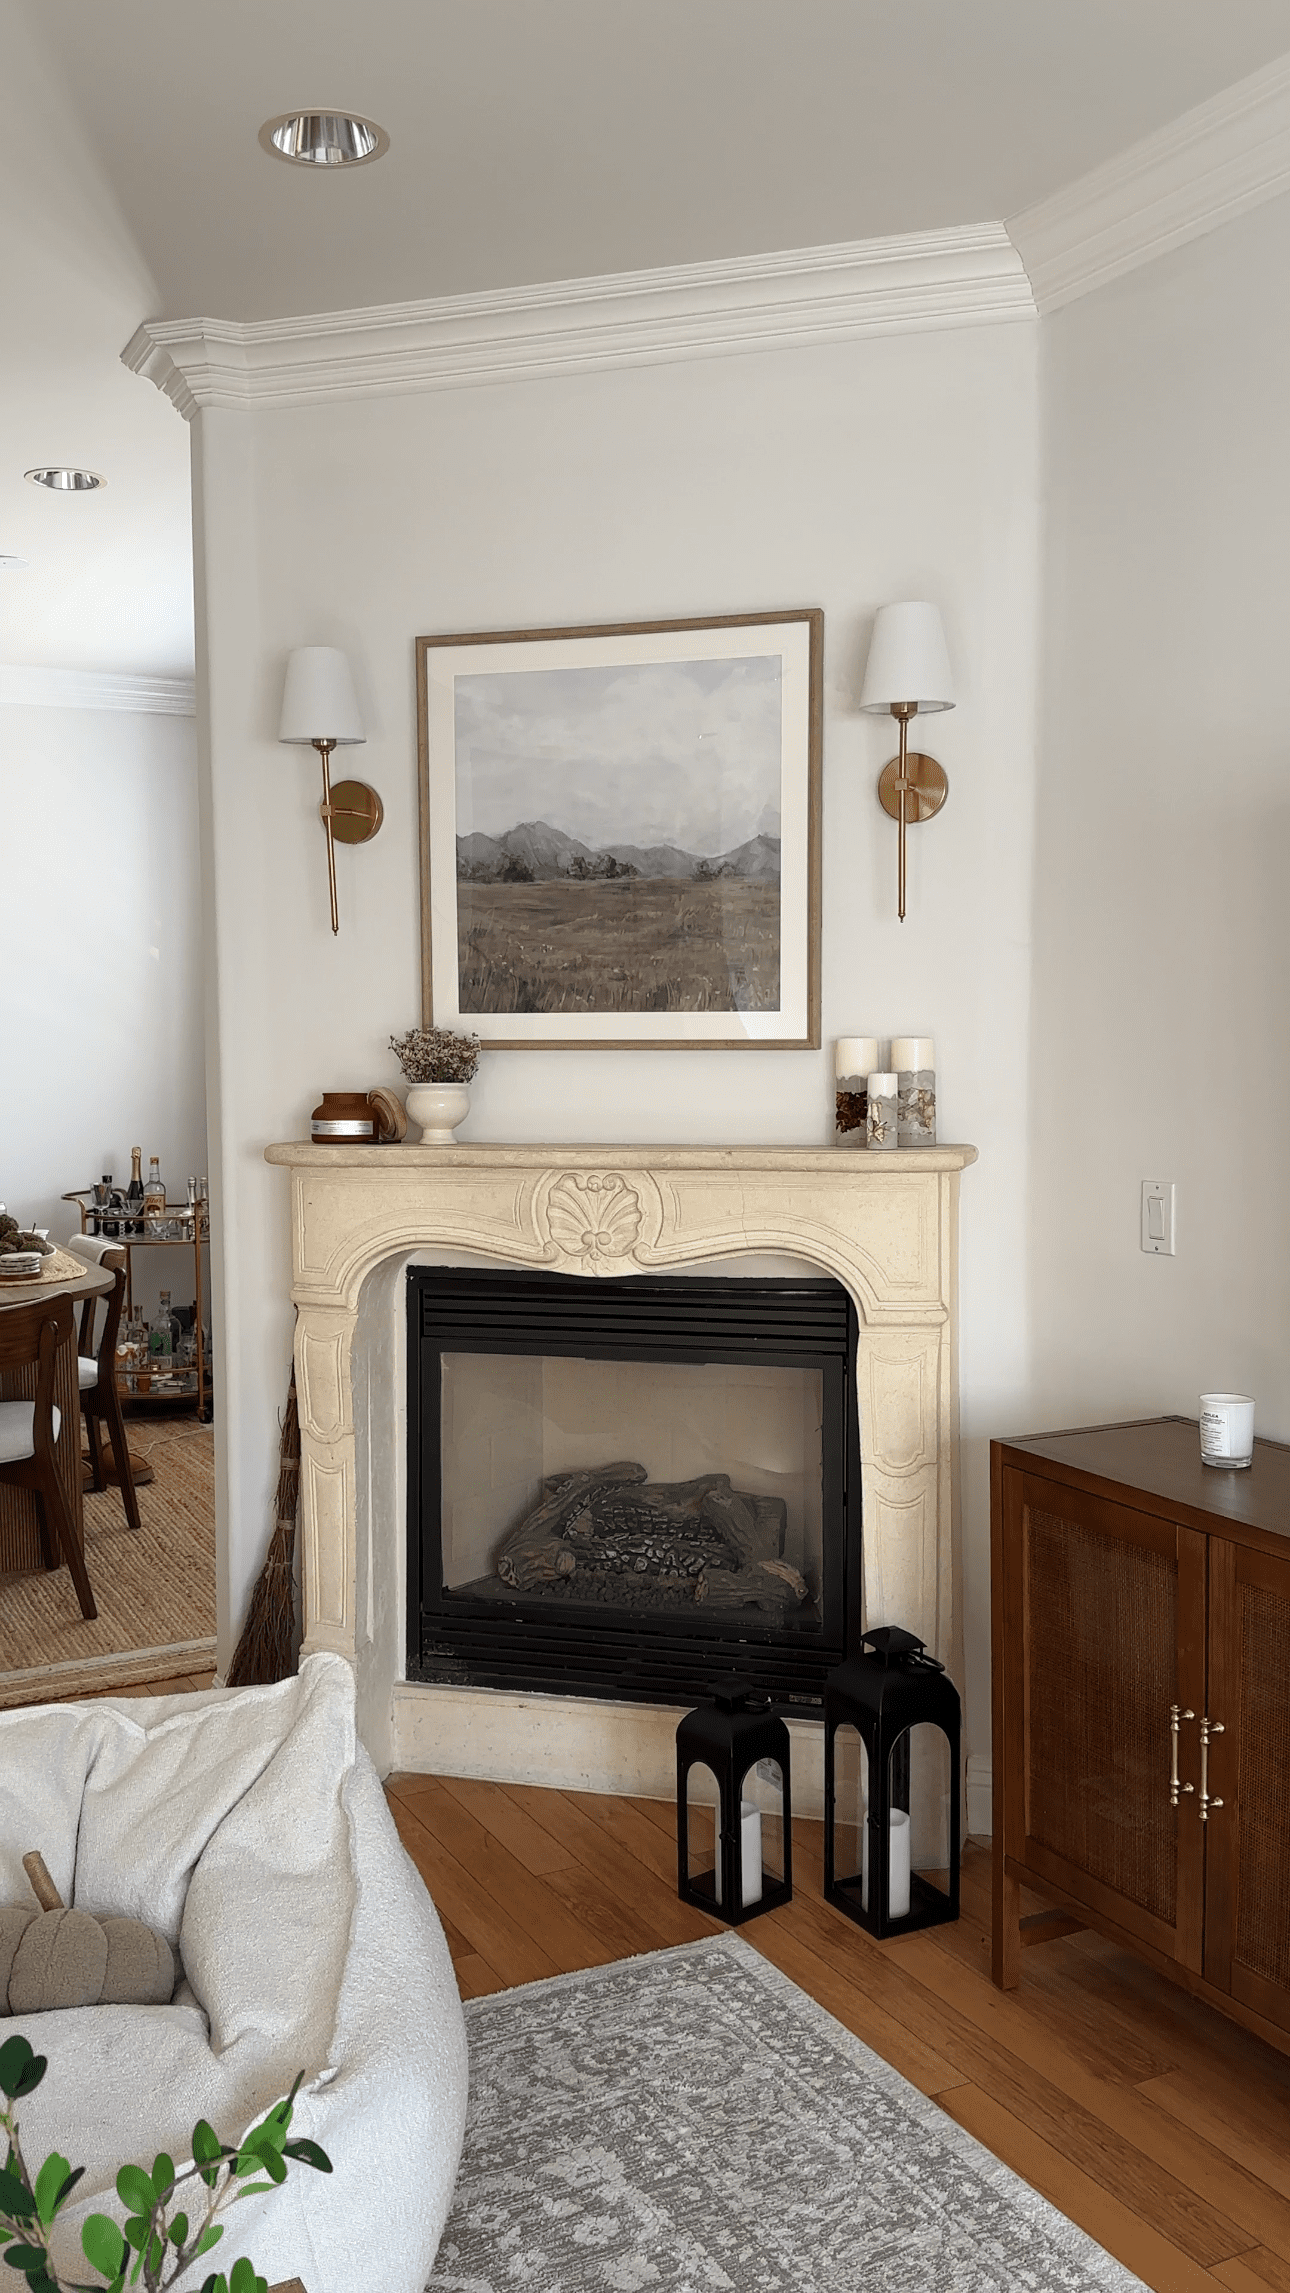
I found these sconces on Amazon during Prime Day, and they were $25 for both of them, so that was amazing! Then I got this print from Walmart’s new Texas Home Line, and we were well on our way to a new fireplace!
I wasn’t really in the mood to learn how to hardwire the sconces to the wall, so I just hung them up with Command strips and got rechargeable light bulbs so we could still turn them off and on. And if you’re doubtful, let me tell you, it has been three months since these went up—they haven’t moved a bit!
As for the light bulbs, I don’t love the ones that I ordered because they flicker on camera, which is a very niche problem to have, so I’m currently looking for some new ones.
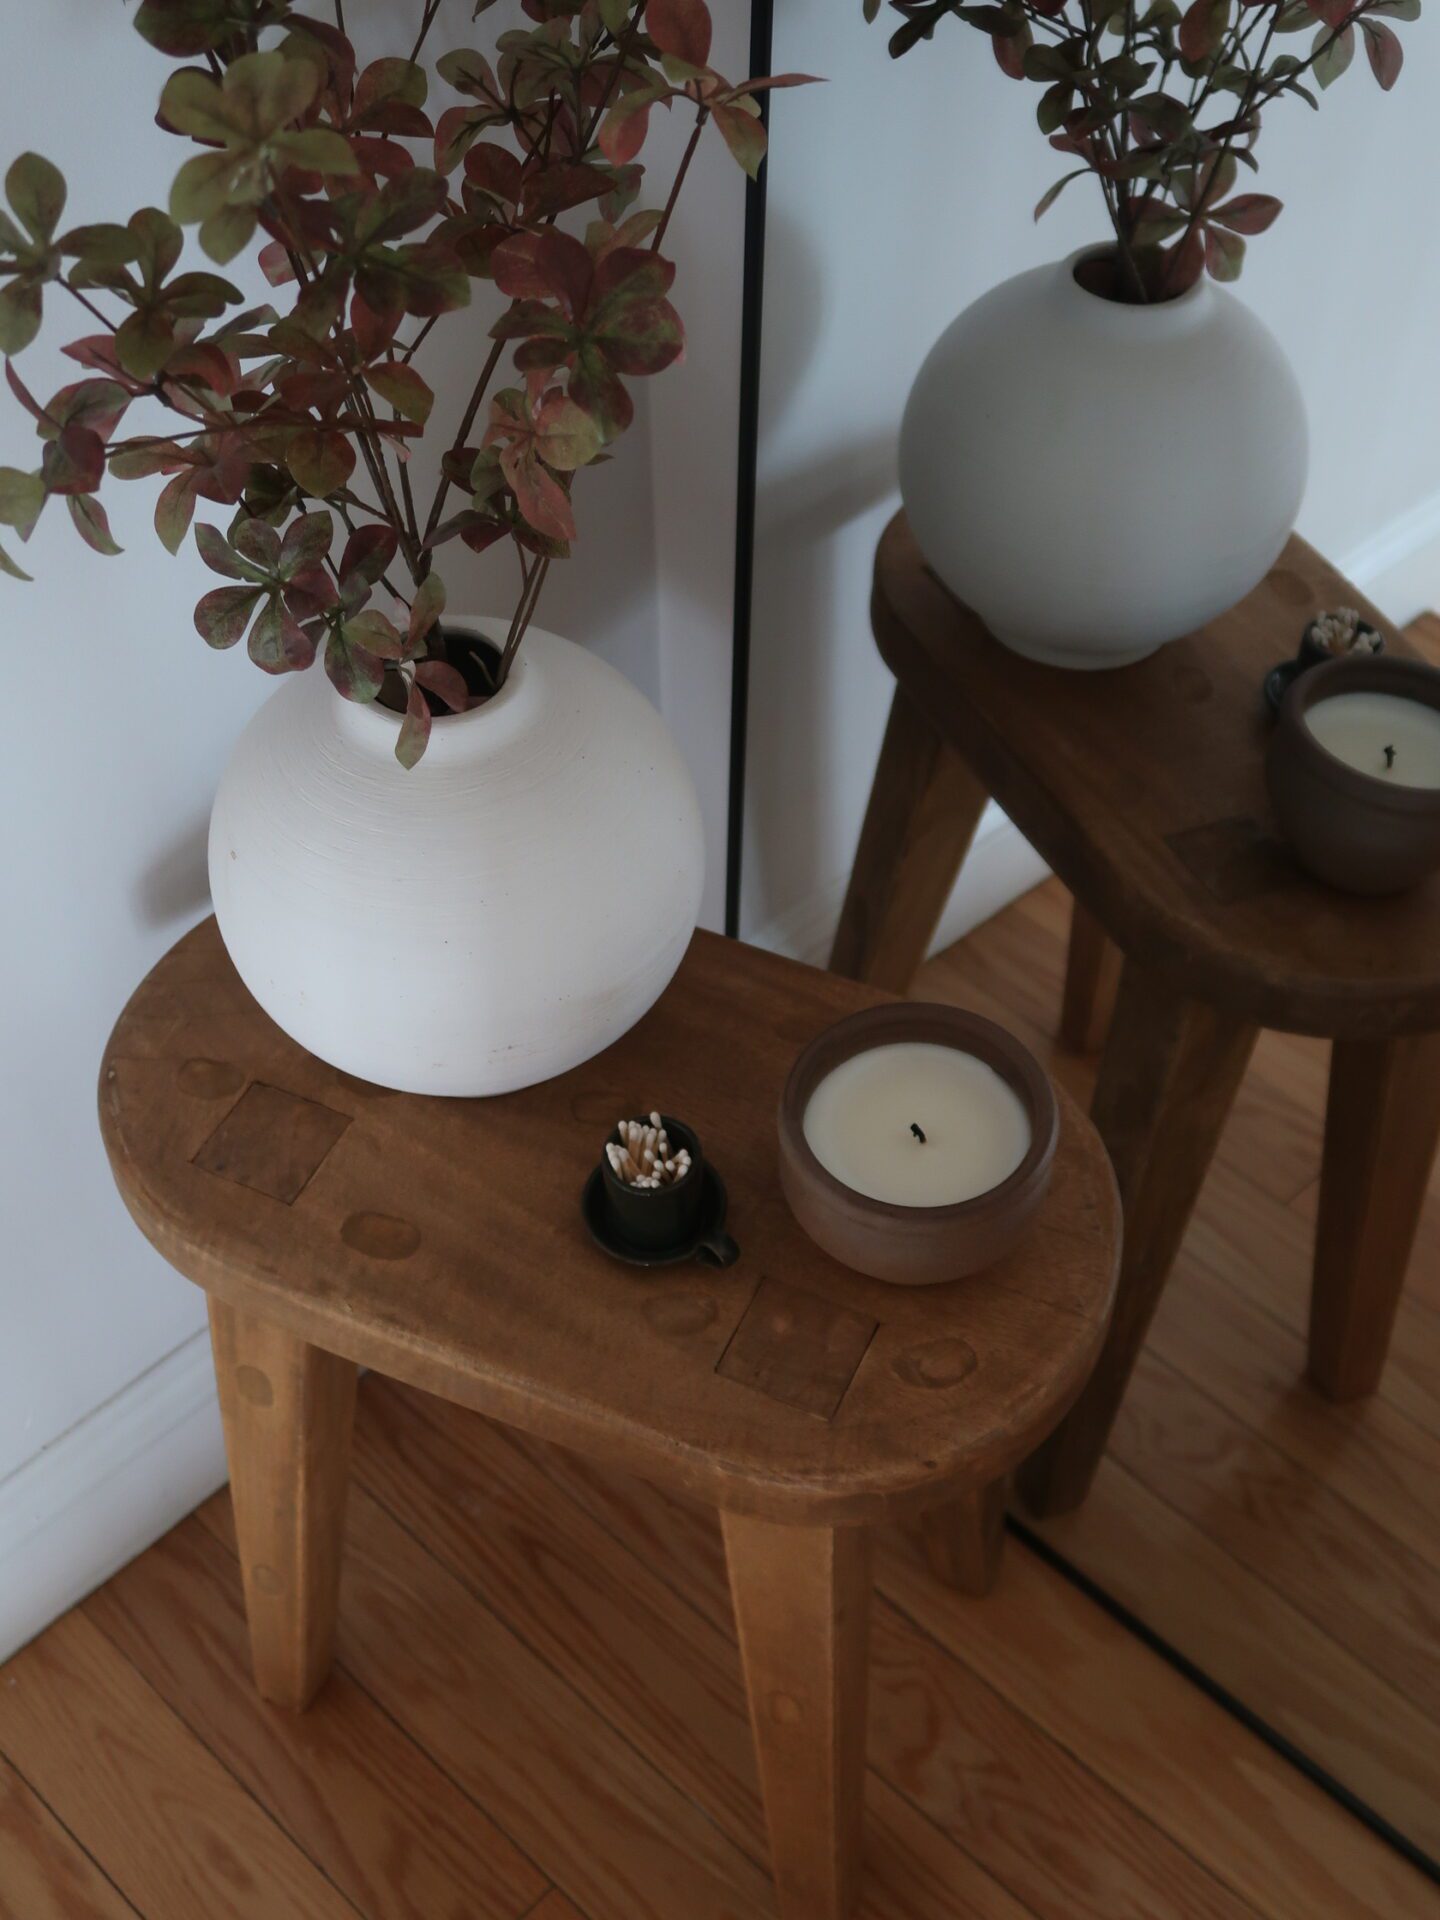
I’m so lucky to have a very handy dad, and so I called him to come help me hang the print because I tried three times and kept messing up. I’m normally very competent so I swear I don’t know what happened, lol. I genuinely do not know what I would do without him. And then, for decor, I put up my all-time favorite crystal candles from Patagonia Style, which is my mom’s small business. I may be biased, but they are incredible (+ they make such good gifts).
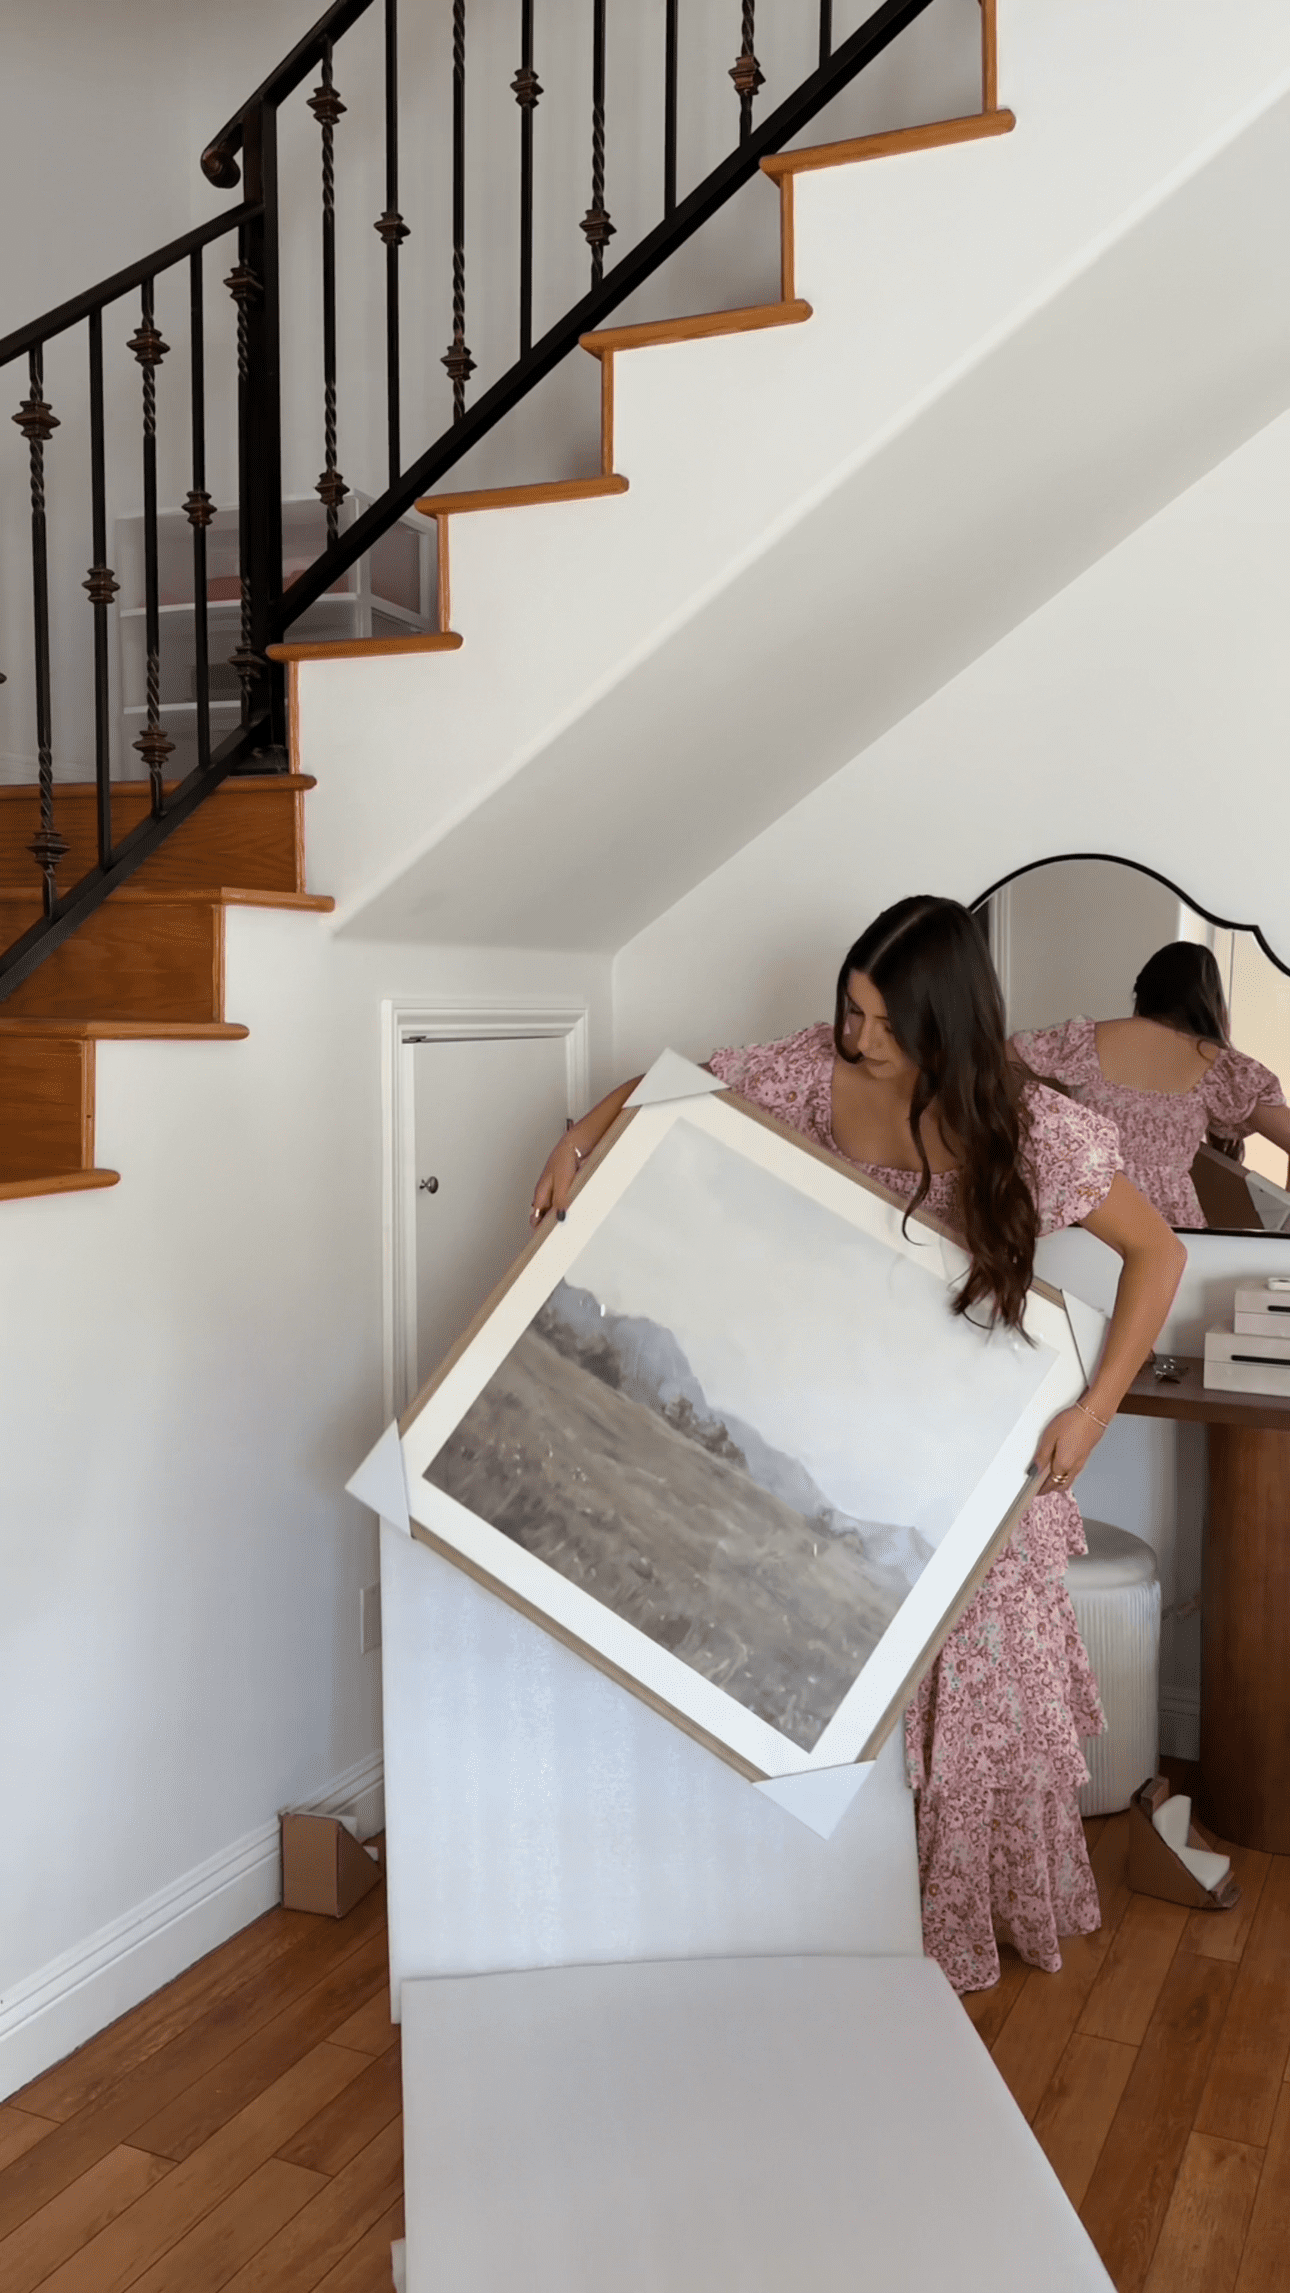
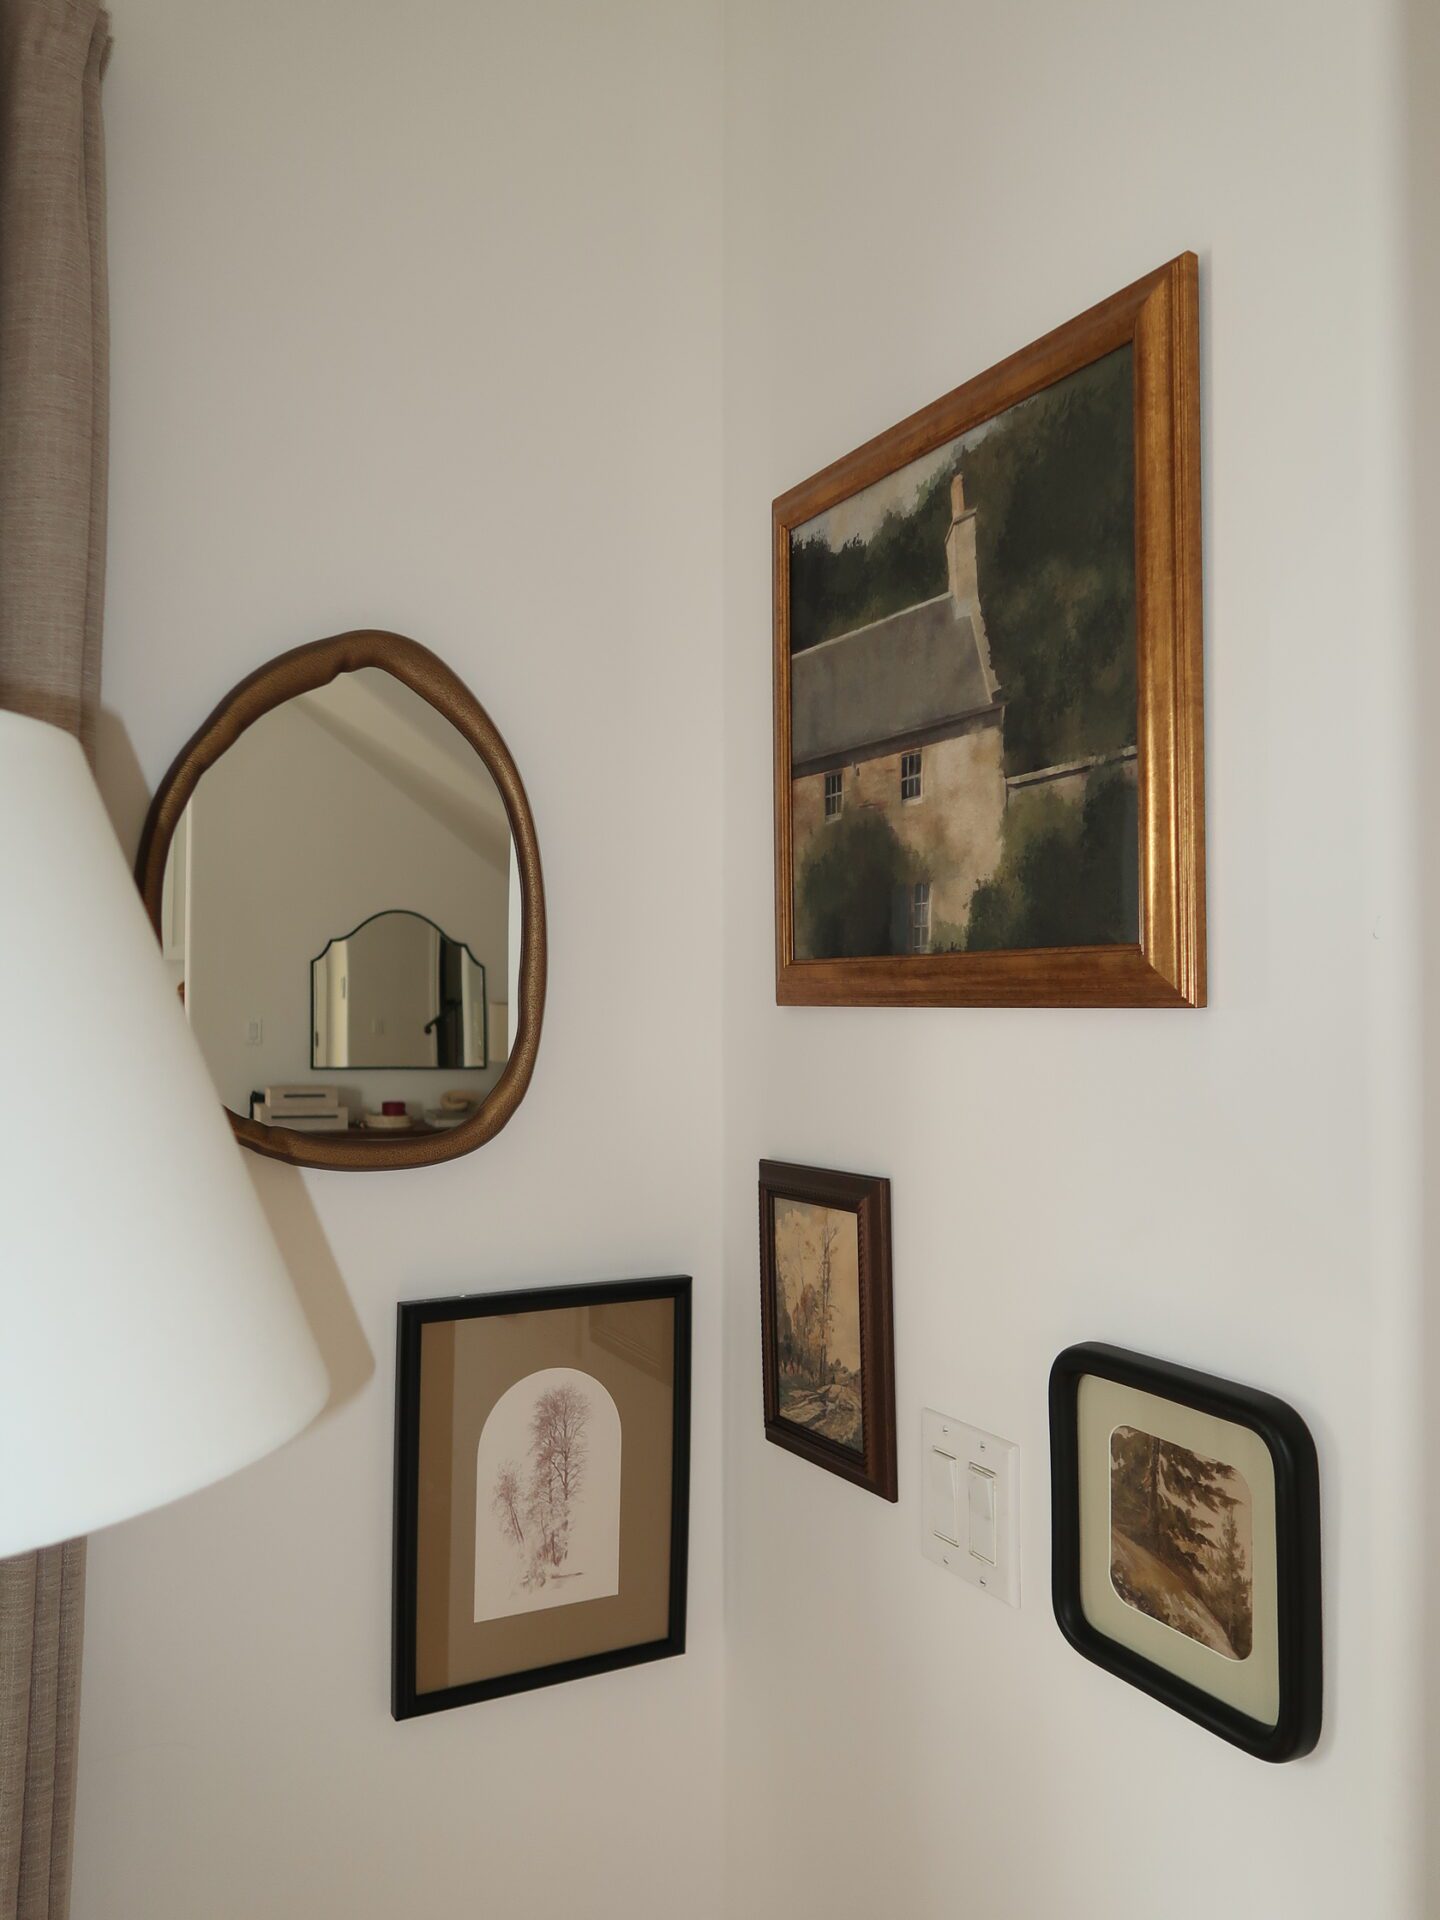
Part 7 — Gallery Wall & Curtains
If you read last month’s post, 15 Pieces I Bought From Target’s Pre-Fall Home Decor Launch, then you’re already familiar with the gallery wall pieces I picked up. They’re from the 2024 fall decor drop at Target, and they’ve been sitting in my living room for weeks. But today is the day!
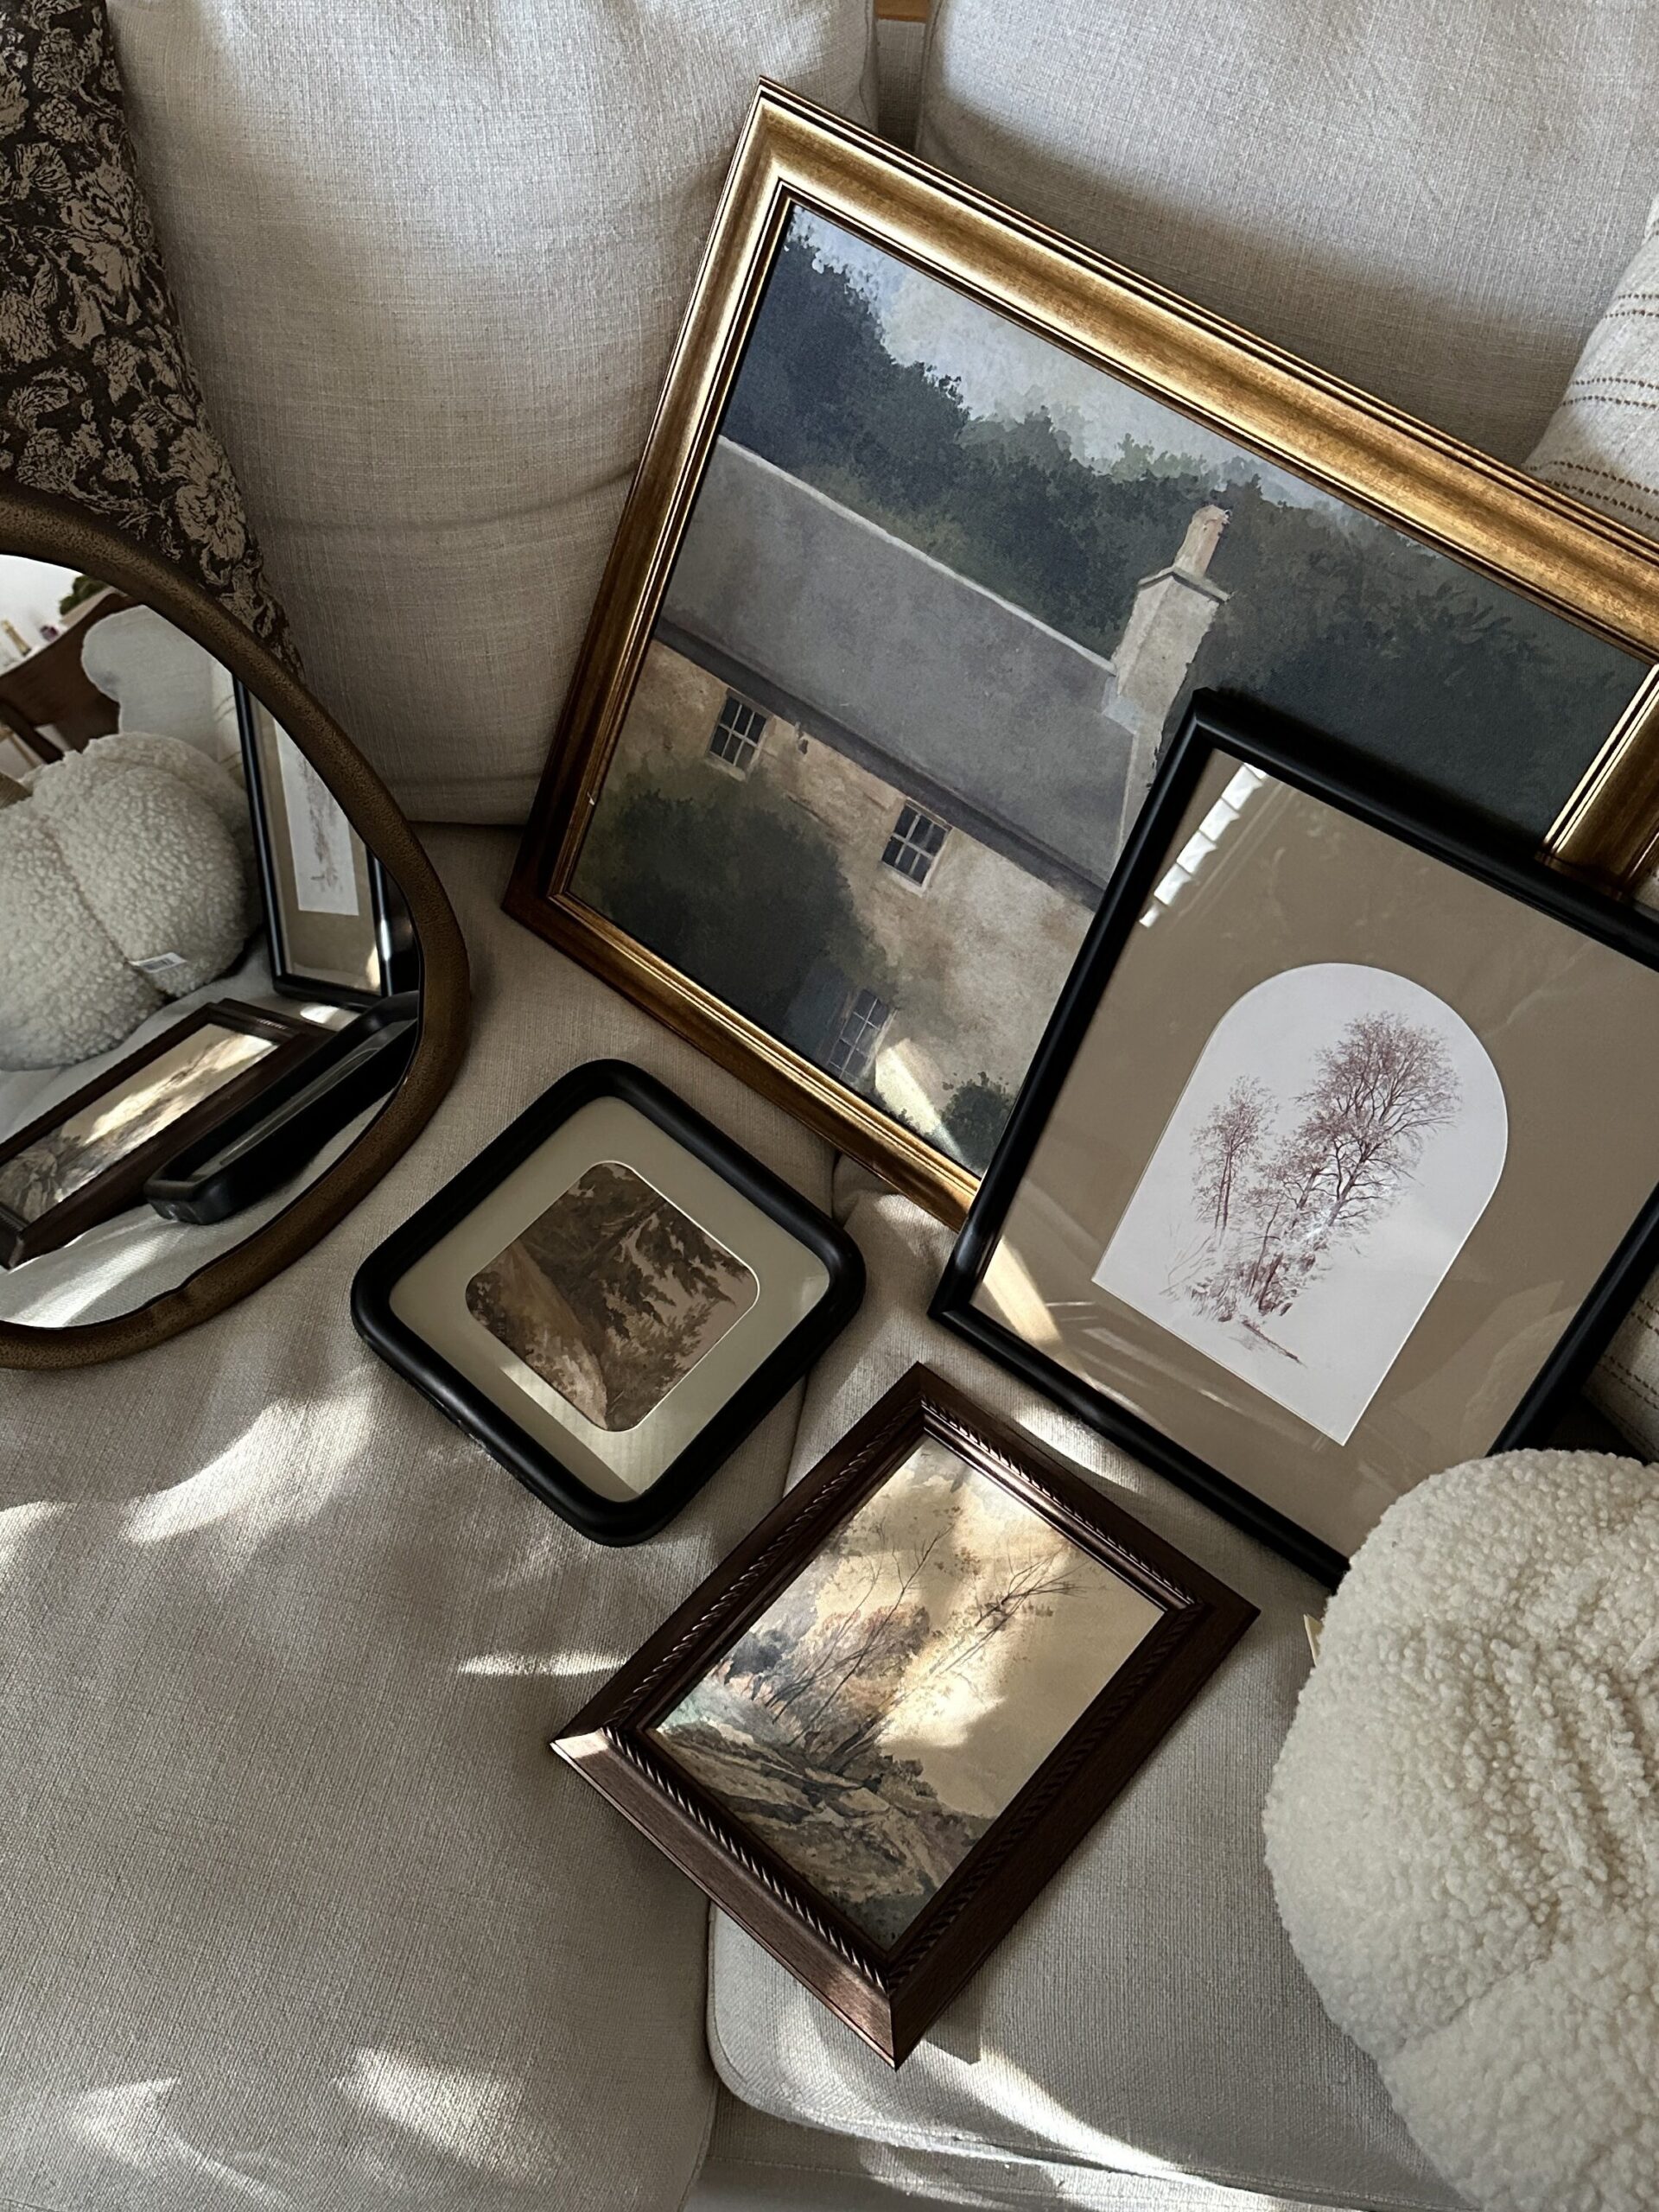
I tried looking up the best way to plan out a gallery wall, and I saw that some people actually trace the shape of the frames on paper and cut them out so they can visually plan where they want certain frames to go without having to make a bunch of holes. TikTok teaches me so much. So I did just that, and it definitely made the whole process much easier! However, looking back, I wish I had drawn the shapes out on colored paper because the white printer paper I used just blended into the wall, and it made it really hard to see.
Hanging the gallery wall should’ve been a quick no-brainer, but it ended up being a two-day affair because I completely forgot to buy nails! Since moving out on my own, I’ve been growing my tool kit, and it’s been pretty reliable so far, but I guess I have never needed nails before. To be fair, I’m always hanging things up with Command strips, so that may be why, haha. Thankfully, you can overnight nails on Amazon, and I’m soooo glad that exists. So while I waited for those, the curtains I ordered were delivered! My dad came over months ago to hang up some curtain rods, since I knew I was going to need them eventually, so the hard part was already done. Again, what would I do without him?
Let me just say that picking out curtains was SO hard. I don’t know if I put too much pressure on myself, but I feel like curtains can make or break a space! The color needs to go well with the walls and furniture, but not blend in, but not have too much of a contrast. I wanted curtains from TWOPAGES, and luckily they offer a booklet on their site with color swatches, which I found incredibly helpful.
I ended up getting the viral Liz Linen Drape Pleated Curtains in the color Burlywood Birch, and I love them! Can’t recommend them enough! You can order them via their website or on Amazon, and they are fully customizable to fit your window size. I also got my curtains pinch pleated with privacy lining and memory shaping, so I didn’t need to steam them or reinforce the pleats after taking them out of the bag.
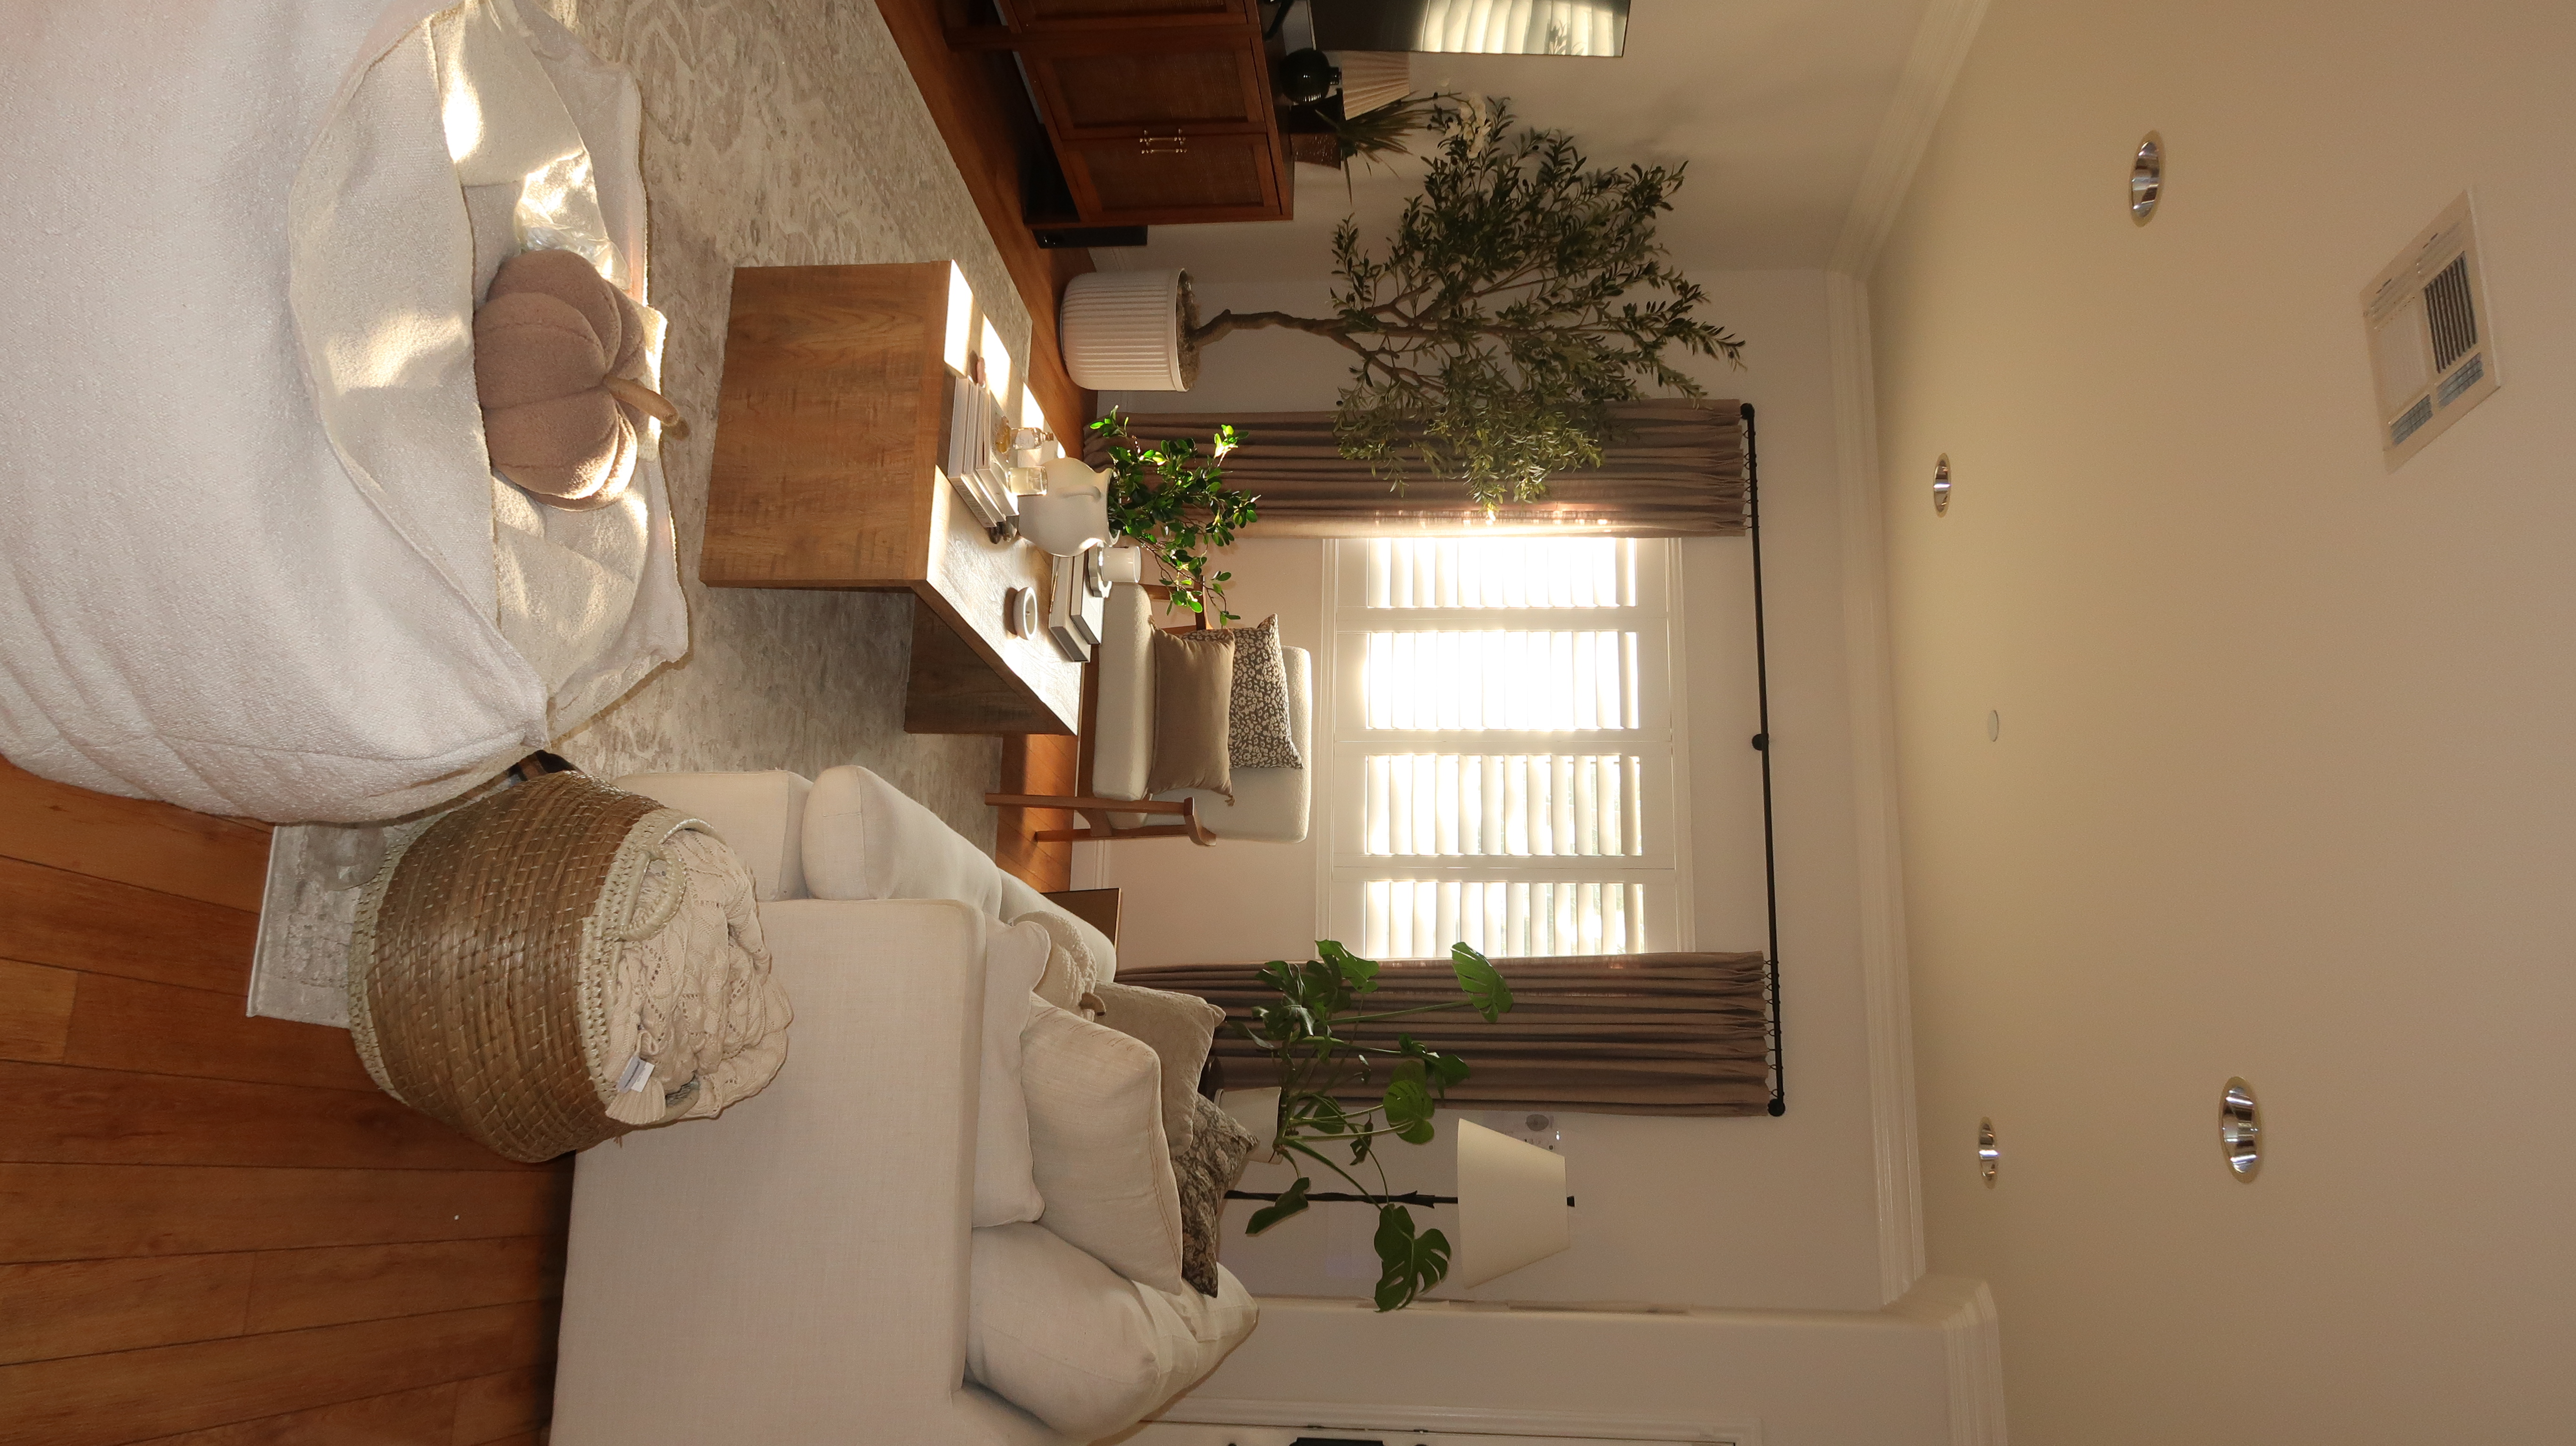
The next day, I finished hanging the gallery wall, and ta-da! Our living room looks complete! My favorite part about gallery walls, in general, is that you can add to them, so I will be keeping my eye out at thrift stores and flea markets from now on, just in case I see any cool vintage frames and vintage art, but this space feels so much more intentional now. It just warmed up the living room.
Part 8
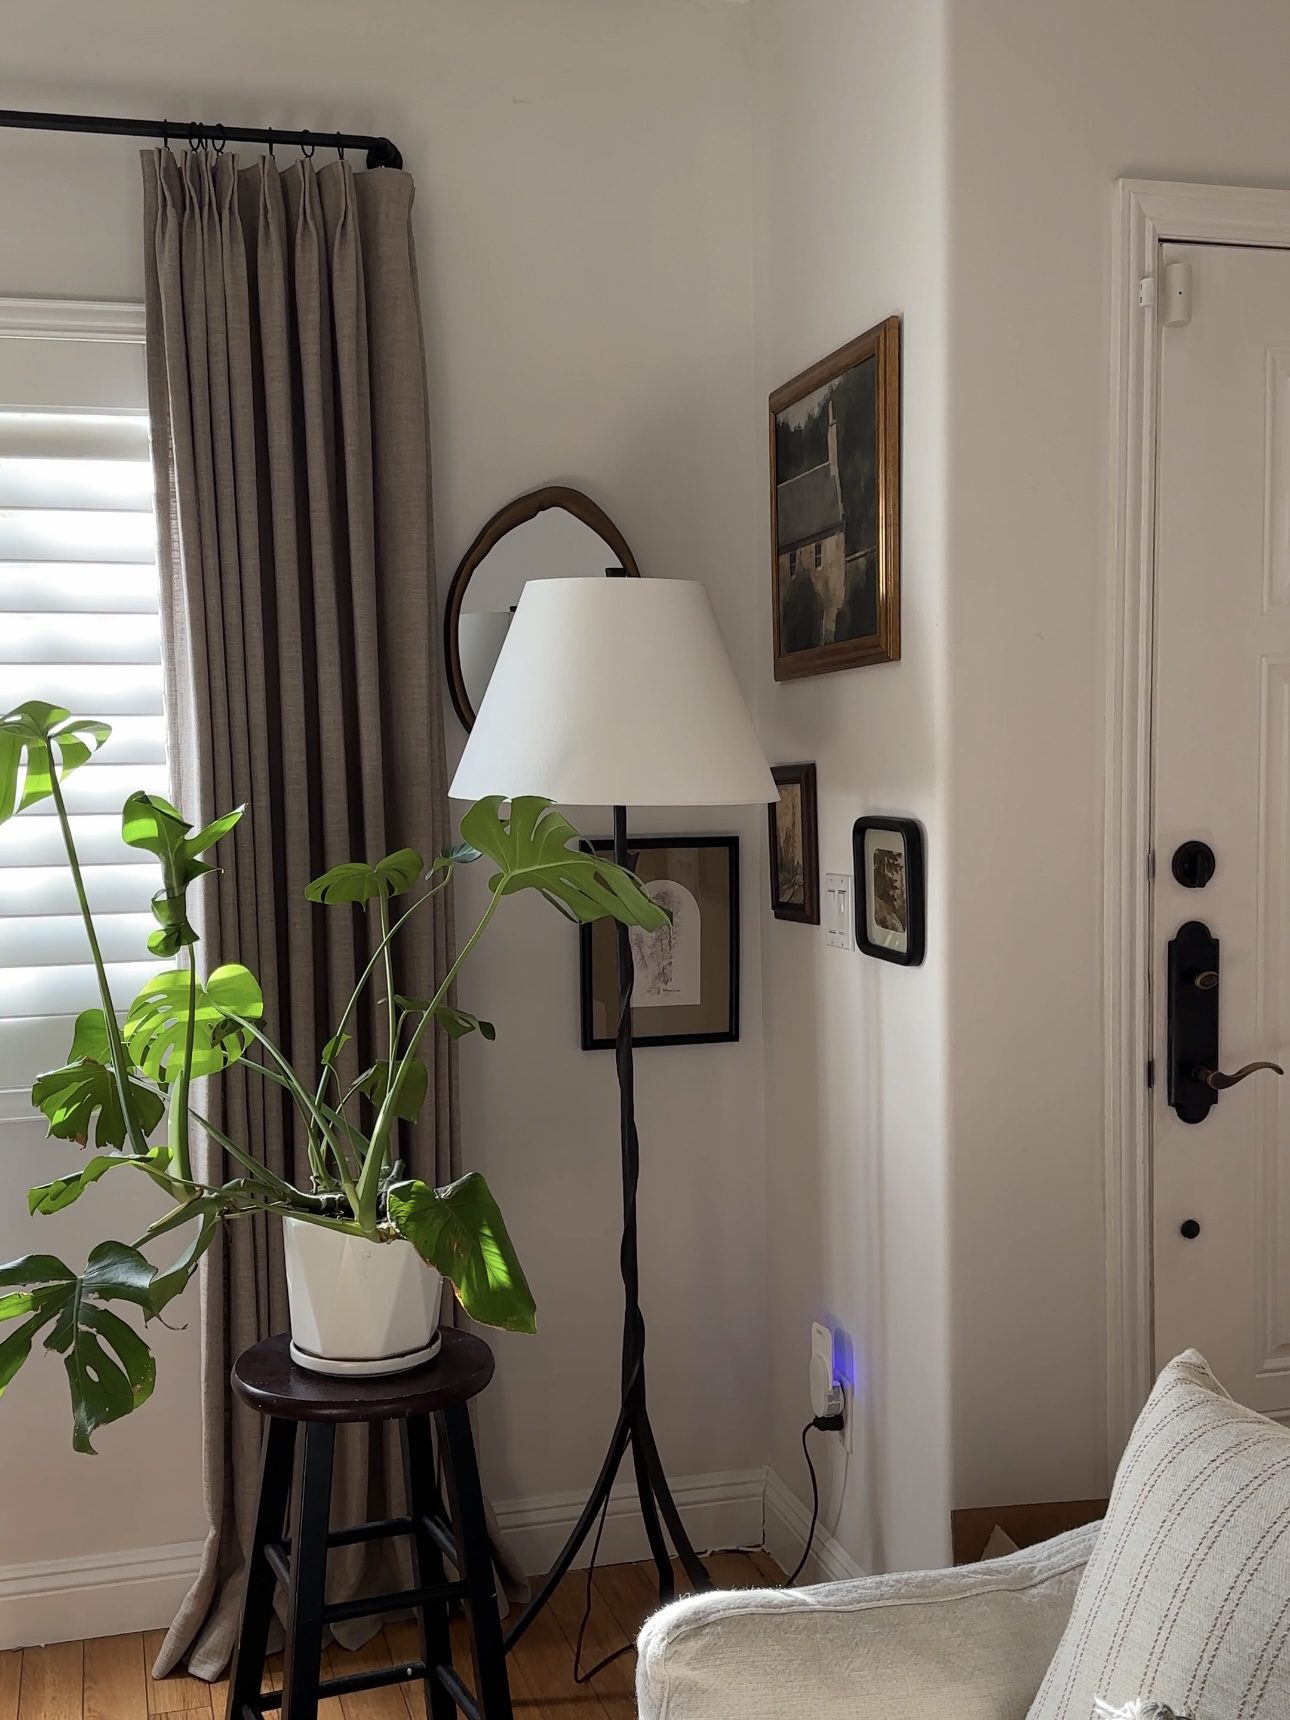
Phillips Hue sent me their Solo Light Strips, and I’ve been having so much fun with them!
In this household, we hate the “big light,” and I love putting lamps up everywhere, but I figured we could take it a step further! I decided putting the light strips behind the TV console would be the best choice because it would look really cool when watching TV and the installation only took like 10 minutes. Very short and sweet.
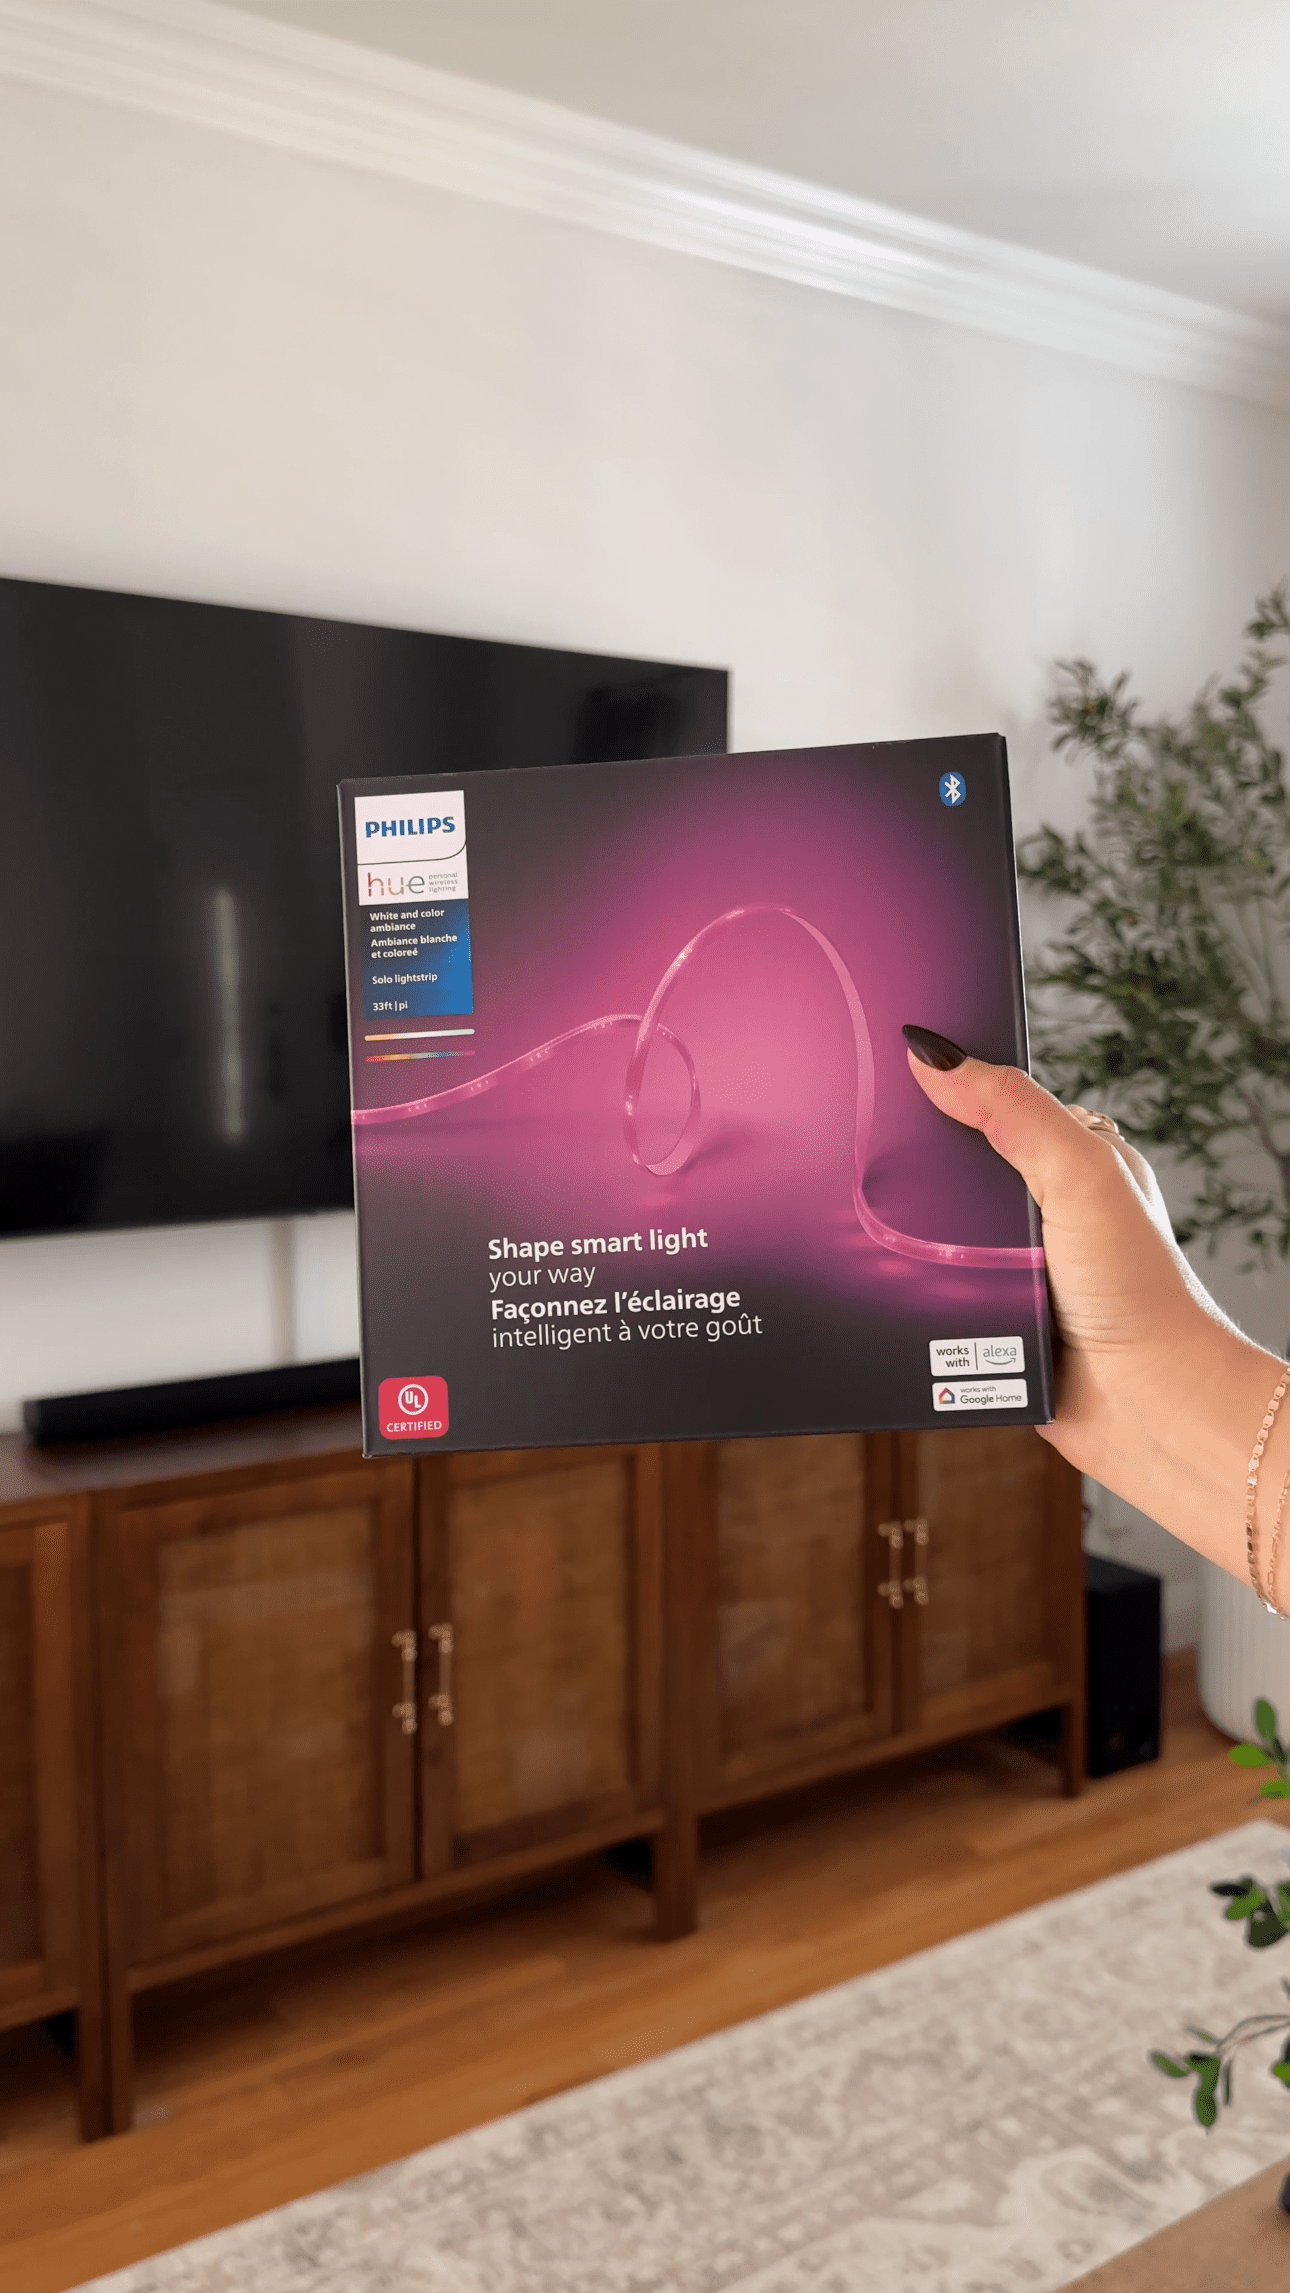
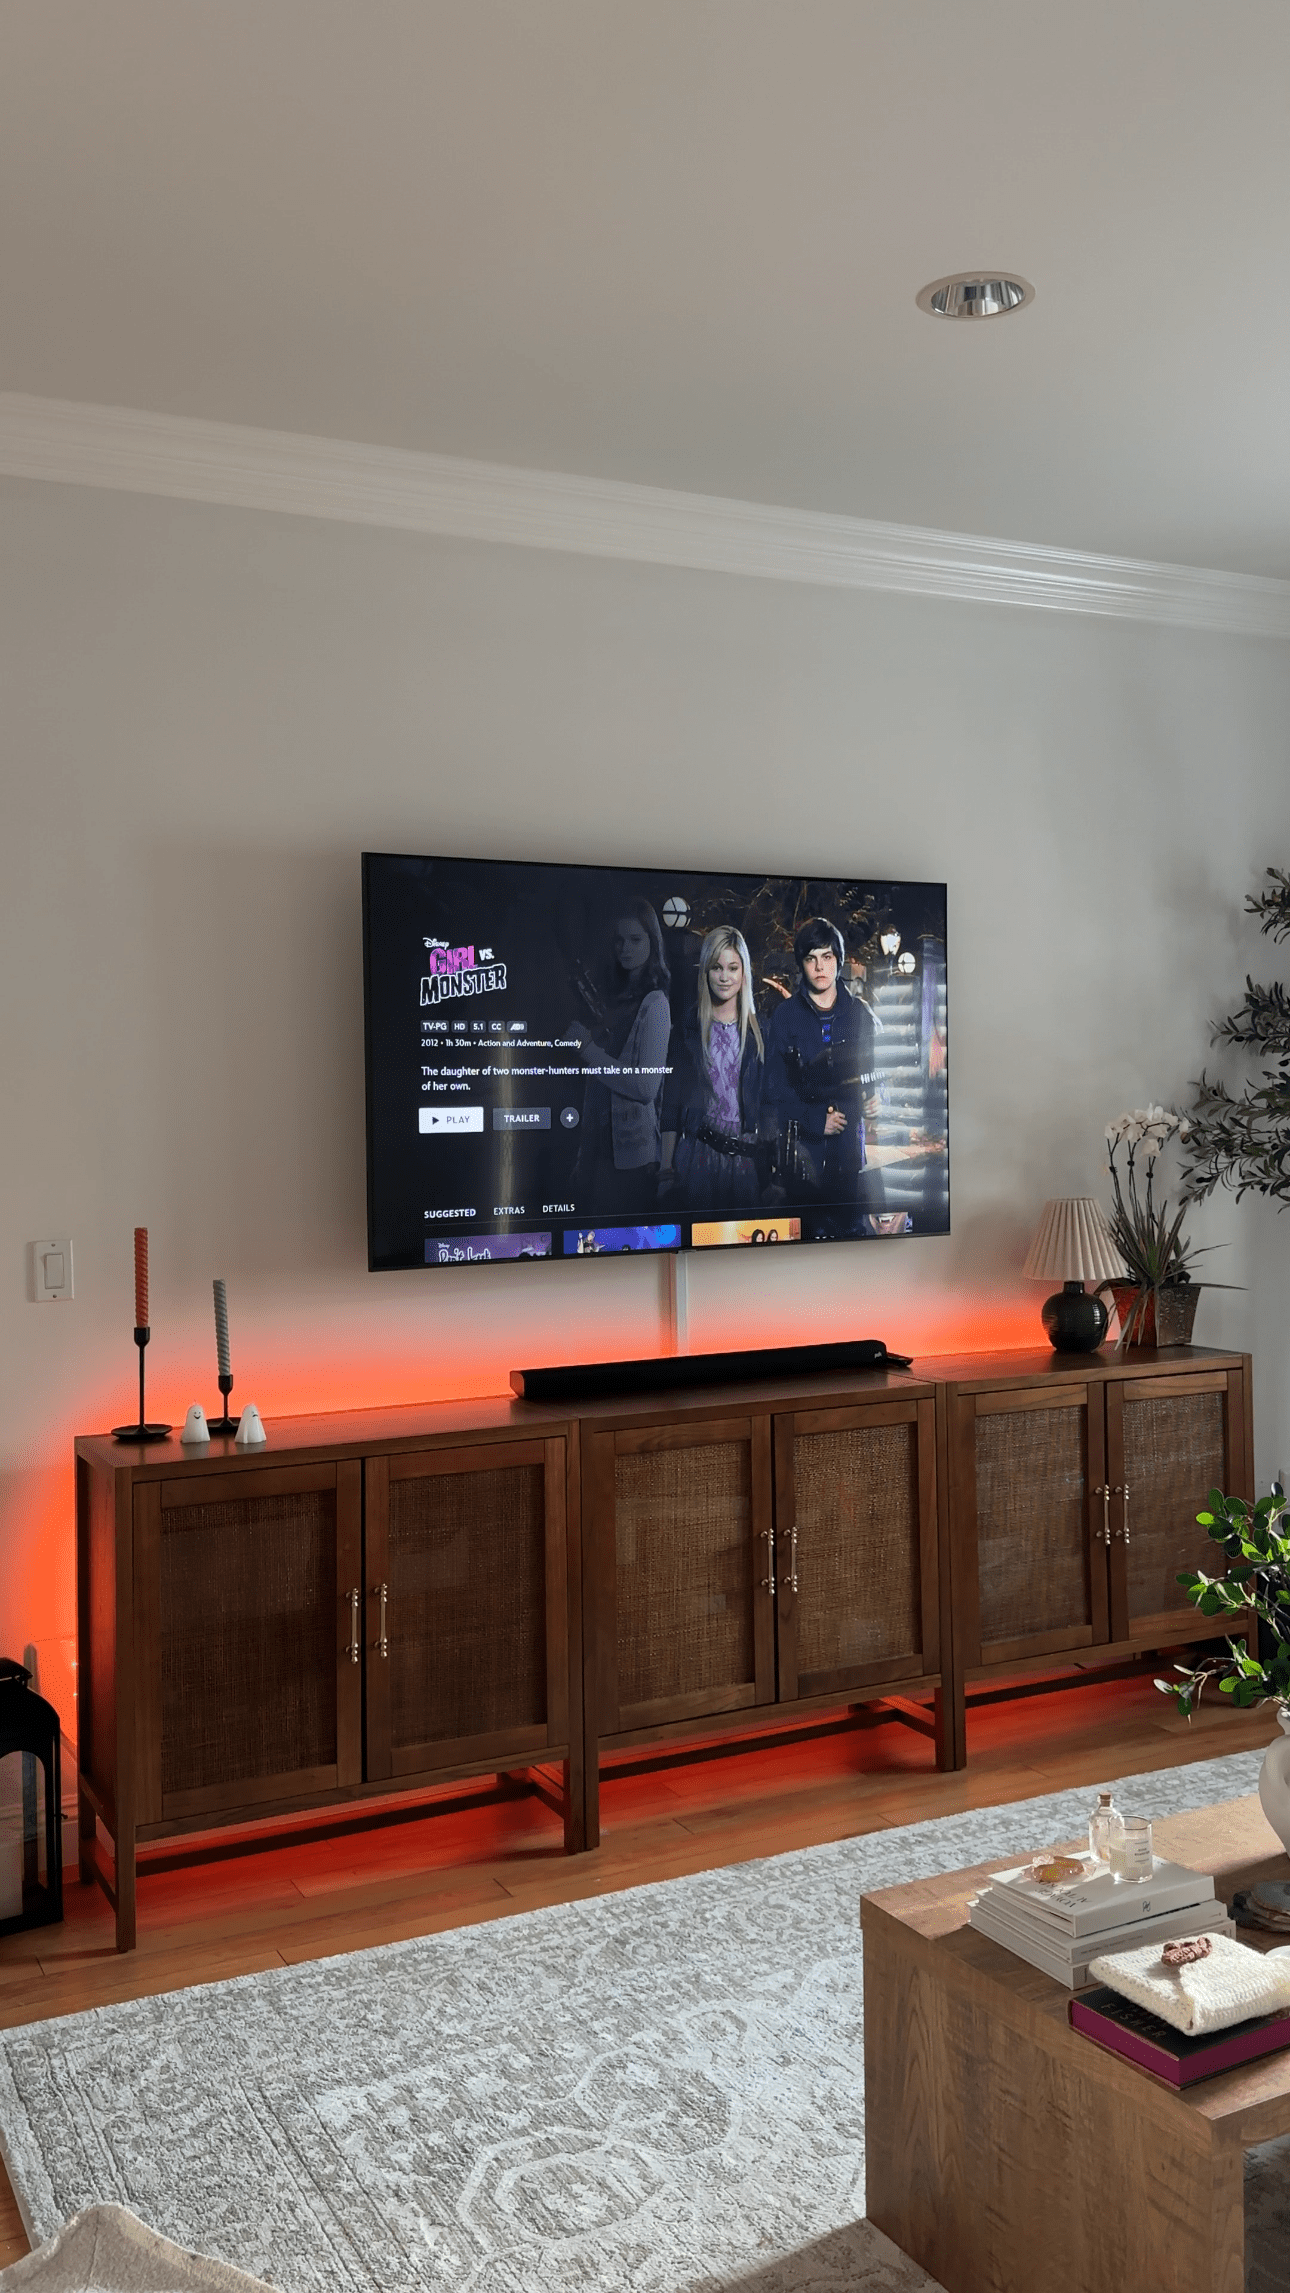
The back of the strips has an adhesive, so you just remove the paper backing and stick the light strip right onto your surface. And the really cool thing about these is that you can actually cut them to perfectly fit your space! Once they’re up, you sync your lights to the Hue app and can control the color and brightness right from your phone. Since they’re connected via WiFi, you can actually turn them on virtually from anywhere and I love turning them on before I get home so that it’s not dark when I walk in.
Plus, the orange lights are the cherry on top when hosting my yearly Disney Monstober Marathon!
And now we’re up to date! This is as far as I’ve gotten in my townhouse > townhome decorating journey, and I will continue to update this post with all the latest parts! Thank you so much for reading today’s post, and if you want to get more consistent home decor updates, make sure to follow me on TikTok!
Xx